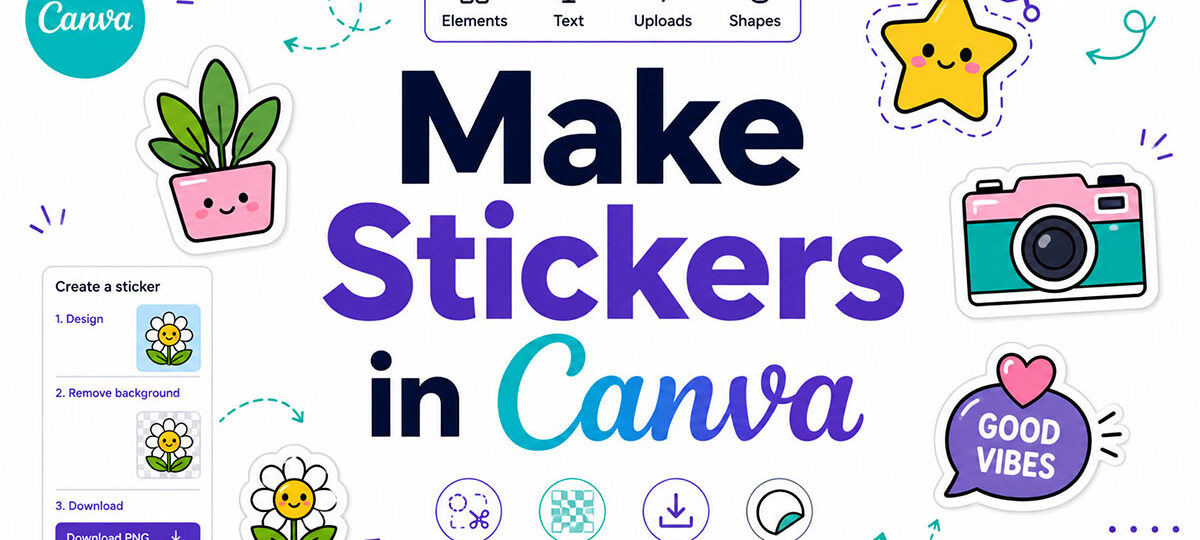
Canva makes custom sticker design accessible to anyone, and knowing how to make stickers in Canva the right way saves you from blurry prints, white-edge cutouts, and wasted sticker paper.
The global sticker market hit $4.61 billion in 2024. Demand for custom designs, from digital planner stickers to kiss-cut vinyl sheets, keeps growing.
This guide covers everything: canvas setup, transparent PNG exports, sticker borders, animated GIF stickers, print-ready file formats, and the license rules you need to know before selling on Etsy or Redbubble.
Whether you’re on Canva Free or Canva Pro, you’ll have a finished, export-ready sticker design by the end.
What Are Canva Stickers
Canva stickers are graphic elements you design or place inside Canva’s editor, then export or print for use on physical surfaces, digital planners, or messaging apps. The term covers two distinct things: pre-made sticker elements from Canva’s library, and fully custom designs you build yourself.
The output format determines everything. A sticker headed for a planner PDF is a PNG with a transparent background. One going to Sticker Mule or Printful needs a print-ready file at 300 DPI. One going to WhatsApp is a GIF under 500KB. Same design tool, 3 completely different export paths.
Canva had 220 million monthly active users as of December 2024, with users creating 38.5 million designs per day (Backlinko). A significant portion of that design volume includes sticker packs for Etsy shops, digital planner bundles, and branded label sheets.
If you’re new to Canva’s broader feature set, the full breakdown of what Canva is and does covers the tool’s scope before you start designing.
Printable vs. Digital Stickers
Printable stickers are designed at physical dimensions (2×2 in, 3×3 in) and exported as high-resolution PNG or PDF Print files. They go to a home printer, Canva Print, or a third-party service like StickerApp.
Digital stickers work differently. They’re sized in pixels (usually 500×500 px or 1000×1000 px), exported as transparent PNG files, and imported directly into apps like GoodNotes or Notability. No printing involved.
Mixing up these two workflows is the most common mistake. A 500px digital sticker printed physically comes out blurry. A 3×3 inch print sticker dropped into GoodNotes creates an oversized mess that covers half the planner page.
What Canva Stickers Are Used For
The 4 main use cases are:
- Physical product labels and branded packaging
- Digital planner inserts for GoodNotes, Notability, and PDF annotation apps
- Social messaging sticker packs (WhatsApp, Telegram)
- Etsy and Redbubble product listings
“Stickers” was the 6th most searched term on Etsy in Q4 2024, with a 12-month average click-through rate of 110% (Accio, 2025). The demand is real and it’s not slowing down.
What Types of Stickers Can You Make in Canva

Canva supports 5 distinct sticker types, each with its own canvas setup, export format, and intended end use. Picking the wrong type before you start costs time.
| Sticker Type | Canvas Setup | Export Format | Primary Use |
|---|---|---|---|
| Kiss-cut / Die-cut | Inches at 300 DPI | PDF Print or PNG | Physical printing |
| Sticker sheet | 8.5×11 in at 300 DPI | PDF Print | Home or professional printing |
| Digital planner stickers | 500–1000 px square | Transparent PNG | Apps like GoodNotes and Notability |
| Animated stickers | 512×512 px | GIF | WhatsApp, Telegram |
| Social media stickers | Platform-specific dimensions | PNG or GIF | Instagram Stories, TikTok |
Kiss-Cut and Die-Cut Stickers
Both are physical stickers, but the cut style differs. Kiss-cut stickers cut through the design layer only, leaving the backing paper intact. The sticker peels off easily. Die-cut stickers cut through both layers, trimming the sticker to the exact shape of the design.
For Canva designs going to Sticker Mule or StickerGiant, die-cut requires a clear cutline path around the design. Most designers add a 2-3mm white border (using Canva’s glow or shadow effect) to create visual separation between the design and the cut edge.
Digital Planner Stickers
PlannerKate1 on Etsy has crossed 2 million sales selling almost exclusively digital planner stickers (Etsy, 2025). The setup is straightforward but specific.
Canvas size: 500×500 px or 1000×1000 px. Export as PNG with transparent background enabled. Multi-page Canva files (one sticker per page) let you deliver a full sticker pack as a single ZIP download. GoodNotes accepts these directly without conversion.
Sticker Sheets
A sticker sheet fits multiple designs on one printable page. Standard sheet size is 8.5×11 in.
- Set canvas at 8.5×11 in, 300 DPI before placing designs
- Leave at least 0.125 in spacing between stickers to avoid cut bleed overlap
- Export as PDF Print for home printing, or PNG for digital distribution
Sticker sheets are the go-to format for planner sellers on Etsy who want to deliver printable (not digital) sticker packs.
What Do You Need Before Making Stickers in Canva
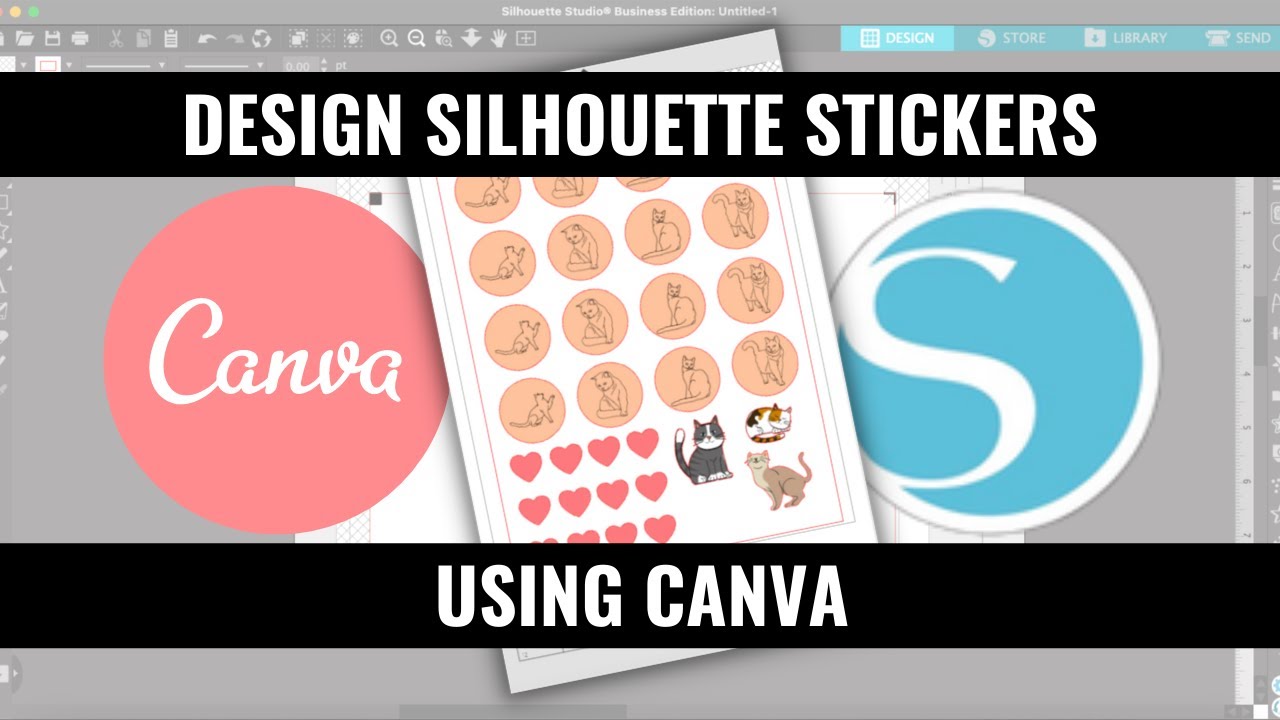
3 things affect what you can actually do before you open a single template: your Canva plan, your canvas setup, and your export path. Getting these wrong wastes the entire design session.
Free vs. Canva Pro for Sticker Design
Canva Free limitations that matter for stickers:
- No background remover (critical for transparent background stickers)
- No access to premium Elements (many sticker-style illustrations are Pro-locked)
- PNG exports default to 96 DPI, not 300 DPI
- No size multiplier for high-resolution exports
Canva Pro subscriptions grew 15% globally in 2024 (SQ Magazine). For sticker sellers, the background remover alone justifies the cost. Manually removing backgrounds without it takes 10x longer and rarely produces clean cutouts.
That said, Canva Free users can still export print-ready stickers using the PDF Print option, which automatically processes files to 300 DPI. It just removes some workflow shortcuts.
Canvas Size and Resolution Setup
Set this before designing. Changing dimensions after you’ve placed elements rescales everything and breaks your layout.
Standard sticker sizes by use case:
- 2×2 in: small circular or square stickers, laptop stickers
- 3×3 in: standard custom sticker, most common for Etsy
- 4×6 in: sticker postcard or larger label format
- 8.5×11 in: full sticker sheet for home printing
- 500×500 px: digital planner sticker (GoodNotes-ready)
For physical stickers, always work in inches and design at the final print size. Canva’s Help Center confirms that 300 DPI is the required resolution for clean print output (Canva, 2024).
How to Make a Sticker in Canva from Scratch
This is the core process. 5 steps from blank canvas to download-ready sticker file.
Setting the Right Canvas Size for Print
Open Canva. Select Custom Size from the homepage. Enter your dimensions in inches (not pixels). Canva doesn’t have a native DPI field at setup, but designing at physical print dimensions and exporting as PDF Print outputs at 300 DPI automatically.
For Canva Pro users, the PDF Print export also offers a 2x or 3x multiplier. At 3x, a 3×3 in canvas exports at 2700×2700 pixels, which meets 300 DPI at final print size.
Building the Design
Use the Elements panel (left sidebar) to search for illustrations, shapes, and icons. Type “sticker” in the search bar and filter by Elements. Free users see a mix of free and Pro-locked results. Pro users get full access to Canva’s illustration library, which includes hundreds of sticker-optimized flat designs.
For custom designs built from scratch, combine basic shapes, text layers, and uploaded artwork. The visual hierarchy of your sticker matters: the main focal element should dominate, with text or supporting graphics clearly secondary. Took me a while to figure out that stickers with too many competing elements look cluttered at actual print size, even when they look fine on screen.
Keep color theory in mind when building sticker designs. High-contrast combinations read well at small sizes. Analogous color schemes feel cohesive for sticker packs with multiple pieces. A consistent color palette across your sticker set signals intentional design and sells better as a pack.
Adding a Sticker Border in Canva
The white border around a sticker design is what separates it visually from whatever surface it’s applied to. Without it, dark or colorful designs disappear into matching backgrounds.
2 methods in Canva:
- Shadow effect: Select your design element. Go to Effects. Apply Drop Shadow with angle set to 0, blur to 0, and spread increased until a white outline appears. Works for simple shapes.
- Glow effect: Also in Effects. Works better for irregular shapes and illustrations. Set glow color to white, increase size to desired border thickness.
Neither method is perfect for highly detailed designs. For complex die-cut work going to professional printers, adding a manual white shape behind the design (ungrouped, expanded slightly) gives cleaner results.
Downloading With Transparent Background
Click Share, then Download. Choose PNG as file type. Check the Transparent background box. This option only appears when your canvas background is removed (click the background, then Delete).
If the transparent background checkbox is grayed out, the canvas still has a colored background layer. Delete it first. JPEG does not support transparency at all. Using JPEG for sticker downloads is a common mistake that produces a white rectangle around every design.
How to Use Canva’s Built-In Sticker Elements

Not every sticker needs to be built from scratch. Canva’s Elements library contains thousands of pre-made sticker-style illustrations, emoji-style graphics, and decorative elements that can be downloaded as-is or customized.
Finding Sticker Elements in Canva
Open the Elements panel. In the search bar, type “sticker.” The results return both free and Pro-only elements. Free users see elements marked with a crown icon as Pro-locked. Clicking a Pro element while on a free plan prompts an upgrade.
More useful search terms for finding sticker-style elements:
- “sticker pack” for grouped illustration sets
- “flat sticker” for solid-fill, no-outline styles
- “cute sticker” for character-based and kawaii-style designs
- “vinyl sticker” for bold-outline, high-contrast results
Customizing Canva Elements for Sticker Use
Most Canva elements are built as grouped objects. Double-click to enter the group and select individual components. From there, you can change fill colors, resize specific parts, or delete elements you don’t need.
Color changes are the most used customization. Select a shape or fill area within an element and use the color picker in the top toolbar to match your sticker’s color palette. Keeping a consistent hue across a sticker pack makes the whole set feel intentional rather than assembled from random pieces.
One thing worth knowing: not all Canva elements can be exported as vector graphics. SVG export is a Pro-only feature. Free users get raster PNG exports, which are fine for most sticker uses but can’t be infinitely scaled without quality loss.
How to Make a Sticker Sheet in Canva

A sticker sheet puts multiple individual stickers onto one printable page. It’s the format most Etsy buyers expect when purchasing printable sticker packs, and it’s what home printers handle most efficiently.
The global custom sticker printing market was valued at $1.6 billion in 2024, projected to reach $2.9 billion by 2030 at a CAGR of 10.4% (Grand View Research). Printable sticker sheets are a significant portion of that demand.
Setting Up the Sticker Sheet Canvas
Set canvas to 8.5×11 inches (US Letter) or A4 for European markets. This matches standard home printer paper and sticker paper sheets sold at office supply stores.
Before placing any stickers, enable Canva’s rulers and guides (View menu). Set guides at 0.25 in from each edge as your safe margin. Nothing important should sit outside this boundary.
Arranging Stickers on the Sheet
Design each individual sticker on a separate page first, then copy-paste them onto the sheet canvas. This keeps originals intact for individual exports.
Spacing rules that matter for print:
- Minimum 0.125 in between stickers (prevents cut bleed overlap)
- Keep all sticker designs within the 0.25 in safe margin from sheet edges
- Group each sticker before placing on the sheet to prevent accidental element displacement
Use Canva’s Position panel (Elements toolbar, top right) to align stickers precisely. Manual dragging looks fine on screen but rarely lines up exactly.
Exporting the Sticker Sheet
For home printing: export as PDF Print. This gives you the cleanest output and preserves resolution. Open in Adobe Reader or Preview and print at actual size (not “fit to page”).
For selling as a digital download on Etsy: export as PNG with transparent background disabled (white background). Buyers open it, print it, and cut. Some sellers offer both a white-background version (for home printers) and a transparent version (for Cricut users). Both take under 2 minutes to export.
How to Make Digital Stickers in Canva for GoodNotes or Notability
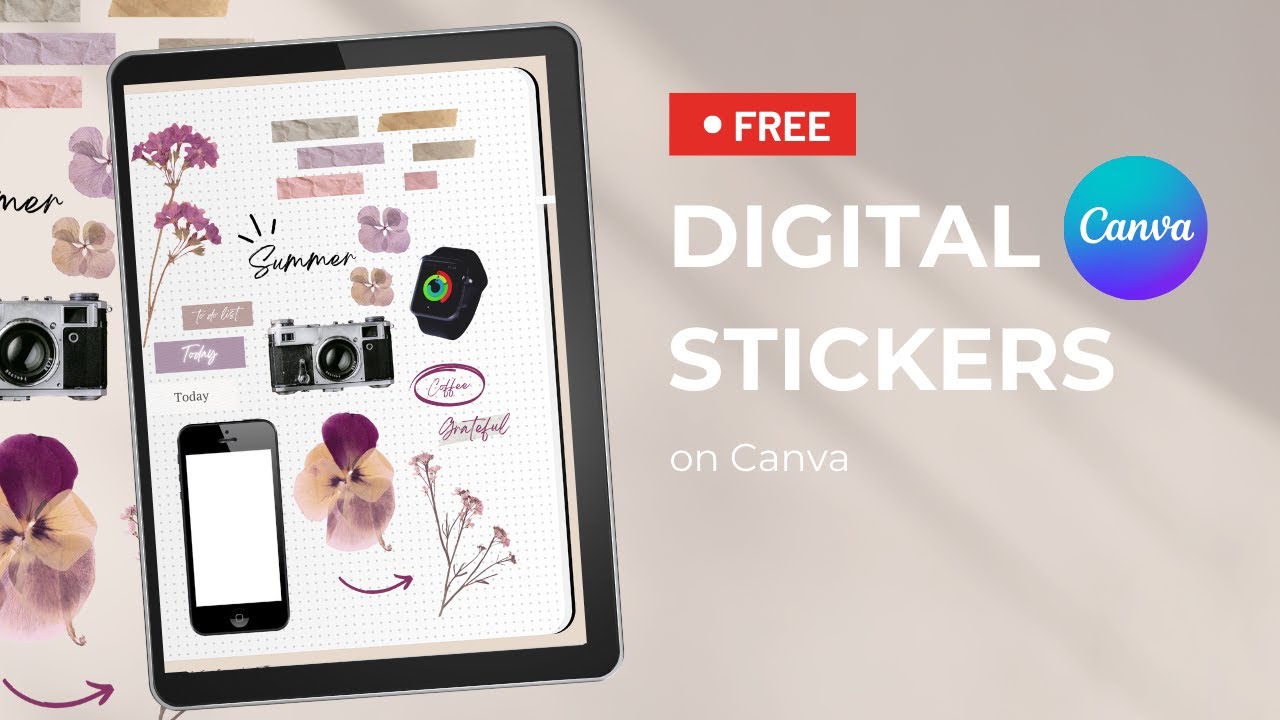
Digital planner stickers are a different product entirely from print stickers. The design workflow, canvas dimensions, and export settings all differ. Using print sticker settings for digital stickers produces files that crash GoodNotes or display at wildly wrong sizes.
72% of businesses cite custom stickers as a cost-effective branding tool (Printing Impressions, 2024). But for individual creators, digital planner stickers are the lower-barrier entry point. No printing costs, no inventory, instant delivery.
Canvas Setup for Digital Stickers
Set canvas to 500×500 px for standard-sized digital stickers. Use 1000×1000 px for stickers with fine detail or small text. Higher resolution holds up better when users zoom into their planner pages.
Do not work in inches for digital stickers. GoodNotes and Notability scale based on pixel dimensions relative to the page size. An inch-based canvas will import at unpredictable sizes depending on the app’s page settings.
Designing for Planner Use
Planner stickers have specific design needs that differ from regular sticker design:
- Include date boxes, checkboxes, or label areas that buyers can type over
- Use clear, readable typography (avoid overly decorative fonts at small planner sizes)
- Keep designs simple enough to remain legible at 30-40px rendered size in GoodNotes
- Avoid gradients that look muddy at small render sizes
Font choice matters more here than in print sticker design. A script font that looks elegant on a print sticker becomes unreadable at planner scale. Stick to clean sans-serif fonts or well-spaced serif fonts for any text-bearing planner sticker.
Exporting a Sticker Pack as PNG Files
Build each sticker on a separate page within the same Canva file. This keeps the pack organized and speeds up export.
To export as individual PNG files: Download > PNG > Transparent background > Select all pages. Canva exports a ZIP file containing one PNG per page. Upload this directly to Etsy as a digital download.
GoodNotes accepts transparent PNG files without any conversion. Users drag the file into their GoodNotes sticker library and the sticker appears immediately, ready to place on any page.
For more on building complete digital products in Canva, the guides on making a digital planner in Canva and making an eBook in Canva cover adjacent workflows that pair naturally with sticker pack creation.
How to Make Animated Stickers in Canva

Animated stickers from Canva work well for WhatsApp and social media. Telegram is a different story. Canva exports GIF files, but Telegram’s native animated sticker format is TGS (Lottie-based), which requires Adobe After Effects. For Telegram, Canva GIFs need conversion before upload.
WhatsApp requires 512×512 px, under 500KB, with a transparent background (Pic2Sticker). Canva’s GIF export won’t hit those specs automatically. You’ll need a converter tool like GIFDB or Sticker Maker Studio after export.
Applying Animation in Canva
Select any element on your canvas. Click Animate in the top toolbar. Canva’s preset options include:
- Pop: sharp in/out, works well for bold icon stickers
- Bounce: springy motion, good for character designs
- Fade: subtle, suits planner-style stickers
- Breathe: slow pulse, common for ambient or nature designs
For sticker use, keep animations under 2 seconds. Longer loops feel sluggish in chat apps.
Exporting the Animated Sticker
Export path: Share > Download > GIF.
Canva exports the full canvas as a looping GIF. File size depends on canvas dimensions and animation complexity. A 512×512 px canvas with a single animated element typically lands under 300KB. Adding multiple animated layers pushes the file above WhatsApp’s 500KB limit fast.
For WhatsApp: convert the Canva GIF to WebP using GIFDB or Zuck’s WAStickerApps. For social media Stories and TikTok, the GIF uploads directly without conversion.
Platform Size Requirements at a Glance
| Platform | Size | Format | Max File Size |
|---|---|---|---|
| 512×512 px | WebP | 500 KB | |
| Telegram (animated stickers) | 512×512 px | TGS (Lottie) | 64 KB |
| Instagram Stories | 1080×1920 px | GIF / PNG | No fixed hard limit |
| Discord | Up to 320×320 px | APNG / GIF | 500 KB |
How to Print Stickers Made in Canva
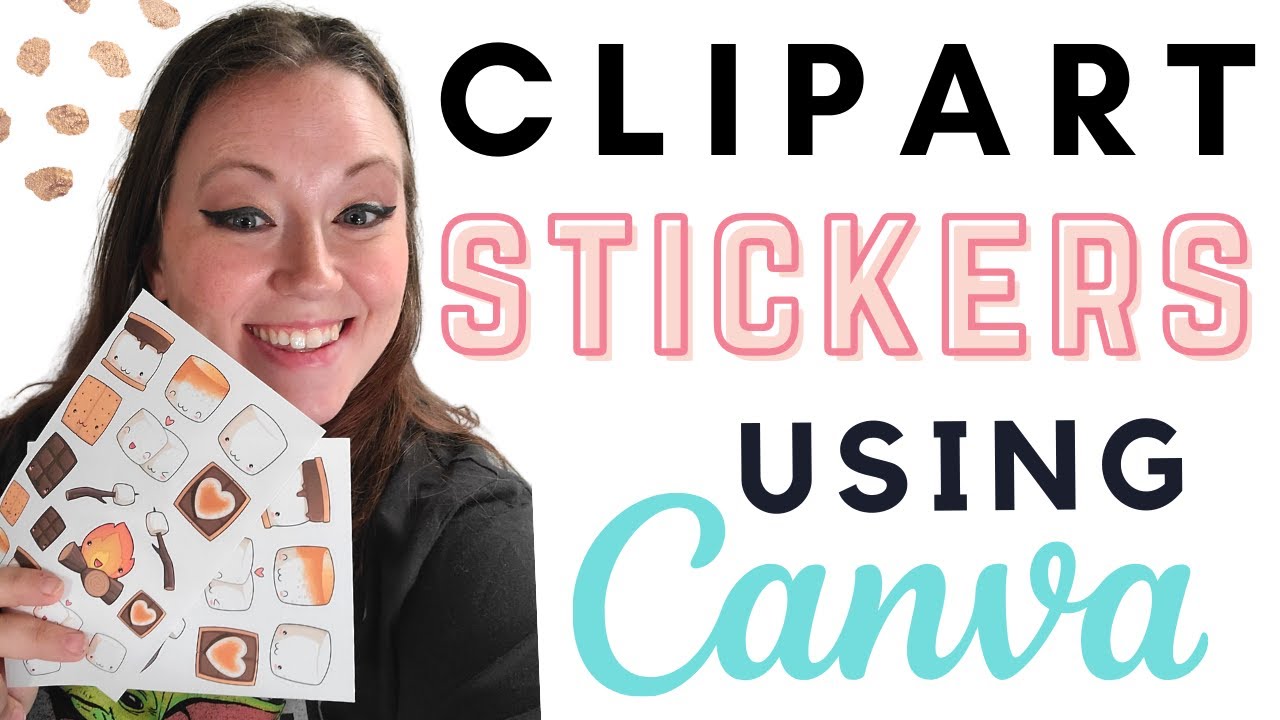
3 printing paths exist for Canva sticker designs: Canva Print (built-in), third-party printers, and home printing on sticker paper. Each has different file requirements, minimums, and cost structures.
The global custom sticker printing market was valued at $1.6 billion in 2024, expected to reach $2.9 billion by 2030 at a 10.4% CAGR (Grand View Research). Home and small-batch printing drives a significant share of that growth.
Using Canva Print for Sticker Orders
Canva Print is the path of least resistance. No file conversion, no bleed setup headaches. Design inside Canva, click “Print with Canva,” choose size, finish (matte or glossy), and quantity. Canva handles the rest.
Canva’s auto-proofing tool checks resolution and bleed before checkout. Orders include free standard shipping and a reprint guarantee if quality doesn’t meet expectations (Canva, 2024). A Canva Expert who ordered 500 business cards through Canva Print reported the gradient and photo cutout both reproduced cleanly at final size (La Shonda Brown, 2025).
The limitation: Canva Print works only for Canva-designed files. Designs from Illustrator or Photoshop can’t be submitted through Canva Print directly.
Exporting for Third-Party Sticker Printers
Third-party printers give more material options: glitter vinyl, holographic, kraft paper, waterproof clear film. Canva Print doesn’t offer these.
What each printer accepts:
- Sticker Mule: PNG, PDF, AI, SVG. Minimum 10 stickers. Fast turnaround, premium vinyl.
- StickerApp: PNG, PDF. No minimum. More material options than Sticker Mule, including glitter and mirror finishes.
- StickerGiant: PDF with bleed preferred. Minimum 250 units. Best for bulk label orders.
- Printful: PNG at 300 DPI. Integrates directly with Shopify and Etsy for print-on-demand fulfillment.
For all third-party printers, export from Canva as PDF Print with crop marks and bleed enabled. This is the format that avoids white edge errors after cutting (Design Shack, 2025).
Printing Stickers at Home With Canva
Home printing is the cheapest path for small runs. Export as PDF Print. Use actual-size printing in Adobe Reader or Preview, not “fit to page.” Scaling the file to fit destroys the DPI calculation.
Sticker paper types for home printing:
- Glossy: best color vibrancy, not writable
- Matte: lower contrast, accepts pen and marker
- Printable vinyl: waterproof, no weeding needed, works with inkjet printers
Canva designs built on [RGB] screens shift slightly when printed in CMYK. Bright neons and electric blues are the worst offenders. Canva Pro users can switch color output to CMYK in the PDF Print export settings to reduce color shift (JumpDP, 2025).
How to Sell Stickers Made in Canva
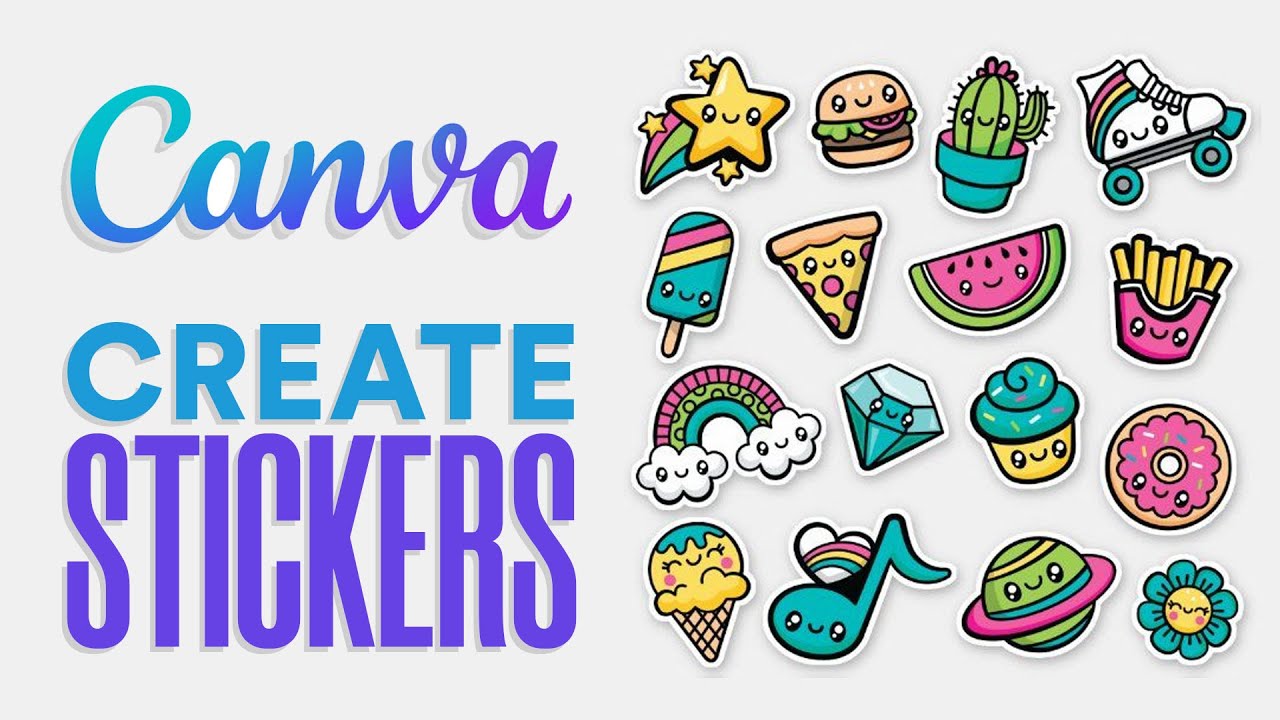
Selling stickers made in Canva is legal and profitable. With conditions. The license matters, the platform matters, and the file format matters per platform.
Top Etsy sticker sellers report annual revenues over $30,000 per year, with some shops exceeding $200,000 in yearly sales (Boss Houz, 2024). Studio Guru, a small Etsy sticker shop run by a single creator, generated $30,039 in its first year (Best4Crafts, 2026).
Canva’s License Rules for Selling
The core rule: you cannot sell Canva stock content on a standalone basis. A single illustration from the Elements panel placed on a sticker and sold as-is violates Canva’s Content License Agreement (Canva, 2024).
What makes a design eligible to sell:
- Your own uploaded artwork combined with Canva elements
- Multiple Canva elements layered into a unique original composition
- Text, shapes, and layouts you’ve built from scratch
Canva Free content has stricter limits. Canva Pro unlocks commercial use for Pro elements, but the standalone rule still applies. Disney-branded elements, Branded Content, and Editorial Use Only assets cannot be used commercially under any circumstances (Canva Content License Agreement, 2024).
Platforms for Selling Canva Stickers
Stickers was a top 6 search term on Etsy in Q4 2024, with a 12-month average click-through rate of 110% (Accio, 2025). Demand is consistent and buyer intent is high.
Platform comparison for sticker sellers:
| Platform | Best For | File Format |
|---|---|---|
| Etsy | Digital downloads and physical sticker packs | PNG ZIP, PDF |
| Redbubble | Print-on-demand stickers without holding inventory | Transparent PNG, 300 DPI |
| Creative Market | Designer-focused digital sticker bundles | PNG, PDF, layered source files |
| Shopify | Custom sticker store with Printful integration | PNG at 300 DPI |
For Etsy digital sticker listings, always include both a white-background PNG (for home printers) and a transparent PNG (for Cricut users). Listings offering both formats get fewer refund requests.
If you’re building a sticker business and want to understand the full Canva toolkit available to you, the guides on how to make money on Canva and how to sell Canva templates cover adjacent revenue paths worth combining with sticker sales.
What Are Common Mistakes When Making Stickers in Canva
Most sticker design failures happen before the file hits a printer. 5 specific errors cause the majority of unusable outputs.
Resolution and Format Errors
Designing at screen resolution (72 or 96 DPI) is the single most common print mistake. Canva’s default PNG export runs at 96 DPI, which looks fine on screen but prints blurry on anything smaller than a poster (DesignExporter, 2026).
The fix is straightforward:
- Export as PDF Print for print stickers (automatically processes to 300 DPI)
- Use Canva Pro’s 3x multiplier for PNG exports that need transparency
- Never use JPEG for sticker files. JPEG doesn’t support transparency and introduces compression artifacts around edges.
Using JPEG instead of PNG is especially damaging for die-cut stickers. The white rectangle around the JPEG image becomes a visible border on the cut sticker, ruining the contour shape entirely.
Skipping Bleed and Color Mode Setup
Bleed prevents white edge gaps when a cutter misaligns by even 1-2mm. Without it, professional sticker prints consistently show thin white strips along one or more edges (Simply Print, 2024).
Canva’s bleed setting: File > Show print bleed. Extend background colors and images past the bleed line. Keep all text and logos at least 3mm inside the trim edge.
The color mode problem is subtler. Screens display in RGB. Printers output in CMYK. Vibrant screen colors, especially electric blues and neon tones, shift and dull in print. Canva Pro users can set CMYK output in PDF Print export. Free users should avoid highly saturated colors that are unlikely to reproduce accurately (JumpDP, 2025).
Beyond color mode, saturation levels built for screen viewing tend to look overblown or muddy in physical print. Reducing saturation by 10-15% on screen often produces cleaner printed stickers.
Background Remover Mistakes
Canva’s background remover (Pro only) works well on photos with clear subject-background contrast. It struggles with:
- Illustrations with thin lines or fine details at edges
- Hair, fur, or feathers in photographic subjects
- Low-contrast images where subject and background share similar tones
The result is a transparent PNG with ragged, partially removed edges. This creates a halo effect around the sticker design that prints as a faint, blurry border. For complex cutouts, manually refining the mask in Canva (using the erase/restore brush inside the background remover) or cleaning the file in a separate tool before importing produces cleaner sticker outlines.
If you want a broader overview of all the design concepts that affect sticker quality, including how contrast, emphasis, and focal point affect small-format designs, the full glossary of graphic design terms is a solid reference to keep open while working.
FAQ on How To Make Stickers In Canva
Can you make stickers in Canva for free?
Yes. Canva Free supports custom sticker design. You lose access to the background remover and premium Elements, but you can still build sticker designs from scratch and export print-ready files using the PDF Print option at no cost.
What file format should I use to export stickers from Canva?
Use PNG with transparent background for digital stickers and die-cut designs. Use PDF Print for physical printing. Never use JPEG for stickers. JPEG doesn’t support transparency and adds compression artifacts around edges.
What canvas size should I use for sticker design in Canva?
Set canvas to your final print size in inches at 300 DPI. Common sizes: 2×2 in, 3×3 in, 4×6 in. For digital planner stickers, use 500×500 px or 1000×1000 px instead.
Does Canva have a sticker border feature?
Not a dedicated one. Use Canva’s Glow or Shadow effect under the Effects panel. Set color to white, increase size until the border appears. Works on most shapes and illustrations. Complex designs may need manual refinement.
Can I sell stickers I make in Canva?
Yes, with conditions. Your design must be an original composition, not a standalone Canva stock element. Canva’s Content License Agreement allows selling on Etsy, Redbubble, and Shopify as long as you’ve added meaningful design work beyond a single pre-made graphic.
How do I make a sticker sheet in Canva?
Set canvas to 8.5×11 inches. Design individual stickers on separate pages, then copy-paste them onto the sheet canvas. Space each sticker at least 0.125 in apart. Export as PDF Print for home printing or PNG for digital delivery.
How do I make digital stickers for GoodNotes in Canva?
Set canvas to 500×500 px. Design each sticker on a separate page. Export as PNG with transparent background selected and all pages checked. Canva outputs a ZIP file. Import directly into GoodNotes from your device’s file app.
How do I make animated stickers in Canva?
Select an element, click Animate in the toolbar, and choose a preset like Pop or Bounce. Export as GIF. For WhatsApp, convert the GIF to WebP using a third-party tool. Keep animations under 2 seconds for messaging apps.
What is the difference between kiss-cut and die-cut stickers in Canva?
Kiss-cut stickers cut through the design layer only, leaving backing paper intact. Die-cut trims through both layers to the exact sticker shape. Both require a transparent PNG or PDF Print export. Die-cut designs need a clear border or cutline around the artwork.
Why does my Canva sticker look blurry when printed?
You exported at the wrong resolution. Canva’s default PNG exports at 96 DPI. Print requires 300 DPI. Fix it by exporting as PDF Print instead, or use Canva Pro’s 3x size multiplier when PNG transparency is required for the final file.
Conclusion
This conclusion is for an article presenting the full process of making stickers in Canva, from canvas setup to print-ready export.
Getting the details right matters. Canvas dimensions, transparent PNG exports, bleed setup, and correct DPI settings are what separate clean sticker outputs from wasted print runs.
Whether you’re building a digital planner sticker pack for GoodNotes, a kiss-cut vinyl sheet for Etsy, or an animated sticker for WhatsApp, the workflow is consistent.
Start with the right canvas size. Export in the right format. Understand Canva’s content license before selling.
The sticker design tool is capable. The results depend on how you set it up.

Renowned for his expertise in logo design and visual branding, Bogdan has developed a multitude of logos for various clients.
His skills extend to creating posters, vector illustrations, business cards, and brochures. Additionally, Bogdan's UI kits were featured on marketplaces like Visual Hierarchy and UI8.
He also wrote in the past years on sites like Design Your Way, WebDesignerDepot, WPDean, Designmodo, Speckyboy, Slider Revolution, and more.
- The Windsurf Logo History, Colors, Font, And Meaning - 10 October 2026
- How to Remove Background From Product Photos (No Photoshop) - 10 October 2026
- How Designers can Build a Stronger Online Creative Identity - 9 October 2026

Bogdan Sandu is a seasoned designer who has been designing websites since 2008. Renowned for his expertise in logo design and visual branding, Bogdan has developed a multitude of logos for various clients. His skills extend to creating posters, vector illustrations, business cards, and brochures. Additionally, Bogdan's UI kits were featured on marketplaces like Visual Hierarchy and UI8. He also wrote in the past years on sites like Design Your Way, WebDesignerDepot, WPDean, Designmodo, Speckyboy, Slider Revolution, and more.
You Might Also Like