


Silent videos get scrolled past. Learning how to add music to Canva transforms flat content into something people actually watch.
Canva’s audio library includes thousands of royalty-free tracks, sound effects, and popular songs from major labels like Warner and Sony.
You don’t need audio editing software or technical skills.
This guide walks through locating the audio tab, searching for tracks, adding music to your timeline, and adjusting volume and fade effects.
Seven steps. Three minutes. Works on desktop, iOS, and Android.
By the end, you’ll know how to upload custom MP3 files, layer multiple tracks, and troubleshoot common audio sync issues.
How to Add Music to Canva
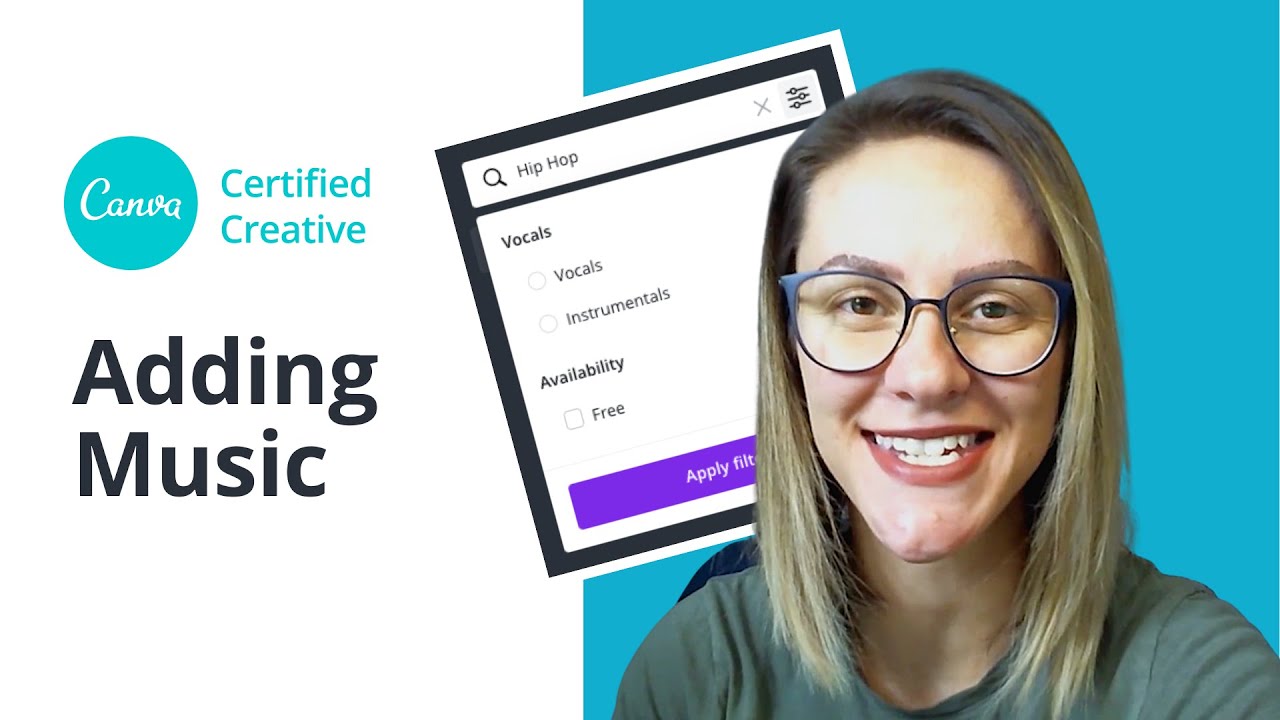
Adding music to Canva is the process of inserting audio tracks, sound effects, or uploaded audio files into video projects, presentations, and slideshows using the platform’s built-in audio library or custom uploads.
Users need this when creating social media videos, YouTube content, Instagram Reels, or video presentations in Canva.
This guide covers 7 steps requiring 2-3 minutes and a free or Pro account.
This guide walks through locating the audio tab, searching for tracks, adding royalty free music to your timeline, and adjusting volume and fade effects.
What You Need Before Starting
Gather these before you begin:
- Canva account (Free or Canva Pro)
- Web browser, iOS, or Android app
- Open design project with video or slideshow
- Audio files in MP3 or M4A format (for custom uploads)
- File size under 250MB
Pro users get access to the premium music library and popular music tracks from Warner, Sony, and Merlin.
Free users can still access thousands of royalty-free tracks.
Step One: Where Do You Find the Audio Library in Canva?
The audio library is located in the Apps section of the left sidebar. Click Apps, then select Audio to open the full music library with stock tracks, sound effects, and popular songs.
Action
Navigate to the left-hand menu in the Canva editor.
Click Apps in the sidebar.
Select Audio from the apps list.
The audio panel opens with browsing and search options.
Purpose
This step gives you access to Canva’s complete audio database, including free tracks, premium content, and the popular music collection available in the US, UK, Canada, Australia, and parts of Europe.
Step Two: How Do You Search for Music in Canva?
Use the search bar at the top of the Audio panel to find tracks by title, artist name, genre, or mood keywords like “upbeat” or “relaxing.” Filter results by vocals, instrumentals, or effects using the filter icon.
Action
Type keywords in the search audio field (genre, mood, or artist).
Click the filter icon to narrow by vocals, instrumentals, or effects.
Browse categories or scroll through curated collections.
Click any track to hear an audio preview before adding.
Purpose
Searching lets you find the right soundtrack faster. The filter options save time when you need instrumental background music for voiceover content or vocal tracks for hype reels.
Step Three: How Do You Add a Track to Your Design?
Click on your chosen audio track and it automatically drops into your project timeline at the current playhead position. The track appears as a waveform bar below your video or slideshow content.
Action
Position your playhead (timestamp marker) where you want the music to start.
Click the track title in the Audio panel.
The audio file appears in the timeline at the bottom of the editor.
A crown icon indicates premium tracks requiring Pro subscription.
Purpose
Adding the track at a specific playhead position gives you control over when the music begins. You can layer up to 50 audio tracks in a single design for complex soundscapes.
Step Four: How Do You Adjust the Music Position in the Timeline?
Click and drag the audio track left or right in the timeline to reposition it. The waveform snaps to your video content, letting you align music with specific scenes or transitions.
Action
Select the audio track in the timeline at the bottom of the editor.
Drag it horizontally to your desired start point.
Use the zoom slider to see the timeline in more detail for precise placement.
Purpose
Repositioning lets you sync music drops with visual moments in your video project. Align beats with cuts for professional-looking motion graphics content.
Step Five: How Do You Trim the Audio Track Length?
Click the audio track, then drag the left or right edge handles to shorten the clip. The music duration adjusts instantly without affecting the original file.
Action
Select the track in your timeline.
Hover over either end until you see the trim cursor.
Drag inward to set new start and end points.
Purpose
Trimming removes unwanted sections and matches your audio length to video duration. Cut intros or outros that don’t fit your content.
Step Six: How Do You Adjust the Volume of Your Music?
Click the sound icon above the timeline or select the track and use the volume slider (0-100%). Reduce background music to 20-30% when layering with voiceover recordings.
Action
Select your audio track in the timeline.
Click the speaker icon in the top toolbar.
Move the slider left to decrease, right to increase.
Click the mute button to silence the track temporarily.
Purpose
Volume control prevents music from overpowering narration or dialogue. Balance multiple audio layers for clean, professional sound.
Step Seven: How Do You Add Fade Effects to the Audio?
Select your track and click Audio Effects in the top toolbar. Set fade in and fade out duration in seconds for smooth transitions.
Action
Click the audio track, then select Audio Effects from the toolbar.
Adjust Fade In slider (0-5 seconds).
Adjust Fade Out slider (0-5 seconds).
Purpose
Fades eliminate abrupt starts and jarring endings. Professional videos rarely hard-cut audio.
Alternative Method: How Do You Upload Your Own Music to Canva?
Skip the stock library and use your own audio files. Canva accepts MP3 and M4A formats up to 250MB.
How Do You Access the Upload Feature?
Click Uploads in the left sidebar, then select Audio.
Drag files from your computer or click Upload files to browse.
Uploaded tracks appear in your audio library permanently.
How Do You Add Uploaded Audio to Your Project?
Find your file in the Uploads section.
Click or drag it onto your timeline.
Canva runs an audio fingerprint check for copyright. Flagged files cannot be published.
How to Confirm Your Music Was Added Correctly
Verify your audio before downloading:
- Click the Play button to preview the full video with sound
- Check the waveform visibility in the timeline
- Confirm volume levels match your intent
- Verify timing alignment with visual content
Watch the entire preview. Audio sync issues often appear mid-video.
Common Problems and Solutions
Problem: Audio track not appearing in timeline
Solution: Check playhead position; audio adds at current timestamp, not the beginning.
Problem: Music too loud over voiceover
Solution: Select track, open volume slider, reduce to 20-30%.
Problem: Upload rejected by Canva
Solution: Convert file to MP3 format using free online converters; verify you own the rights.
Problem: Premium track shows crown icon
Solution: Upgrade to Pro or select an alternative free track from the royalty-free collection.
Problem: Audio not syncing with visuals
Solution: Use zoom slider for precision, drag track to align beats with cuts.
Related Processes
After mastering audio, explore these related Canva features:
- How to insert a YouTube video into Canva
- How to make a presentation in Canva
- How to make YouTube thumbnails on Canva
- How to save Canva as PDF
FAQ on How To Add Music To Canva
Can you add music to Canva for free?
Yes. Canva Free users access thousands of royalty-free tracks and sound effects in the audio library. Premium tracks show a crown icon and require Canva Pro. Many free options work well for social media videos and presentations.
What audio formats does Canva support?
Canva accepts MP3 and M4A audio formats for uploads. Maximum file size is 250MB. Convert other formats like WAV or FLAC using free online converters before uploading to your project.
How many audio tracks can you add to a Canva design?
You can layer up to 50 audio tracks in a single Canva design. This includes background music, sound effects, and voiceover recordings. Split your design into multiple pages if you need more tracks.
Can you use Spotify or Apple Music songs in Canva?
No. Spotify and Apple Music tracks are licensed for personal listening only. Using them in Canva videos violates copyright. Stick to Canva’s audio library or upload music you own the rights to.
How do you trim music in Canva?
Click the audio track in your timeline. Drag the left or right edge handles inward to shorten the clip. The trim feature adjusts start and end points without affecting the original audio file.
Why is my audio not playing in Canva?
Check your browser’s audio permissions and system volume. Verify the track isn’t muted in the timeline. Try refreshing the page or switching browsers. Chrome and Firefox handle Canva audio most reliably.
Can you add voiceover to Canva videos?
Yes. Click Uploads in the left sidebar, then select Record yourself. Allow microphone access and record directly in Canva. The voiceover appears in your uploads folder ready to add to the timeline.
How do you sync music with video in Canva?
Use the Beat Sync feature to auto-match audio beats to video cuts. Click your audio track, select Beat Sync from the toolbar. Canva analyzes the track and suggests edit points automatically.
Is Canva music copyright free for YouTube?
Canva’s stock audio is cleared for most uses including YouTube. Popular music tracks from Warner, Sony, and Merlin are limited to personal, non-commercial use only. Check licensing terms before monetizing content.
How do you remove music from a Canva video?
Click the audio track in your timeline. Press Delete on your keyboard or click the trash icon. The track disappears immediately. Your video visuals remain unchanged and ready for a different soundtrack.
Conclusion
You now know how to add music to Canva using both the built-in library and custom uploads.
The process works identically across desktop, iOS, and Android.
Background music changes everything. Your Instagram Reels, TikTok videos, and YouTube content will hold attention longer with the right soundtrack.
Use the Beat Sync feature for automatic audio-visual alignment. Trim tracks to match your video duration exactly. Layer multiple audio clips for depth.
Free users get access to thousands of tracks. Pro subscribers unlock premium content and popular songs from major labels.
Start with a simple video project. Add one track. Adjust the playhead position, trim the edges, set your volume levels.
Three minutes of practice beats reading another tutorial.

Renowned for his expertise in logo design and visual branding, Bogdan has developed a multitude of logos for various clients.
His skills extend to creating posters, vector illustrations, business cards, and brochures. Additionally, Bogdan's UI kits were featured on marketplaces like Visual Hierarchy and UI8.
He also wrote in the past years on sites like Design Your Way, WebDesignerDepot, WPDean, Designmodo, Speckyboy, Slider Revolution, and more.
- Jujutsu Kaisen Font Generator - 12 October 2026
- The Windsurf Logo History, Colors, Font, And Meaning - 10 October 2026
- How to Remove Background From Product Photos (No Photoshop) - 10 October 2026

Bogdan Sandu is a seasoned designer who has been designing websites since 2008. Renowned for his expertise in logo design and visual branding, Bogdan has developed a multitude of logos for various clients. His skills extend to creating posters, vector illustrations, business cards, and brochures. Additionally, Bogdan's UI kits were featured on marketplaces like Visual Hierarchy and UI8. He also wrote in the past years on sites like Design Your Way, WebDesignerDepot, WPDean, Designmodo, Speckyboy, Slider Revolution, and more.
You Might Also Like


