Most digital planners you see on Etsy were built in Canva. Not in Adobe InDesign, not in Affinity Publisher.
Learning how to make a digital planner in Canva is one of the more practical design skills you can pick up right now, whether you want a personal planning tool for GoodNotes or an interactive PDF to sell online.
This guide covers everything from document setup and page dimensions to clickable tab navigation, habit tracker design, export settings, and the licensing rules that apply when you sell.
By the end, you will have a complete, working digital planner layout ready to export as an interactive PDF.
What Is a Digital Planner in Canva

A digital planner in Canva is a multi-page interactive PDF document designed for use on tablets, desktops, or mobile devices. It uses hyperlinked tabs, clickable buttons, and navigable section pages to replicate the experience of a physical planner.
The key difference between a decorative Canva template and a functional interactive planner is navigation. A decorative template is static. A digital planner has clickable links that move the user between pages, making it useful inside apps like GoodNotes 5, Notability, and Adobe Acrobat.
Digital planners typically include 4 core component types:
- Dated or undated layout pages (daily, weekly, monthly views)
- Section tabs that function as a navigation menu
- Tracker pages (habit tracker, mood tracker, goal-setting template)
- A cover page and section dividers for visual organization
Canva makes this process accessible. Canva reached 260 million monthly active users by the end of 2025 (DemandSage), which reflects how many people now use it for exactly this type of structured design work.
The digital planner app market was valued at $1.2 billion in 2024 and is projected to reach $3.5 billion by 2033, growing at a 12.5% CAGR (Verified Market Reports). That growth is driven by exactly the kind of lightweight, PDF-based planning tools you can build directly inside Canva.
What makes Canva specifically useful here: it does not require design software knowledge, it handles multi-page documents natively, and it exports PDFs that preserve hyperlinks when the right settings are used.
—
What Do You Need Before Building a Digital Planner in Canva
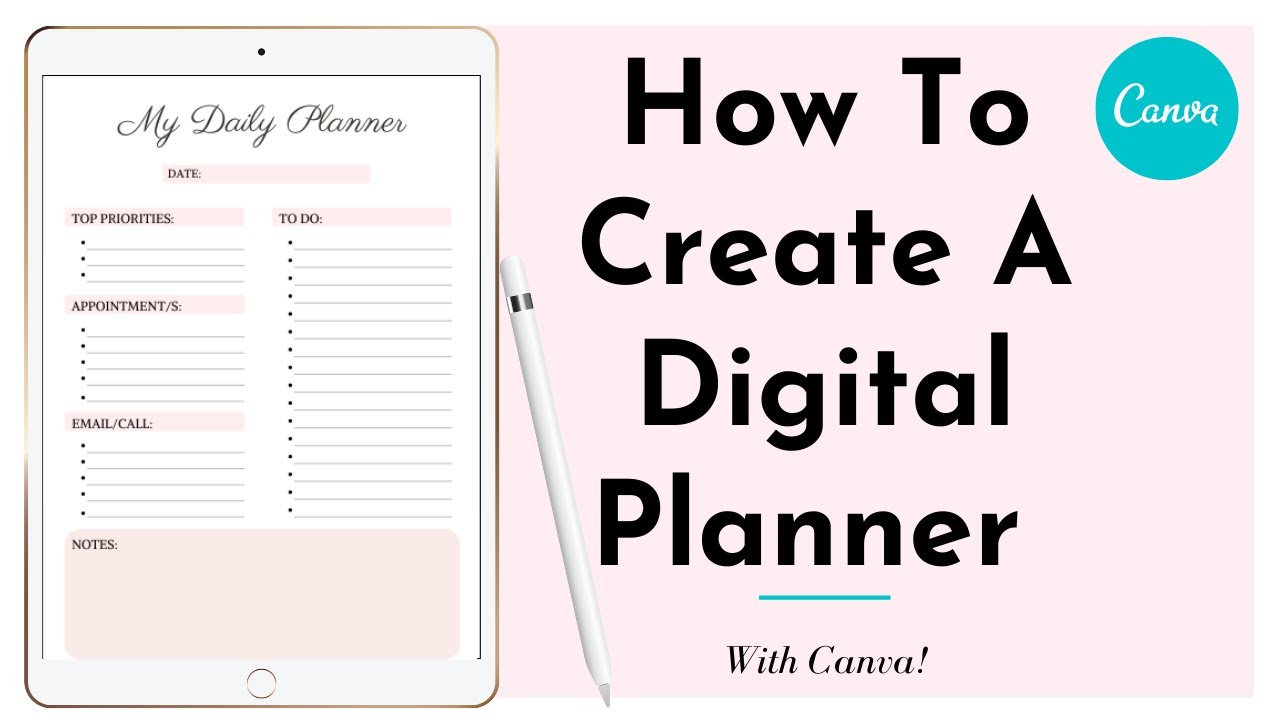
Before opening Canva, 3 decisions need to be made: which account tier to use, what planner type to build, and what page dimensions to set.
Canva Free vs. Canva Pro for Planner Design
Canva Free covers the basics, but certain features matter specifically for planner design.
| Feature | Canva Free | Canva Pro |
|---|---|---|
| Custom dimensions | Yes | Yes |
| Hyperlink tool | Yes | Yes |
| Brand Kit | No | Yes |
| Magic Resize | No | Yes |
| Premium fonts and elements | Limited | Full access |
For a basic personal planner, Canva Free works. For a planner you plan to sell or brand consistently, the differences between the free and paid tiers become more relevant, especially when working with consistent fonts and color palettes across many pages.
Choosing Your Planner Type
The 3 most common formats are daily, weekly, and monthly. Most sellers offer a hybrid that combines all three in a single document, with tab navigation between them.
Undated planners outsell dated ones on most platforms. They never go out of date, which means no annual redesign.
Page Dimensions to Use
Standard dimensions for GoodNotes and Notability compatibility:
- 8.5 x 11 inches (US Letter) for portrait layouts
- 11 x 8.5 inches for landscape layouts
- 2550 x 3300 px at 300 DPI for high-resolution export
Getting the DPI right matters if your planner will be used on high-resolution iPad displays or printed. 72 DPI is fine for screen-only use. 150-300 DPI is better for anything that might be printed or viewed on a Retina display.
Approximately 31% of Canva’s user base is aged 25-34 (DemandSage), which is the same demographic driving tablet planner adoption, particularly among students and young professionals.
—
How Do You Set Up the Canva Document for a Digital Planner

Document setup in Canva takes about 5 minutes if you know what to do. Most of the decisions here affect everything that comes later, so getting this right before designing any page saves a lot of rework.
Creating the Document
Click “Create a design” then “Custom size.” Enter your chosen dimensions. Do not use a pre-built Canva template as your starting point unless you’ve verified its dimensions match your target platform.
Pre-built templates often use social media or presentation dimensions. Those do not translate well to GoodNotes or Notability.
Setting Up the Background and Master Layout
Set your background color or texture on page 1 before duplicating any pages. Changing it later means updating every page individually.
A common approach used by planner sellers on Etsy is to create 3-5 “master” layout pages first, covering cover, monthly, weekly, daily, and notes. All subsequent pages are duplicates of these masters.
Canva users create an average of 38.5 million designs per day (Backlinko, 2024). A large share of those are multi-page documents, and bulk page duplication is one of Canva’s most used features for exactly this reason.
Organizing Pages to Match Planner Sections
Organize Canva pages in this order:
- Page 1: Cover page
- Page 2-3: Annual overview or introduction
- Pages 4-15: Monthly view pages (12 months)
- Pages 16-67: Weekly view pages (52 weeks)
- Pages 68+: Daily pages, tracker pages, notes
This page order matters because Canva’s hyperlink system links to specific page numbers. If you reorder pages after building links, every link breaks.
—
How Do You Design the Planner Layout and Pages in Canva

Layout design is where most first-time planner creators get slowed down. The goal is to build pages that are both visually consistent and practically usable on a tablet screen with a stylus.
Designing the Monthly View Page
Monthly view pages need a calendar grid, a notes area, and space for the navigation tabs.
Grid setup: Use Canva’s table element (Elements > Table) and set it to 7 columns x 5 rows. This gives you a standard month grid. Add day labels (Sun through Sat or Mon through Sun depending on your start day preference) as a header row above it.
Keep the write-on cells large enough for stylus input. A common mistake is sizing cells for aesthetic reasons rather than practical use. On a 9.7-inch iPad display, cells smaller than about 60px square become difficult to write in.
Designing the Weekly and Daily View Pages
Weekly pages typically use a 2-column or 7-column grid. The 2-column version gives more writing space per day. The 7-column version gives a better visual overview of the whole week.
For daily pages, a common layout includes:
- Time-blocked schedule (usually 6am-10pm in 30-minute increments)
- Priority task list (3-5 items)
- Notes section
- Habit tracker row at the bottom
Daily planner formats are among the top-selling categories on Etsy, particularly when combined with a habit tracker (Analyzify, 2024). Keeping that section visible on every daily page is worth the layout space it takes.
Designing the Notes and Tracker Pages
Notes pages are straightforward: lined, dotted, or blank, depending on your audience. Dotted grid is currently the most popular among bullet journal users and works well as a write-on surface in Notability.
Tracker pages vary more. A habit tracker built with a 7-column table and 30 rows covers one full month. A mood tracker typically uses a calendar-style layout with color-coded fill options, though in practice users manually color cells using their app’s pen tool.
Font and color decisions: use max 2-3 fonts total across the entire planner. One for headings, one for body labels, optionally one for accent text. Typography consistency across 100+ pages matters more than it does in a single-page design.
Understand basic color theory before locking in your palette. Analogous palettes (colors next to each other on the color wheel) tend to feel calm and cohesive, which is appropriate for a planner. High-contrast combinations work better for navigation tabs that need to stand out.
—
How Do You Create Clickable Tabs and Hyperlinks in Canva

Hyperlinks are what make a digital planner functional. Without them, it is just a PDF with pretty pages.
Canva’s link tool works on any element or text box. You select the element, click the link icon in the toolbar, and choose “Page in this design” from the dropdown. Then select the page number you want it to navigate to.
Designing the Tab System
Tab placement rules:
- Place tabs in the same position on every page (right edge or top edge are most common)
- Use a consistent tab shape across all pages, just change the active tab color
- Keep tabs at least 40px wide for reliable tap targeting on iPad
The most common tab layout uses vertical tabs on the right side, one tab per section. When the user is on the Monthly section, the Monthly tab is highlighted. All other tabs link to their respective sections. This requires manually updating the “active” tab color on each section’s pages.
It is tedious work. That is also exactly why well-built digital planners sell for $5-15 on Etsy while buyers spend hours trying to build their own.
Linking Logic and Page Numbers
Every tab on every page must link to a specific page number. If your Monthly section starts on page 4, every Monthly tab across the entire document links to page 4.
| Tab Label | Links To | Notes |
|---|---|---|
| Home / Cover | Page 1 | Always the same |
| Monthly | First monthly page | Month-to-month links go forward from here |
| Weekly | First weekly page | Week-forward navigation links within weekly section |
| Notes | First notes page | Simple, no sub-navigation needed |
Test every link in Canva’s preview mode before exporting. Links that work in preview usually survive the export process. Links that do not work in preview will definitely not work in the exported PDF.
—
How Do You Add Interactive Elements to a Canva Digital Planner

Most buyers expect 3 types of interactive elements: checkboxes, trackers, and write-on areas. What Canva can actually deliver and what annotation apps handle separately are two different things.
Checkboxes and Task Areas
Canva does not produce true interactive checkboxes that tick when tapped. What you can do is design checkbox shapes (small squares or circles) that serve as visual targets for the user’s pen tool inside GoodNotes or Notability.
Best approach: use Canva’s shape library to place small 16x16px squares in task list areas. Users then draw a checkmark or fill the box using their app’s pen or highlighter tool.
This is how almost all digital planner checkboxes work, including the ones on top-selling Etsy listings. The checkbox is decorative in the PDF. The interaction happens in the annotation app.
Habit Trackers and Goal-Setting Tables
Build these with Canva’s native table element. A 31-row x 7-column table works as a monthly habit tracker. Label the columns with day abbreviations (M, T, W, Th, F, Sa, Su) and leave rows numbered 1-31 for habit names.
Goal-setting templates typically use a simple box layout: one large box for the goal statement, a smaller box for the deadline, and a checklist area for milestones. These are easy to build with Canva’s shape and text tools.
The global digital planner market was projected to reach $3,578 million by the end of 2025, growing at an 8.8% CAGR (Cognitive Market Research). Tracker pages, specifically habit and wellness trackers, are among the top features driving that growth.
Write-On Areas
Designing for stylus input requires restraint. Many first-time planner designers fill pages with decorative elements and leave almost no blank space. That is backwards.
A write-on area should be:
- Clearly bounded (a box with a light border or subtle fill)
- Large enough for 3-5 lines of handwriting
- Free of background patterns or textures that compete with ink visibility
White space is not wasted space in a digital planner. It is where the functionality lives. A planner that is too decorated to write on is a wallpaper, not a planning tool.
—
How Do You Export a Canva Digital Planner as an Interactive PDF

This is the step most tutorials skip or underdevelop. Export settings determine whether the hyperlinks in your planner actually work.
Choosing the Right PDF Format
Canva offers 2 PDF export options: PDF Standard and PDF Print.
PDF Standard preserves hyperlinks. PDF Print does not.
This is the single most common reason digital planners end up non-functional after export. The setting is easy to miss because “PDF Print” sounds like the higher-quality option. It is higher quality for print output. But it flattens interactive elements, including every internal link you built.
Export Settings Checklist
Before clicking download:
- Format: PDF Standard (not PDF Print)
- Check the “Include hyperlinks” toggle (it must be on)
- Flatten PDF: only if you need to reduce file size significantly
- Compress images: useful if you used many photos; reduces download file size
File size affects buyer experience. A 50MB planner PDF is annoying to download and import into GoodNotes. Keep planner files under 20MB where possible by limiting photo use and compressing background images before uploading to Canva. You can use a PX to inches converter to verify image dimensions match your document setup before adding them.
Compatibility Testing Before Publishing
Test in at least 3 environments before selling or sharing:
- GoodNotes 5 or 6 on iPad (primary target for most buyers)
- Notability on iPad (second most common)
- Adobe Acrobat on desktop (for non-tablet users)
Links that work in Canva’s built-in preview do not always behave identically in every PDF reader. GoodNotes handles most Canva-linked PDFs without issues. Some older versions of Notability have had trouble with multi-level navigation structures, so test those specifically.
95% of Fortune 500 companies use Canva (TechRT, 2025). The design output quality expected from those teams is high. For a digital planner sold to individuals, the bar is lower, but a broken navigation system is a 1-star review regardless of how good the design looks.
How Do You Sell or Share a Digital Planner Made in Canva
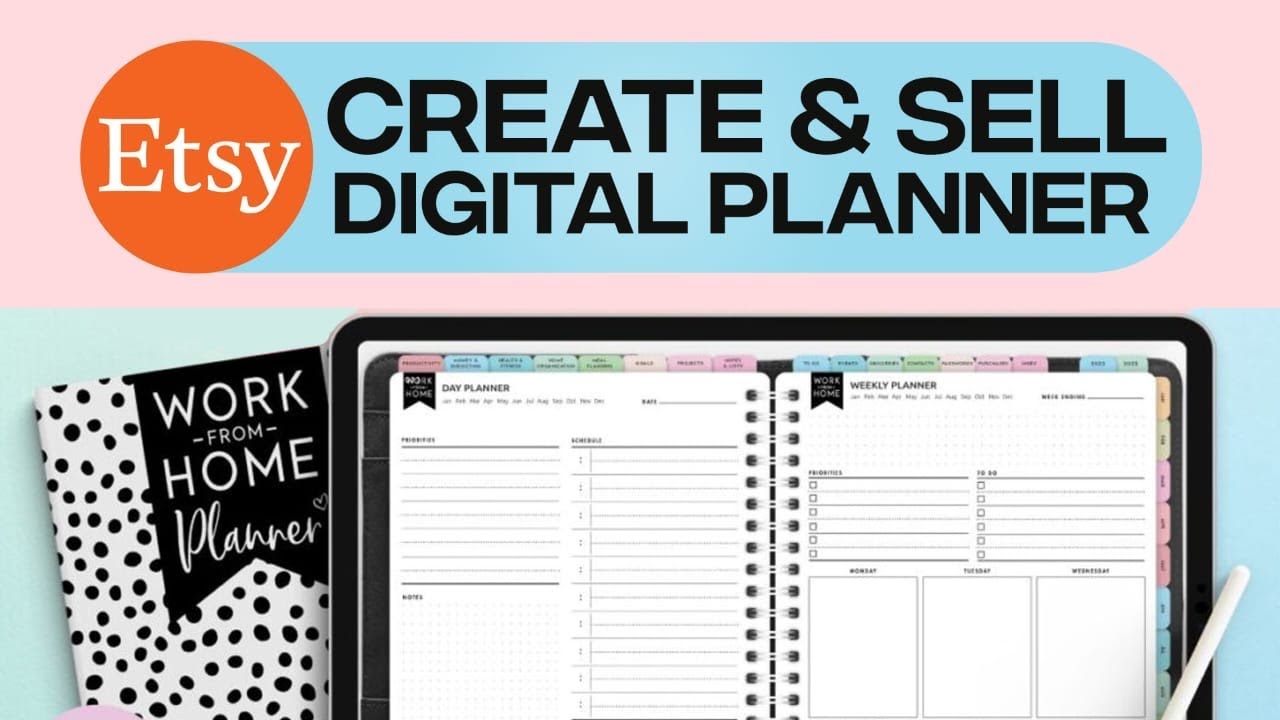
Digital planners built in Canva can be sold as exported PDF files or shared as Canva template links. Which option you use depends on whether your design includes Canva Pro content.
Digital products offer profit margins of 60% to 95%, compared to 20-30% for physical goods (Resell Ready, 2025). A digital planner PDF created once can sell indefinitely with zero additional production cost.
Canva’s Licensing Rules for Selling
What you can do:
- Sell planners as locked PDFs if they use only Free Content or your own uploaded assets
- Sell planners that include Pro Content, but only as editable Canva template links (not exported files)
- Sell to any buyer on any platform
What you cannot do: sell Canva stock elements on a standalone basis, or export a design containing Pro Content as a flat PDF for commercial sale (Canva Content License Agreement, 2024).
Most planner sellers on Etsy deliver a locked PDF. That is the safer, more practical option. Template link delivery works better for buyers who want to customize the design themselves.
Where to Sell Your Digital Planner
Etsy had 96.6 million active buyers in 2024 (Etsy financials), making it the largest built-in audience for digital planner downloads. The tradeoff is transaction fees and increasing competition in the planner category.
| Platform | Fee Structure | Best For |
|---|---|---|
| Etsy | $0.20 listing + 6.5% transaction | Built-in discovery traffic |
| Gumroad | 10% flat per sale | Creators with existing audience |
| Payhip | 5% on free plan, 0% on paid | Profit-first sellers |
| Creative Market | ~30% commission | Design-focused buyers |
One planner seller, Amma Rose Designs, generated $93,534 in Etsy revenue in a single year selling digital planners as PDF downloads (Amma Rose Designs blog). The model scales because the product never needs to be restocked or shipped.
Sharing for Personal or Team Use
For personal or team use, there are 2 options: share the Canva design link directly (gives edit access, only appropriate for trusted users), or share the exported PDF via Google Drive, Dropbox, or direct download.
Canva Pro users can also generate a template link, which lets recipients copy the design into their own Canva account without accessing the original. This is the right option when you want to share a usable version without giving edit access to your source file. Check out how to share Canva templates for the full walkthrough.
If you plan to sell Canva templates at scale across multiple platforms, keeping a clear record of which assets are Free vs. Pro Content in each design saves significant time if licensing questions come up later.
—
What Are the Most Common Mistakes When Making a Digital Planner in Canva
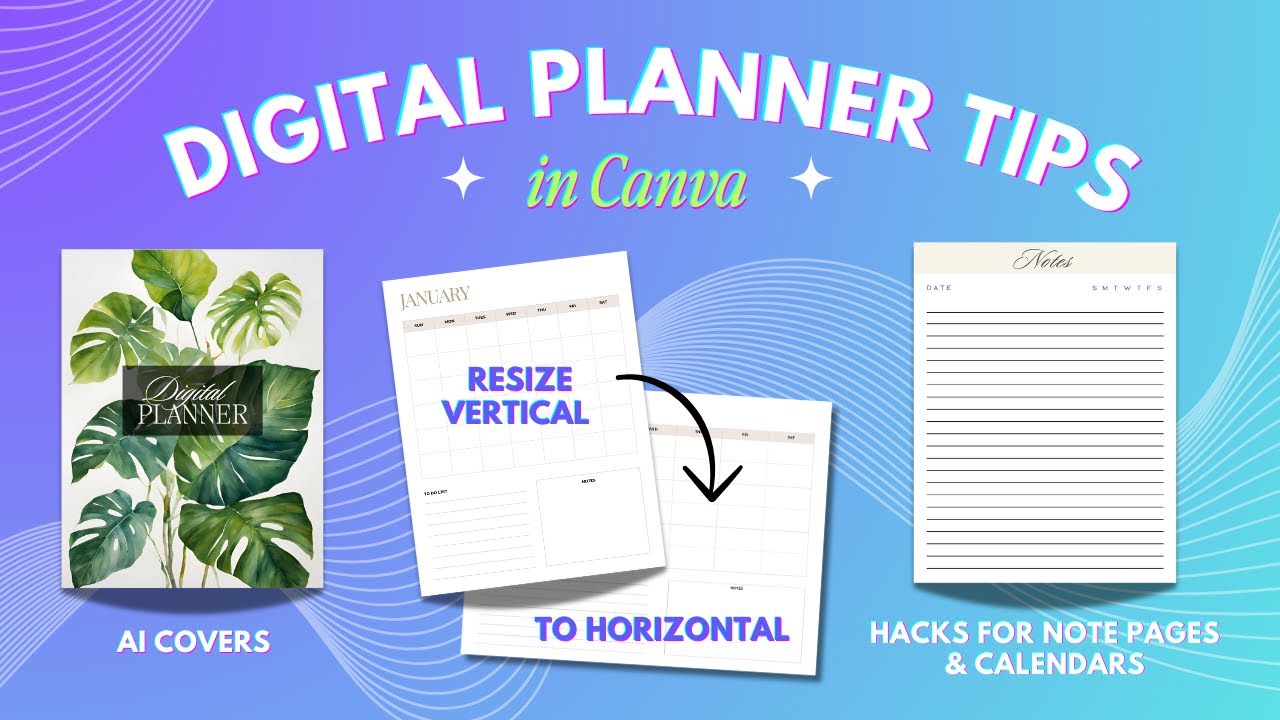
Most problems with Canva digital planners fall into 2 categories: broken navigation after export, and design choices that make the planner unusable on a tablet. Both are avoidable.
Wrong Export Format
Exporting as PDF Print instead of PDF Standard removes every hyperlink from the file. The planner looks identical on screen but all tab navigation stops working.
This is the most reported issue in digital planner communities (Make Digital Planners, 2024). The fix takes 30 seconds: re-export using PDF Standard with the “Include hyperlinks” toggle enabled. But finding it after you have already listed and sold the file is a much bigger problem.
Inconsistent Tab Placement Across Pages
Symptom: tabs appear to shift or jump as users swipe between pages.
Cause: tabs were copy-pasted but positioned manually on different pages, creating slight coordinate differences.
Fix: use Canva’s alignment tools and rulers to lock tab positions. Set the X and Y coordinates explicitly for each tab group, then use those same values when placing tabs on new pages. Alignment in a multi-page document is not just visual, it directly affects usability when navigating between pages on a tablet.
Canva Free Restrictions Mid-Project
Starting a complex planner on Canva Free and hitting Pro-only element or export restrictions halfway through is a common time sink.
Two situations cause this most often:
- A Pro font or element was added from a template or a shared design, and export is blocked until it is replaced
- The “Background Remover” tool (Pro-only) was used on an image that now needs replacing
Audit your element sources before starting a large project. If budget is a constraint, build entirely within the Free library from page one rather than mixing tiers. See the full breakdown of Canva Free vs Pro before committing to a design approach.
Overcrowding Pages with Decorative Elements
Too many decorative elements reduce the write-on surface. On a 9.7-inch iPad screen, a page with four decorative borders, two icon sets, and a texture background leaves almost no space for stylus input.
The visual hierarchy on each page should direct the user to the writing areas first, not to decorative borders. Good emphasis in planner design means making the functional areas the most visually prominent ones.
Rule of thumb: if more than 30% of a page’s surface area is non-writable due to decoration, redesign the layout.
Not Testing on the Target Device
GoodNotes 5, Notability, and Adobe Acrobat all handle PDF hyperlinks differently. A planner tested only in Canva’s preview or on a desktop PDF reader can fail in the app your buyers actually use.
GoodNotes 6 (updated August 2023) introduced a new interface that changed how some imported PDFs display page dimensions. Planners built before that update and not retested have generated customer complaints about page scaling on newer app versions.
The test takes under 10 minutes: import the exported PDF into GoodNotes, tap every section tab from 3 different pages, and verify the forward and back navigation within one weekly section. That covers roughly 80% of the navigation paths a buyer will use. For more on the full Canva workflow from design to delivery, saving your Canva design as a PDF correctly is where most issues start.
FAQ on How To Make A Digital Planner In Canva
Can you make a digital planner in Canva for free?
Yes. Canva Free supports custom dimensions, multi-page documents, hyperlinks, and PDF export. You can build a fully functional interactive PDF planner without a Pro subscription. The main limitations are fewer premium fonts, no Brand Kit, and restricted access to some elements.
What size should a digital planner be in Canva?
Use 8.5 x 11 inches for portrait layouts or 11 x 8.5 inches for landscape. Both formats work well in GoodNotes and Notability on iPad. Set resolution to 150-300 DPI if the planner may be printed or viewed on a high-resolution display.
How do you add clickable tabs to a Canva digital planner?
Select any shape or text element, click the link icon in the toolbar, and choose “Page in this design.” Assign each tab to its target page number. Repeat this on every page so tabs work consistently throughout the entire planner.
Why do hyperlinks stop working after exporting from Canva?
The most common cause is exporting as PDF Print instead of PDF Standard. PDF Print flattens the file and strips all interactive links. Always select PDF Standard and confirm the “Include hyperlinks” toggle is enabled before downloading.
Can you sell digital planners made in Canva?
Yes, with conditions. Planners using only Free Content can be sold as exported PDFs. Planners containing Pro Content must be delivered as Canva template links, not flat files. Selling Canva stock elements on a standalone basis is not permitted under Canva’s Content License Agreement.
What is the difference between a dated and undated digital planner?
A dated planner includes pre-filled calendar dates for a specific year. An undated planner uses blank date fields the user fills in manually. Undated layouts are more practical for sellers because they never go out of date and require no annual redesign.
Is Canva good for making digital planners compared to other tools?
Canva works well for most planner types. It handles multi-page documents, hyperlinks, and PDF export without requiring design experience. Tools like Affinity Publisher offer more control over data merge for dated layouts, but Canva covers the majority of use cases faster and with less setup.
How do you make a habit tracker in Canva?
Use Canva’s native table element. Set it to 7 columns and 31 rows to cover one full month. Label columns with day abbreviations and number the rows 1-31 for habit entries. Users fill cells using their annotation app’s pen or highlighter tool after import.
Which apps support digital planners exported from Canva?
GoodNotes 5 and 6, Notability, Adobe Acrobat, Xodo, and Samsung Notes all support PDF import and annotation. GoodNotes is the most common target for planner buyers. Always test the exported PDF in your intended app before sharing or selling it.
How many pages should a digital planner have?
A standard annual planner with daily, weekly, and monthly views typically runs between 300 and 500 pages. Undated planners with a 90-day layout average around 100-150 pages. Page count should reflect actual user needs, not a target number for its own sake.
Conclusion
This conclusion is for an article presenting a full workflow for building a functional, hyperlinked planner from scratch using Canva’s design tools.
Getting the document setup, page layout, and PDF Standard export right makes the difference between a planner that works in GoodNotes and one that frustrates buyers with dead tabs.
Undated planner templates, habit trackers, and clickable section navigation are what buyers actually pay for on platforms like Etsy and Payhip.
Canva handles all of it without requiring professional design software experience.
Follow Canva’s content license rules, test your interactive PDF on the target device, and the rest is execution.

Renowned for his expertise in logo design and visual branding, Bogdan has developed a multitude of logos for various clients.
His skills extend to creating posters, vector illustrations, business cards, and brochures. Additionally, Bogdan's UI kits were featured on marketplaces like Visual Hierarchy and UI8.
He also wrote in the past years on sites like Design Your Way, WebDesignerDepot, WPDean, Designmodo, Speckyboy, Slider Revolution, and more.
- Canva vs PowerPoint: Which Is Better for Presentations? - 22 September 2026
- How to Install Fonts on Mac (Step-by-Step Guide) - 20 September 2026
- From Mockup to Code: How AI-Augmented Development Speeds Up the Design Handoff - 19 September 2026

Bogdan Sandu is a seasoned designer who has been designing websites since 2008. Renowned for his expertise in logo design and visual branding, Bogdan has developed a multitude of logos for various clients. His skills extend to creating posters, vector illustrations, business cards, and brochures. Additionally, Bogdan's UI kits were featured on marketplaces like Visual Hierarchy and UI8. He also wrote in the past years on sites like Design Your Way, WebDesignerDepot, WPDean, Designmodo, Speckyboy, Slider Revolution, and more.
You Might Also Like