


Making a poster in PowerPoint transforms Microsoft’s presentation software into a poster design tool without specialized programs. Users need this when preparing academic presentations, event announcements, or marketing materials.
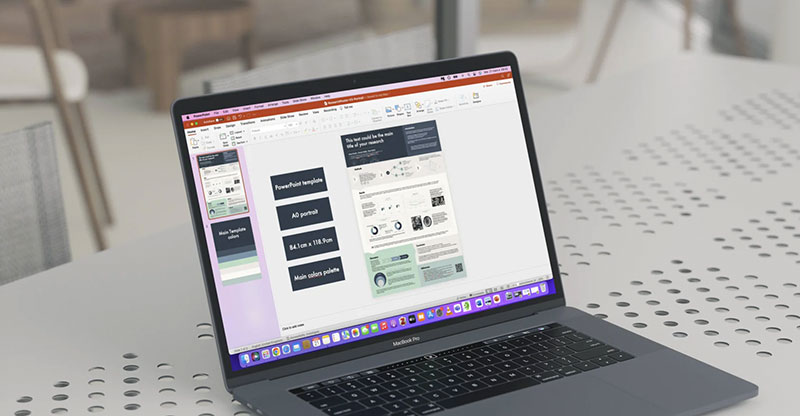
This guide covers 8 steps requiring 20-30 minutes and PowerPoint 2016 or later.
Prerequisites
You’ll need a few things before starting:
- Microsoft PowerPoint (2016, 2019, 2021, or Microsoft 365 version)
- Basic PowerPoint navigation skills
- 20-30 minutes
- Poster content ready (text, images, data)
- Design resources like fonts or stock images (optional)
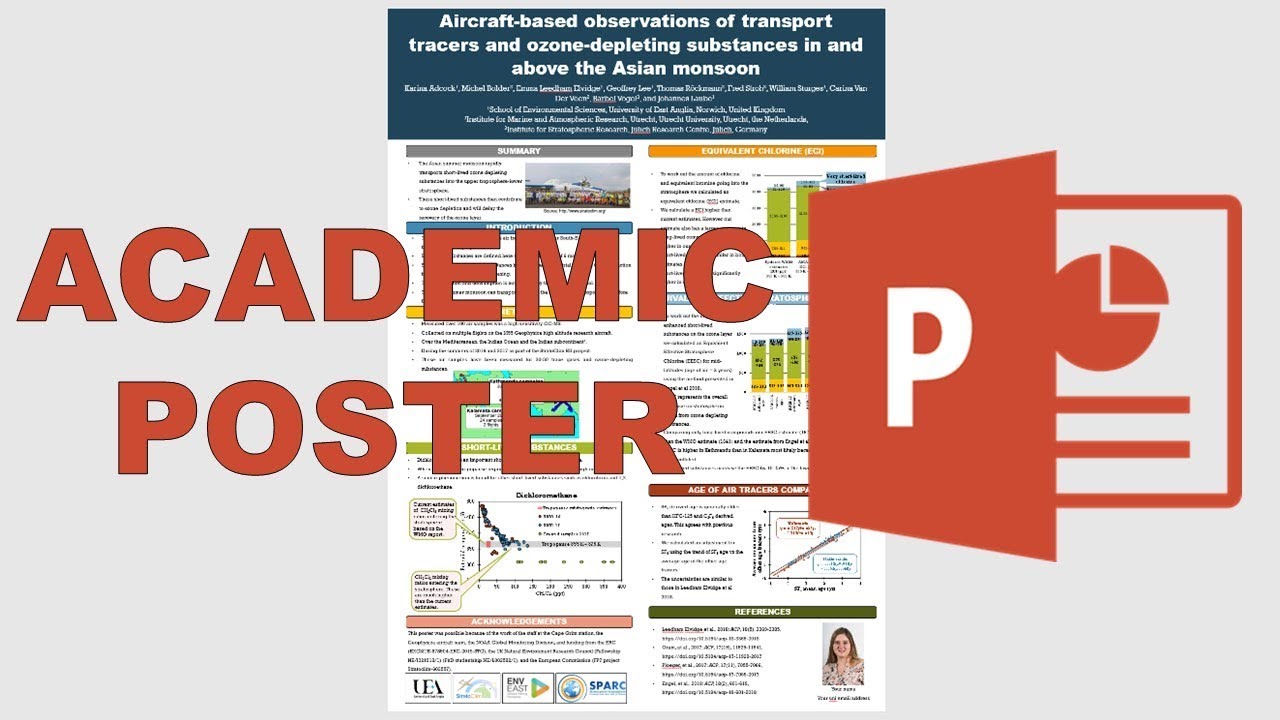
Step 1: How Do You Set Up the Poster Dimensions?
Custom slide size determines your poster dimensions and print quality. PowerPoint defaults to standard presentation size, but posters require specific measurements.
Action:
- Design tab > Slide Size > Custom Slide Size
- Enter width and height (common sizes: 24×36 inches, 36×48 inches, 18×24 inches)
- Select Portrait or Landscape orientation
- Click OK > Ensure Fit (maintains content proportions)
The slide canvas updates to your custom dimensions. You’ll see the exact poster size on screen.
Purpose: Incorrect dimensions waste time redesigning and cause printing issues. Setting size first prevents layout problems later.
Step 2: How Do You Choose the Poster Background and Color Scheme?
Background establishes visual foundation and affects readability. The right color scheme sets mood and organizes information hierarchy.
Action:
- Design tab > Format Background (right panel opens)
- Solid fill or Gradient fill > select colors
- Picture or texture fill > Browse for images
- Apply to All (affects entire poster)
Background appears across the full slide. Text and images layer on top.
Purpose: Strong backgrounds create visual hierarchy and guide viewer attention. Poor choices reduce text readability.
Step 3: How Do You Add and Format the Poster Title?
Title formatting controls first impression and information priority. Viewers read titles before anything else on your PowerPoint poster.
Action:
- Insert tab > Text Box > click and drag at top of slide
- Type title text
- Home tab > Font size 72-120pt, font weight Bold, center alignment
- Font color > high contrast with background
Title appears prominent and readable from distance. Size varies based on total poster dimensions.
Purpose: Titles communicate topic instantly. Proper typographic hierarchy separates title from body content.
Step 4: How Do You Insert and Arrange Content Sections?
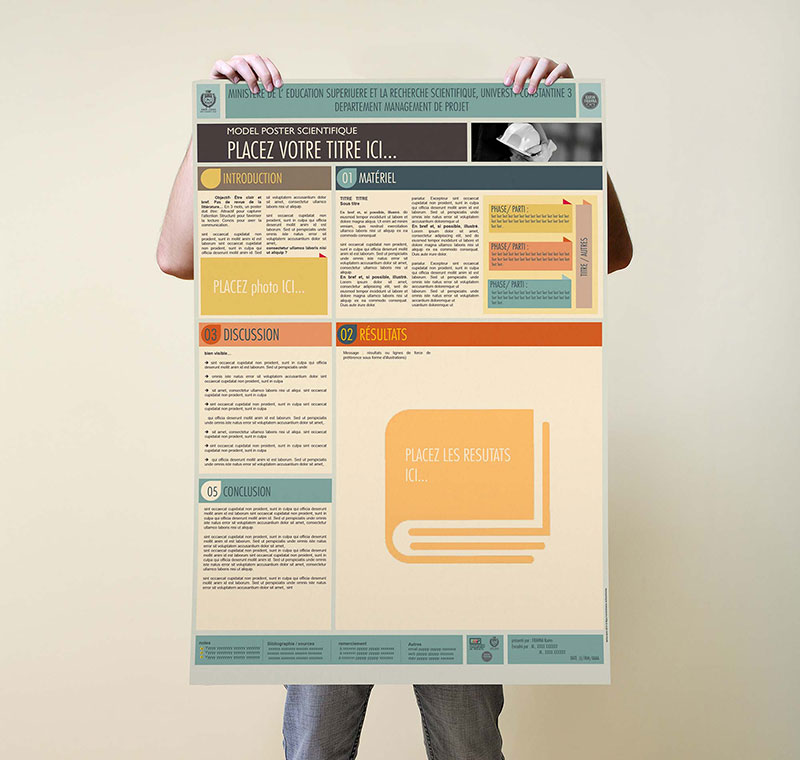
Section organization transforms raw content into scannable layout. Multiple text boxes create distinct information zones instead of one crowded block.
Action:
- Insert tab > Text Box > create separate boxes for each section (Introduction, Methods, Results, Conclusions)
- Format tab > Align > Align Left/Center/Right (standardizes edges)
- Arrange > Distribute Vertically/Horizontally (equal spacing between sections)
- Apply white space between sections (minimum 0.5 inches)
Sections appear organized with consistent spacing. Each content block stands independent.
Purpose: Structured sections improve information flow. Proximity groups related content while spacing separates different topics.
Step 5: How Do You Add Images and Graphics?
Images support text content and break visual monotony. High resolution ensures sharp printing for academic posters and event materials.
Action:
- Insert tab > Pictures > This Device (browse local files) or Stock Images
- Click image > Picture Format tab appears
- Crop tool (Picture Format > Crop) > adjust to desired area
- Size and Position (right-click image > Size and Position) > set exact dimensions, maintain aspect ratio lock
- Verify resolution: right-click > Format Picture > Size > Resolution shows DPI (300 DPI minimum for print, 150 DPI acceptable for digital display)
Images appear at specified size with clear quality. JPEG format works for photos, PNG for graphics with transparency.
Purpose: Visuals communicate data faster than text alone. Poor resolution creates pixelated, unprofessional output when printed large format.
Step 6: How Do You Apply Design Elements and Shapes?
Shapes add visual interest and organize information. Design elements create borders, callouts, and decorative accents that guide viewer attention.
Action:
- Insert tab > Shapes > select rectangle, circle, arrow, or callout
- Click and drag on slide to draw shape
- Shape Format tab > Shape Fill (color), Shape Outline (border color/thickness), Shape Effects (shadow, glow, reflection)
- Arrange > Send to Back/Bring to Front (layer shapes behind or above text/images)
Shapes appear with selected formatting. Layer multiple shapes to build complex designs.
Purpose: Strategic shape use creates focal points and separates content zones. Emphasis through shape framing highlights critical data.
Step 7: How Do You Review and Adjust Poster Layout?
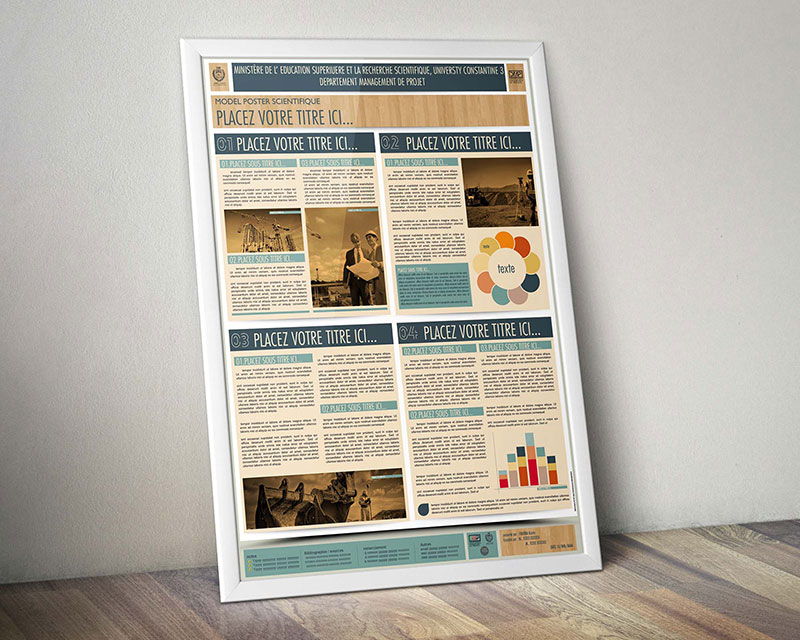
Layout refinement ensures professional appearance. Misaligned objects and inconsistent spacing damage credibility, especially for research posters.
Action:
- Click slide background > Ctrl+A (selects all objects)
- Arrange > Align > Align to Slide (sets reference point)
- Align Left/Center/Right or Align Top/Middle/Bottom
- Distribute Horizontally or Distribute Vertically (equal spacing between three or more objects)
- View tab > Gridlines and Guides (visual alignment aids)
Objects snap to consistent positions. Grid systems create orderly structure.
Purpose: Precise alignment signals attention to detail. Balance prevents lopsided or cluttered appearance.
Step 8: How Do You Save and Export the Poster?
Export format determines final quality. PDF format preserves layout across devices, while PNG/JPEG work for digital displays or lower-cost printing.
Action:
- File > Save As > choose location > Save as type: PowerPoint Presentation (.pptx) (preserves editability)
- File > Export > Create PDF/XPS Document > Options button
- Quality: Standard (150 DPI) for screen, High quality (300 DPI) for print
- Alternatively: File > Save As > Save as type: PNG or JPEG > every slide exports as separate image file
- For PNG/JPEG: Tools > Compress Pictures > use High Fidelity (220 ppi) or Print (220 ppi) compression
File saves to selected location. PDF maintains fonts and layout; PNG/JPEG become static images at specified resolution.
Purpose: Correct export prevents quality loss. Print requires 300 DPI minimum; digital display accepts 150 DPI. RGB suits screens, CMYK suits commercial printing.
Verification
Confirm the poster meets requirements before printing or presenting.
Check dimensions match printer specifications (common mistake: designing 36×48 when printer maxes at 36×24). Verify text readability at actual size (zoom to 100% on screen, stand back 3-4 feet).
Confirm image resolution meets standards. Click each image > right-click > Format Picture > Size shows current DPI.
Review color accuracy on different screens. Colors shift between monitors; test on multiple devices if color precision matters.
Troubleshooting
Issue: Images appear pixelated or blurry
Insert > Pictures > select image > right-click > Format Picture > Size > verify image resolution shows 300 DPI minimum for print posters, 150 DPI acceptable for digital. Replace low-resolution images with higher quality versions.
Issue: Text boxes overlap or misalign
Select all objects (Ctrl+A) > Arrange > Align > Align to Slide > then Distribute Horizontally or Distribute Vertically. Manual dragging creates inconsistent spacing.
Issue: Poster doesn’t fit printer paper
Design > Slide Size > Custom Slide Size > verify dimensions match printer specifications. Common sizes: 24×36 inches, 36×48 inches, 18×24 inches. Contact print shop for exact requirements before designing.
Issue: Colors look different when printed
File > Options > Advanced > Print > select High quality color output. Color theory explains RGB (screens) vs CMYK (print) differences. Professional printers use CMYK color profiles; request color proof before final print run.
Issue: Text is too small to read from distance
Academic and conference posters require minimum font sizes. Title: 72-120pt. Section headings: 36-48pt. Body text: 24-32pt. Test readability by standing 4-6 feet from screen at 100% zoom.
Poster Design Variations
Different poster types serve different purposes. Format and content change based on intended use and audience.
Academic Research Poster
Dimensions: 36×48 inches or 42×56 inches (check conference requirements). Layout: Title at top, Abstract, Methods, Results, Conclusions sections in columns.
Font requirements: Title 72-120pt, section headings 36-48pt, body text 24-32pt minimum. Include university logo, author names, contact information.
Event Poster
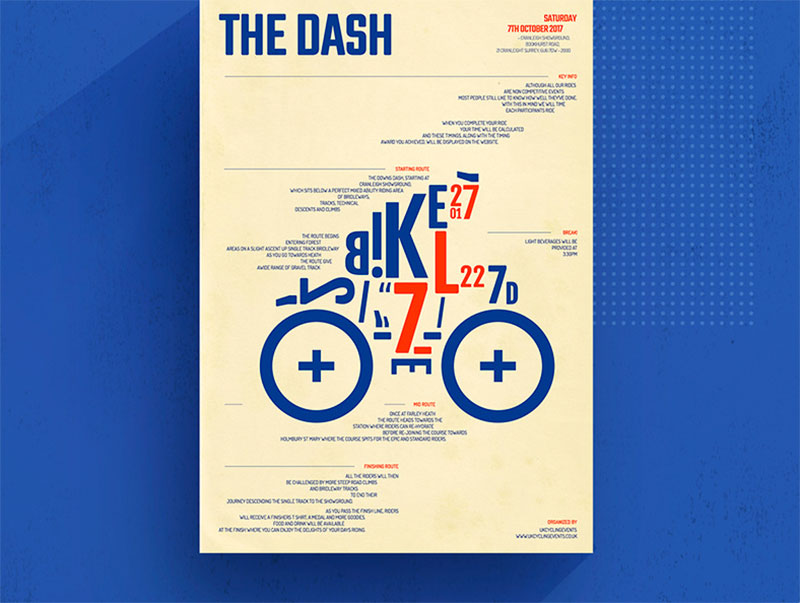
Dimensions: 11×17 inches (small venue), 18×24 inches (medium), 24×36 inches (large outdoor). Layout: Event title dominates top third, date/time/location middle, key visuals bottom.
Fonts for posters need high readability from distance. Bold sans-serif fonts work better than decorative script fonts for essential information.
Business Presentation Poster
Dimensions: Custom based on display location (trade show booth, office wall, storefront window). Layout: Company branding top, data visualization center, call-to-action bottom.
Follow brand guidelines for colors, fonts, logo placement. Typography must match corporate standards.
Related Processes
How to make a poster covers general design principles across all software. Poster sizes explains standard dimensions for different applications.
Make a poster in Word offers alternative method using Microsoft Word instead of PowerPoint. How to make a movie poster focuses on entertainment industry design requirements.
How to hang a poster and how to frame a poster handle display after printing. How to flatten a poster removes creases from rolled storage.
FAQ on How To Make A Poster In PowerPoint
What size should I make my PowerPoint poster?
Standard poster dimensions are 24×36 inches, 36×48 inches, or 18×24 inches. Academic posters typically use 36×48 or 42×56 inches.
Check your printer specifications before starting. Set custom slide size through Design tab > Slide Size > Custom Slide Size.
Can I print a PowerPoint poster at home?
Home printers max at 11×17 inches. Large format requires professional printing services.
Export as PDF format at 300 DPI for commercial printing. Most print shops accept PowerPoint files but prefer PDF to preserve layout and fonts.
What resolution do I need for printing a poster?
Print resolution requires 300 DPI minimum for sharp quality. Digital displays accept 150 DPI.
Verify image resolution by right-clicking > Format Picture > Size. Replace low-resolution images before exporting to prevent pixelated output.
How do I make text readable from a distance?
Title text needs 72-120pt sizing. Section headings require 36-48pt minimum.
Body text must be 24-32pt for conference posters. Test readability by viewing screen at 100% zoom from 4-6 feet away for accurate distance simulation.
Should I use RGB or CMYK colors?
RGB works for screens and digital displays. CMYK suits commercial printing.
PowerPoint defaults to RGB. Professional printers convert to CMYK, which may shift hue and saturation. Request color proof before final print run.
How many images should I include on a poster?
Three to six high-quality images work for most poster layouts. Too many creates clutter.
Each image needs 300 DPI resolution for print. Balance visuals with text using white space to prevent crowding.
What fonts work best for posters?
Bold sans-serif fonts provide maximum readability. Arial, Helvetica, Calibri work well.
Avoid decorative fonts for body text. Pairing fonts combines serif headings with sans-serif body text for visual interest.
How do I align objects perfectly in PowerPoint?
Select all objects (Ctrl+A) > Arrange > Align > Align to Slide. Then choose Align Left/Center/Right.
Use Distribute Horizontally/Vertically for equal spacing. Enable View > Gridlines for grid systems alignment assistance.
Can I add a QR code to my PowerPoint poster?
Generate QR code externally, then Insert > Pictures to add image. Position in corner or bottom.
Size QR code minimum 1×1 inch for scanning reliability. Test with phone camera before printing to verify functionality and readability.
How long does it take to make a poster in PowerPoint?
Simple poster design takes 20-30 minutes with prepared content. Complex academic posters require 2-3 hours.
Time increases with custom graphics, data visualization, and layout refinement. Using poster design templates reduces creation time significantly.
Conclusion
Learning how to make a poster in PowerPoint eliminates the need for expensive design software while delivering professional results. The process combines custom slide dimensions, strategic layout structure, and proper export settings to create posters for academic conferences, business presentations, or event promotions.
Master the eight steps and you’ll produce high-quality posters in 20-30 minutes. Focus on resolution requirements, graphic design principles, and proper file format selection based on your output needs.
PowerPoint’s built-in tools handle everything from typography to image manipulation. Test your poster at actual size before printing.
Start with clear content organization, apply consistent design elements, and verify technical specifications. Your next poster presentation starts now.
If you liked this article about how to create a poster in PowerPoint, you should check out this article about how to make a poster.
There are also similar articles discussing poster sizes, how to make a beer poster, how to make a wanted poster, and making a poster in Word.
And let’s not forget about articles on how to make a movie poster, how to hang a poster, how to frame a poster, and how to flatten a poster.

Renowned for his expertise in logo design and visual branding, Bogdan has developed a multitude of logos for various clients.
His skills extend to creating posters, vector illustrations, business cards, and brochures. Additionally, Bogdan's UI kits were featured on marketplaces like Visual Hierarchy and UI8.
He also wrote in the past years on sites like Design Your Way, WebDesignerDepot, WPDean, Designmodo, Speckyboy, Slider Revolution, and more.
- Canva vs PowerPoint: Which Is Better for Presentations? - 22 September 2026
- How to Install Fonts on Mac (Step-by-Step Guide) - 20 September 2026
- From Mockup to Code: How AI-Augmented Development Speeds Up the Design Handoff - 19 September 2026

Bogdan Sandu is a seasoned designer who has been designing websites since 2008. Renowned for his expertise in logo design and visual branding, Bogdan has developed a multitude of logos for various clients. His skills extend to creating posters, vector illustrations, business cards, and brochures. Additionally, Bogdan's UI kits were featured on marketplaces like Visual Hierarchy and UI8. He also wrote in the past years on sites like Design Your Way, WebDesignerDepot, WPDean, Designmodo, Speckyboy, Slider Revolution, and more.
You Might Also Like


