


Wrapping a poster is the process of securing rolled or flat artwork in protective material to prevent damage during storage or shipping.
Users need this when transporting prints, storing artwork, or sending posters as gifts.
This guide covers 6 steps for how to wrap a poster requiring 10-15 minutes and basic wrapping materials (tissue paper, bubble wrap, mailing tube or flat mailer).
Prerequisites
Before starting the poster wrapping process, gather these materials:
Required Materials:
- Poster or print (any size)
- Acid-free tissue paper or glassine paper
- Bubble wrap (small or large bubble)
- Mailing tube (for rolled shipping) or flat rigid mailer (for flat shipping)
- Packing tape or painter’s tape
- Scissors or box cutter
Optional Items:
- Rubber bands
- Twine or paper bands
- Silica gel packets for moisture control
- Fragile stickers
- Corner protectors
Time needed: 10-15 minutes for basic wrapping, 20 minutes for layered protection method.
No special skills required, though handling large format prints needs care.
Step 1: How Do You Prepare the Poster Surface Before Wrapping?
Clean the work surface with a lint-free cloth to remove dust and debris.
Lay the poster flat on the clean surface with the print face up.
Inspect for existing damage like creases, tears, or moisture spots that need documentation before packaging.
Surface Preparation:
- Work Area: Clear a space 12 inches larger than poster dimensions on all sides
- Poster Position: Place print face-up to check for curl direction and damage
- Damage Check: Note any existing creases, corner bends, or surface issues
Purpose: Clean surfaces prevent dirt transfer to artwork during handling and wrapping.
Checking curl direction helps determine if rolling or flat packaging works better for your specific print.
Step 2: Which Wrapping Method Should You Choose for Your Poster?
The wrapping method depends on poster size, material, and shipping distance.
Rolling Method works for flexible paper prints under 40×60 inches traveling short to medium distances.
Roll with print facing inward to protect the image surface from scratches.
Flat Shipping Method protects rigid prints, vintage posters, or artwork with texture that can’t roll.
Requires cardboard mailer sized 2 inches larger than poster dimensions.
Use flat shipping for poster design work printed on thick stock or mounted boards.
Decision Factors:
- Poster material: Paper rolls easily; cardboard needs flat packaging
- Print technique: Screen prints and typography with raised ink layer should stay flat
- Value: Expensive prints or signed artwork get flat shipping protection
- Distance: Local delivery allows rolling; international shipping needs rigid protection
Choose rolling for standard paper prints going domestic.
Pick flat shipping for valuable artwork, textured surfaces, or international postal service requirements.
Step 3: How Do You Wrap a Poster for Rolling?
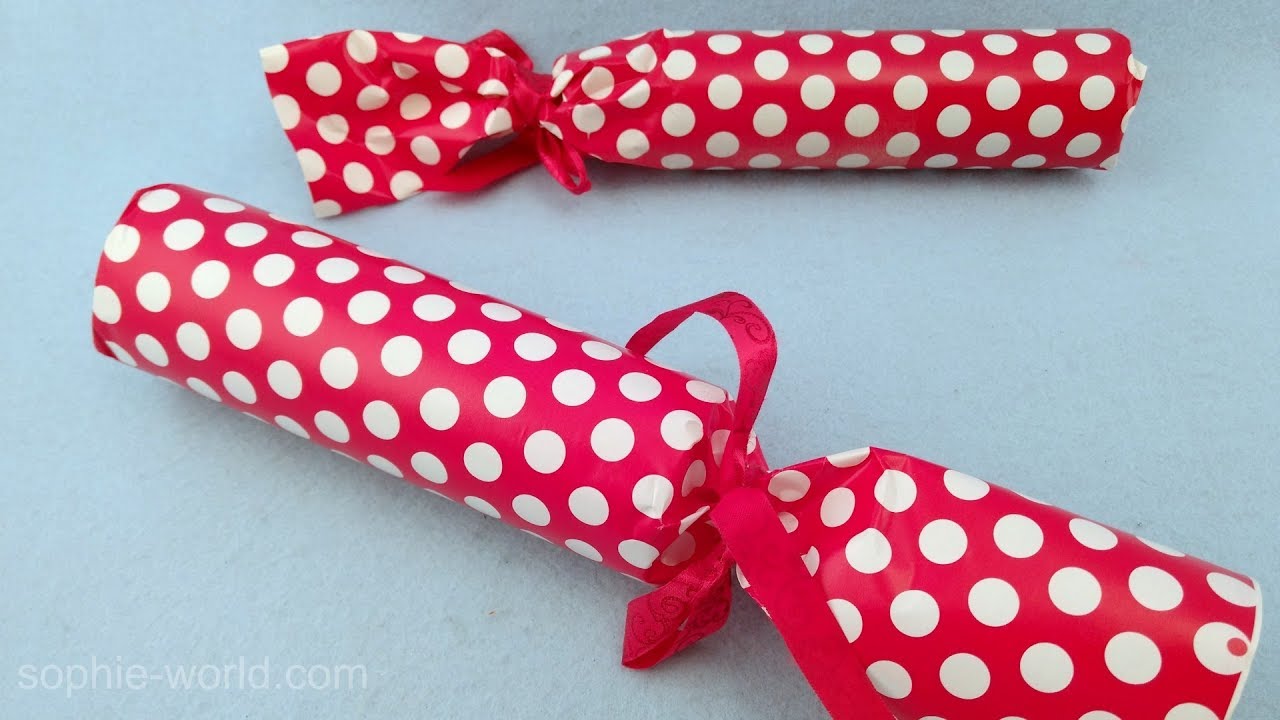
Place acid-free tissue paper on work surface, extending 4 inches beyond poster edges on all sides.
Center poster face-down on tissue paper.
Fold tissue paper over poster, creating a protective layer between print surface and outer wrapping.
Rolling Action:
- Starting Edge: Begin at one short end, rolling slowly and evenly
- Tension Control: Keep light, consistent pressure (avoid tight rolling that creates creases)
- Print Protection: Tissue paper stays between rolled layers, preventing surface contact
Roll diameter should be 3-4 inches minimum to prevent curl damage.
Larger diameter reduces stress on paper fibers.
Securing the Roll:
- Wrap rolled poster in bubble wrap layer (bubble side facing out)
- Secure bubble wrap with painter’s tape at 3 points (both ends and center)
- Apply paper band or rubber band 2 inches from each end
Purpose: Tissue paper barrier prevents print design surface scratches during rolling and shipping.
The rolling technique distributes stress evenly across the poster, avoiding concentrated crease points.
Step 4: How Do You Secure a Rolled Poster Inside a Mailing Tube?
Select cardboard tube 2-4 inches longer than rolled poster length.
Tube diameter should be 1 inch larger than roll diameter for easy insertion.
Insert rolled and wrapped poster into tube, centering it so equal space remains at both ends.
Tube Preparation:
- Size Check: Tube interior diameter = roll diameter + 1 inch clearance
- Length Requirement: Tube length = poster length + 4 inches (2 inches each end)
- End Caps: Plastic end caps that fit tube diameter securely
Securing Process:
- Slide wrapped poster into tube from one end
- Add crumpled tissue paper or bubble wrap at both ends (fills 2-inch gap)
- Press plastic end caps onto tube ends until they click or seal firmly
- Wrap packing tape around end cap edges (creates moisture barrier)
Filling empty space prevents poster movement during transport.
End cap tape seal blocks moisture and dust entry.
Purpose: Tube provides rigid exterior protection against crushing and impact damage.
Proper sizing prevents poster sliding inside tube, which causes friction damage to print surface.
Step 5: How Do You Wrap a Poster for Flat Shipping?
Place poster between two sheets of acid-free tissue paper or glassine paper.
Position this sandwich inside rigid flat mailer or between two pieces of cardboard cut 1 inch larger than poster dimensions.
Tape cardboard pieces together on all four edges with packing tape.
Flat Wrapping Action:
- First Layer: Place poster face-up on acid-free tissue paper
- Second Sheet: Cover with another tissue paper sheet
- Cardboard Backing: Slide tissue-wrapped poster into flat mailer or between cardboard sheets
- Corner Protection: Add foam corners or cardboard corner protectors (cut from scrap cardboard at 45-degree angles)
Edge Sealing:
- Align cardboard edges evenly (no overhang)
- Run packing tape along all four edges
- Add second tape layer perpendicular to first at corners (creates X-pattern reinforcement)
Purpose: Flat packaging prevents rolling stress on thick paper stock or textured prints.
Rigid backing distributes impact force across entire poster surface rather than creating pressure points.
This method works for packaging design samples and presentation boards that can’t bend.
Corner protectors prevent edge damage, the most common flat-shipping issue.
Step 6: How Do You Seal and Label the Package?
Apply shipping label to flattest surface of package where label won’t curl or peel.
Position label 3 inches from any edge to prevent damage during handling.
Add “Fragile” and “Handle With Care” stickers on two visible sides.
Sealing Process:
- Final Tape Check: Run packing tape over all seams (prevents moisture entry)
- Label Placement: Attach shipping label to tube cap or flat mailer center
- Fragile Markers: Place warning stickers on top and one long side
Labeling Details:
- Address Clarity: Print labels (handwriting smudges in rain)
- Return Address: Upper left corner or back of package
- Postal Requirements: Include tracking number for packages over $50 value
Tape over printed labels with clear packing tape creates moisture barrier.
Purpose: Proper sealing prevents water damage during transit, the second most common cause of poster damage after physical impact.
Clear labeling ensures postal service handlers recognize artwork needs careful handling.
Verification
Check package integrity before shipping to postal service or delivery company.
Verification Steps:
- Shake Test: Gently shake package (no movement or rattling sounds inside)
- Tape Inspection: All edges sealed with no loose corners or gaps
- Label Check: Shipping label readable, properly attached, covered with clear tape
- Size Confirmation: Package meets carrier dimension limits (USPS tubes max 108 inches length)
Hold tube vertically and listen for sliding sounds.
Silence confirms poster stays centered with adequate end padding.
Weight Verification:
- Standard poster tube: 1-3 pounds
- Flat mailer with cardboard: 2-5 pounds
- Overweight packages need additional postage
Measure package dimensions and weight before buying shipping labels.
Postal service requirements vary by carrier (FedEx, UPS, Royal Mail have different size limits).
Troubleshooting
Poster Develops Creases During Rolling
Issue: Creases appear when rolling poster too tightly or with uneven tension.
Solution: Unroll poster, lay flat for 2 hours under light weight (books work), re-roll with 4-inch minimum diameter using consistent light pressure across entire width.
Roll slower (30 seconds for full poster) to maintain even tension.
Corners Bend or Curl During Flat Wrapping
Issue: Corner damage occurs when cardboard mailer flexes during handling or poster wasn’t centered properly.
Solution: Cut cardboard corner protectors from scrap material (2-inch right triangles), tape to all four corners before inserting into mailer, use double-layer cardboard backing for posters over 24×36 inches.
Foam corners from packaging supplies provide better protection than cardboard for valuable prints.
Moisture Damage in Tissue Paper
Issue: Condensation forms inside tube or mailer when shipped through temperature changes.
Solution: Add two silica gel packets (one at each end of tube or one in flat mailer), seal package completely with packing tape, avoid shipping during rainy season when possible.
Moisture-proof wrapping like polyethylene film replaces tissue paper for international shipping or humid climates.
Prevention: Store wrapped posters in climate-controlled space before shipping.
Tube End Caps Pop Off During Shipping
Issue: End caps separate from tube due to insufficient sealing or wrong cap size.
Solution: Wrap two layers of packing tape around cap-tube junction (creates mechanical lock), verify cap diameter matches tube exactly before purchase, add tape X-pattern across cap surface for additional security.
Test cap seal by pulling firmly before adding tape.
Poster Slides Inside Oversized Tube
Issue: Tube diameter too large allows poster movement causing friction damage to print surface.
Solution: Add crumpled bubble wrap or tissue paper around poster circumference before tube insertion, reduce tube diameter by rolling corrugated cardboard sheet and inserting inside tube, or switch to properly sized tube (1-inch clearance maximum).
Movement causes more damage than slightly snug fit.
Related Processes
After wrapping posters, consider these related tasks:
Hanging posters requires proper wall mounting techniques to avoid damage.
Framing posters adds protective glass or acrylic covering for long-term display.
Flattening rolled posters removes curl and creases from stored prints.
Mounting posters on foam board creates rigid backing for presentation or display purposes.
Creating Original Artwork:
Making posters from scratch involves design software and printing techniques.
Understanding poster sizes helps select proper wrapping materials and shipping containers.
Best fonts for posters impact readability when creating custom artwork for shipping.
Specialty Poster Projects:
Creating movie posters requires specific dimension and resolution standards.
Making wanted posters follows unique format conventions.
Storage Solutions:
Long-term artwork preservation requires acid-free materials and climate control.
Professional archival sleeves protect valuable prints better than standard tissue paper.
Museum board and conservation materials prevent yellowing and deterioration over decades.
FAQ on How To Wrap A Poster
What materials do I need to wrap a poster for shipping?
You need acid-free tissue paper, bubble wrap, packing tape, and either a cardboard mailing tube or rigid flat mailer. Add scissors, corner protectors, and fragile stickers for complete protection during postal service transport.
Should I roll or ship my poster flat?
Roll flexible paper posters under 40×60 inches for domestic shipping. Ship flat for rigid prints, textured artwork, valuable pieces, or international destinations requiring maximum protection against impact damage and handling stress.
Which side of the poster faces inward when rolling?
Roll with the print face inward to protect the image surface from scratches. The tissue paper layer separates rolled sections, preventing direct contact between printed surfaces and creating a protective barrier throughout the rolled diameter.
How tight should I roll a poster?
Maintain a 3-4 inch minimum roll diameter to prevent curl damage and paper fiber stress. Roll slowly with light, consistent pressure across the entire width, taking 30 seconds for full poster length to avoid creases.
What size mailing tube do I need?
Select tubes 2-4 inches longer than poster length with interior diameter 1 inch larger than roll diameter. This clearance allows easy insertion while preventing excessive movement that causes friction damage during shipping.
How do I prevent moisture damage during shipping?
Add two silica gel packets inside the tube or flat mailer, seal all edges with packing tape, and cover shipping labels with clear tape. Polyethylene film replaces tissue paper for humid climates or international transport.
Can I reuse old mailing tubes for poster shipping?
Yes, if tubes show no crushing, moisture damage, or structural weakness. Clean interior surfaces, verify end caps fit securely, and confirm dimensions match poster requirements before inserting wrapped artwork for transport.
How much does it cost to ship a wrapped poster?
USPS tubes cost $8-25 depending on size and destination. FedEx and UPS charge $15-45 for similar dimensions. International shipping ranges $30-100 based on weight, dimensions, and delivery speed selected.
What’s the difference between acid-free and regular tissue paper?
Acid-free tissue paper contains neutral pH that prevents yellowing and deterioration of artwork over time. Regular tissue paper has acidic content that can damage prints during long-term storage or extended shipping periods.
How do I wrap an oversized poster larger than 40×60 inches?
Use flat shipping with double-layer cardboard backing cut to poster dimensions. Add foam corners, multiple tape reinforcements on edges, and clearly mark package as oversized artwork requiring special handling by postal service carriers.
Conclusion
Mastering how to wrap a poster protects artwork during storage and shipping while preventing common damage like creases, moisture exposure, and corner bends.
The choice between rolling and flat packaging depends on poster material, print technique, and destination requirements.
Acid-free tissue paper and bubble wrap create layered protection that shields prints from friction and impact during postal service transport.
Proper tube sizing prevents movement inside containers, while rigid flat mailers distribute pressure evenly across artwork surfaces.
Corner protectors and silica gel packets address the most frequent shipping problems before they occur.
Following these packaging methods reduces damage rates and ensures prints arrive in the same condition they left.
Whether sending gift posters or transporting valuable artwork, these protective packaging techniques work for standard prints and oversized formats alike.
Professional handling starts with proper wrapping materials and attention to dimension requirements for each carrier.

Renowned for his expertise in logo design and visual branding, Bogdan has developed a multitude of logos for various clients.
His skills extend to creating posters, vector illustrations, business cards, and brochures. Additionally, Bogdan's UI kits were featured on marketplaces like Visual Hierarchy and UI8.
He also wrote in the past years on sites like Design Your Way, WebDesignerDepot, WPDean, Designmodo, Speckyboy, Slider Revolution, and more.
- The Windsurf Logo History, Colors, Font, And Meaning - 10 October 2026
- How to Remove Background From Product Photos (No Photoshop) - 10 October 2026
- How Designers can Build a Stronger Online Creative Identity - 9 October 2026

Bogdan Sandu is a seasoned designer who has been designing websites since 2008. Renowned for his expertise in logo design and visual branding, Bogdan has developed a multitude of logos for various clients. His skills extend to creating posters, vector illustrations, business cards, and brochures. Additionally, Bogdan's UI kits were featured on marketplaces like Visual Hierarchy and UI8. He also wrote in the past years on sites like Design Your Way, WebDesignerDepot, WPDean, Designmodo, Speckyboy, Slider Revolution, and more.
You Might Also Like


