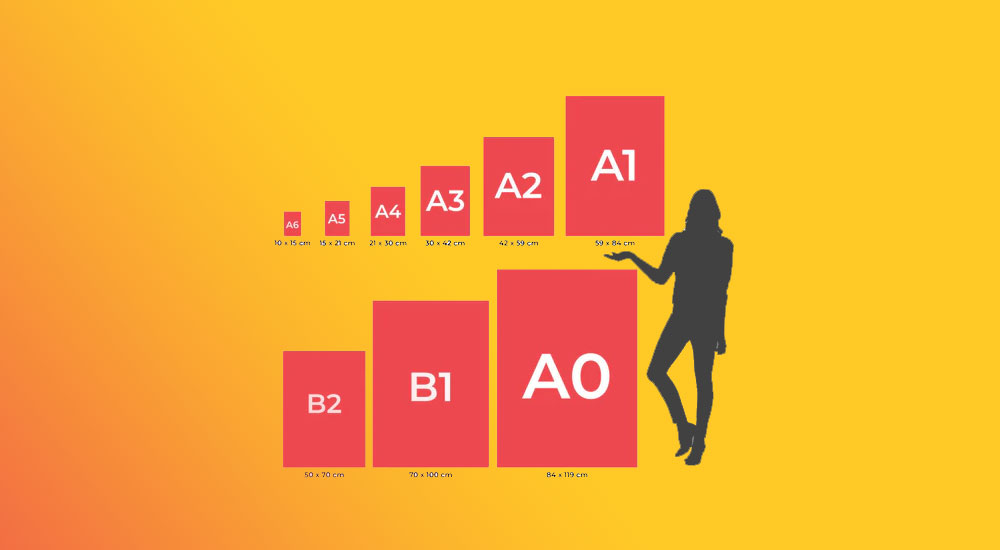
Poster framing is the process of mounting and securing a poster within a protective frame using glass or plexiglass, mat boards, and backing materials to preserve and display artwork.
Users need this when protecting valuable posters, creating professional displays, or matching room decor.
This guide covers how to frame a poster in 7 steps requiring 45-60 minutes and basic tools including frame, mounting materials, and cleaning supplies.
Prerequisites
Before starting, gather these materials:
Frame Components:
- Picture frame (sized to poster dimensions or larger for matting)
- Glass or plexiglass cut to frame size
- Backing board (foam core or chipboard)
- Mat board (optional, 2-4 inch borders)
Mounting Supplies:
- Acid-free photo corners or mounting tape
- Glazier points
- Framer’s tape
- D-ring hangers
- Picture wire
Tools:
- Microfiber cloth
- Glass cleaner
- Cotton gloves (prevents fingerprints)
- Point driver
- T-square (if cutting mat board)
Workspace:
- Flat surface larger than frame
- Clean, dust-free area
- Good lighting
Time requirement: 45-60 minutes
Skill level: Beginner
No prior framing experience needed.
Step 1: How Do You Prepare the Frame and Glass?
Clean frame components before assembly to prevent trapped dust between glass and poster. Remove all packaging, inspect for damage, and organize parts on your workspace.
Action:
- Disassemble frame: Remove backing clips, hanging hardware, and protective film from glass
- Clean glass thoroughly: Spray glass cleaner on both sides, wipe with microfiber cloth in circular motions until streak-free
- Inspect frame corners: Check for loose joints, chips, or splinters that could damage poster edges
- Wear cotton gloves: Handle glass by edges only to avoid fingerprints on cleaned surfaces
Purpose: Clean glass prevents visible dust particles and smudges from showing through the display. Frame inspection catches structural issues before you lock everything together. Starting with spotless materials means you won’t need to disassemble later.
Step 2: How Do You Measure and Cut the Mat Board?
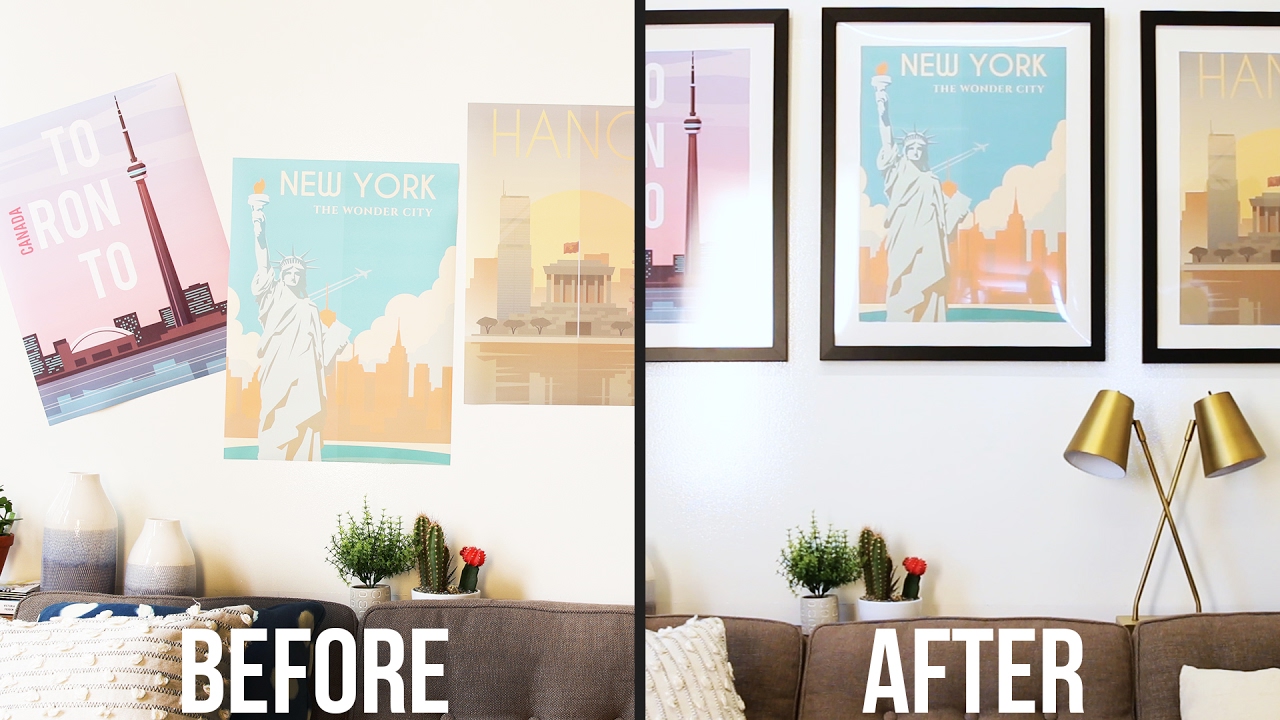
Mat board creates visual borders and covers poster edges by 0.25 inches on each side. Precise measurements prevent gaps or excessive overlap that looks unprofessional.
Action:
- Measure poster dimensions: Record exact width and height in inches using ruler
- Calculate mat opening: Subtract 0.5 inches from both poster width and height (this creates 0.25-inch overlap on all sides)
- Mark cutting lines: Place mat board face-down, use T-square and pencil to mark opening dimensions
- Cut with mat cutter: Position blade at 45-degree bevel angle, make smooth cuts along marked lines in single strokes
Purpose: The 0.25-inch overlap secures poster position while hiding any uneven edges. Beveled cuts at 45 degrees create professional-looking reveals that add depth to the presentation.
Skip this step if using frameless edge-to-edge display.
Mat board works best for prints with borders or formal presentations where you want gallery-style spacing.
Step 3: How Do You Position the Poster on the Backing Board?
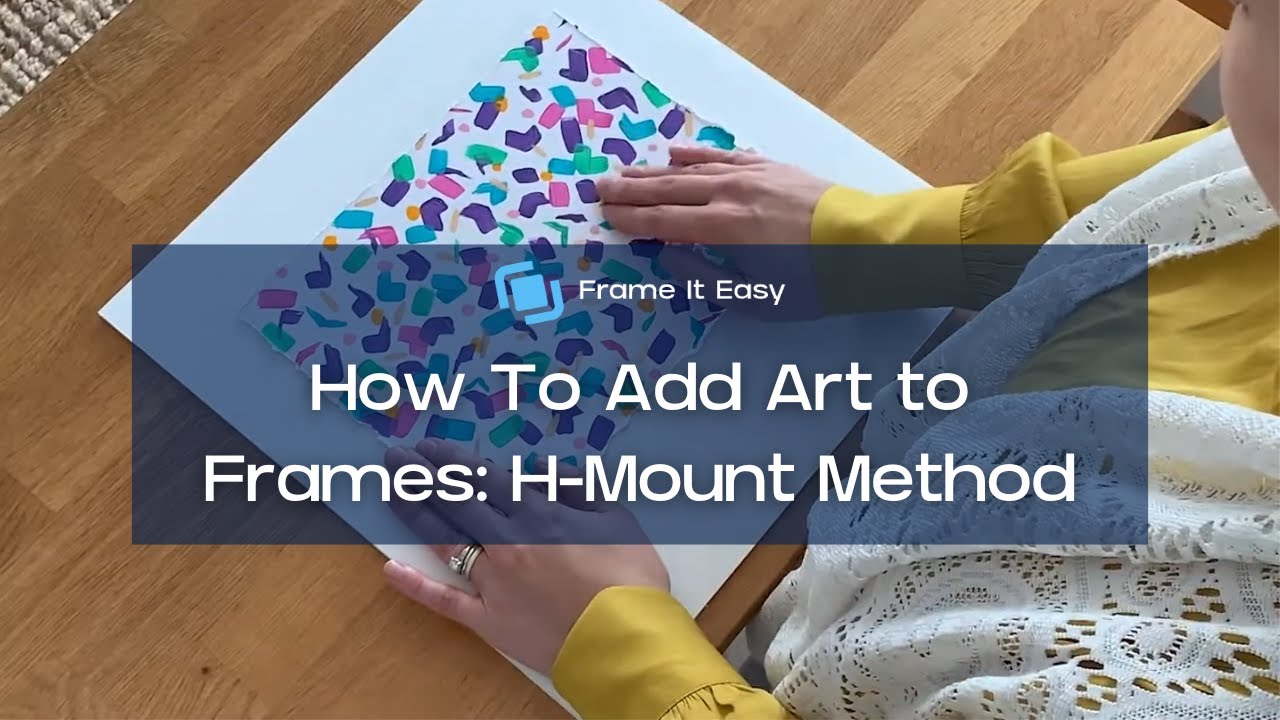
Centered positioning creates balanced visual presentation. Uneven margins look sloppy even with perfect framing technique.
Action:
- Place backing board flat: Position rough side facing up on clean workspace
- Center poster: Measure distances from poster edges to backing board edges, adjust until all margins match
- Mark corner positions: Use light pencil dots outside poster area as reference points
- Test with mat: Lower mat board over poster to verify alignment through opening before securing
Purpose: Equal margins on all sides create professional symmetry. Testing fit before permanent attachment prevents wasted mounting materials and poster damage from repositioning.
The focal point should sit centered within the mat opening.
Step 4: How Do You Attach the Poster to the Backing?
Acid-free mounting prevents chemical damage that yellows posters over time. Regular tape contains acids that degrade paper within months.
Action:
- Insert mounting corners: Slide acid-free photo corners onto all four poster corners, press adhesive side against backing board
- Apply hinging tape (alternative method): Place 2-inch strips of acid-free tape along top poster edge, fold half onto poster reverse and half onto backing
- Verify position: Check alignment through mat opening one final time before pressing down firmly
- Smooth surface: Starting from center, gently press outward toward edges to remove air bubbles without creasing poster
Purpose: Photo corners allow easy poster removal if needed later. Hinging tape provides stronger hold for larger prints. Both methods prevent permanent adhesive damage that ruins collectible value.
Never use regular tape, glue, or spray adhesive on posters you want to preserve.
Chemical-free mounting maintains poster condition for decades instead of years.
Step 5: How Do You Assemble the Frame Layers?
Correct layer sequence (glass, mat, poster, backing) protects artwork while creating proper depth. Wrong order causes poster wrinkles or mat damage.
Action:
- Place glass in frame groove: Lower cleaned glass into frame rabbet with smooth side facing inward, check for secure fit
- Add mat board: Center mat over glass, verify even spacing around all frame edges
- Position poster assembly: Lower backing board with mounted poster onto mat, check through glass that poster sits centered
- Insert final backing: Place protective backing board against poster backing to seal layers
Purpose: Glass protects poster from dust, moisture, and UV damage. Mat creates spacing that prevents poster from touching glass (contact causes moisture problems). Backing board seals the assembly and provides rigid support.
Each layer serves a function – skipping mat board for budget reasons works, but never skip glass protection or backing support.
The frame rabbet depth must accommodate total thickness of all layers.
Step 6: How Do You Secure the Frame Back?
Frame points hold backing in place while preventing dust entry. Framer’s tape seals edges against moisture and debris.
Action:
- Insert glazier points: Push metal points into frame back every 4-6 inches using point driver at 45-degree angle
- Seal with framer’s tape: Apply tape along entire backing board and frame joint perimeter
- Attach D-ring hangers: Screw D-rings at one-third height from frame top on both vertical sides
- Install picture wire: Thread wire through both D-rings, twist ends around wire leaving 2-inch tails, pull to test tension
Purpose: Points create mechanical hold that prevents backing separation. Tape blocks dust while allowing future disassembly if needed. D-rings positioned at one-third height distribute weight properly when frame hangs.
Wire should be taut but allow 2-3 inches of play when pulled upward.
Step 7: How Do You Perform Final Inspection?
Check assembly before wall mounting to catch errors while frame remains accessible. Disassembly after hanging wastes time.
Action:
- Clean glass exterior: Wipe front glass with microfiber cloth in circular motions to remove handling marks
- Inspect for debris: Hold frame at eye level under bright light, check between glass and mat for dust or fibers
- Test hanging wire: Pull wire upward with moderate force to verify secure attachment without D-ring movement
- Examine alignment: View frame from multiple angles to confirm poster centering and parallel edges
Purpose: Final inspection prevents wall-mounting a flawed assembly. Trapped debris shows clearly once frame hangs in permanent lighting. Wire failure after mounting risks poster damage.
Look for fingerprints, dust particles, uneven mat borders, or tilted poster position.
Verification
Hold frame at eye level under good lighting.
Poster should appear centered within mat opening with equal borders on all sides.
Glass should be streak-free without trapped debris between layers.
Frame back should sit flush with no gaps between backing board and frame edges.
Hanging wire should support frame weight without sagging below frame top edge when pulled.
Check corners for square alignment – frame shouldn’t appear crooked when hanging level.
Troubleshooting
Dust or Debris Trapped Between Glass and Poster
Disassemble frame layers by removing frame points with flathead screwdriver. Lift backing board and mat carefully. Use compressed air to blow debris from glass, mat, and poster surfaces without touching. Clean glass again with microfiber cloth. Reassemble in dust-free area away from open windows.
Poster Corners Visible Outside Mat Opening
Remove backing assembly without disturbing mat position. Reposition poster by moving 0.125 inches toward the visible corner. Check all sides through mat opening to verify 0.25-inch overlap on each edge. Re-secure mounting corners or hinging tape. Test fit before final assembly.
Frame Points Won’t Insert Into Hardwood Frame
Pre-drill pilot holes using 1/16-inch drill bit at 45-degree angle into frame back. Insert frame points into pilot holes with point driver. Space points 4 inches apart for hardwood frames (closer than standard 6-inch spacing). Avoid hammering points directly – splits wood.
Poster Appears Wavy or Buckled Behind Mat
Remove backing assembly and poster from frame. Place poster face-down on clean surface. Cover with heavy books distributed across entire poster area for 24 hours. Remount using mounting corners only at top two corners to allow natural paper expansion. Bottom corners remain free to prevent buckling from humidity changes.
Glass Shows Condensation or Moisture Spots
Indicates trapped moisture between glass and poster. Disassemble immediately to prevent mold growth. Remove all components and air-dry poster flat for 48 hours. Clean glass thoroughly and dry completely. Reassemble only when poster feels completely dry to touch. Consider using museum glass with UV protection for humidity-prone rooms.
Mat vs. No Mat Comparison
With Mat Board:
- Assembly time: 60 minutes total
- Visual impact: Professional gallery appearance with breathing room
- Best for: Limited edition prints, valuable posters, formal rooms, traditional decor
- Cost: $15-40 additional for pre-cut mat or DIY materials
- Protection: Extra spacing prevents poster contact with glass
Without Mat Board:
- Assembly time: 45 minutes total
- Visual impact: Modern edge-to-edge minimalist design look
- Best for: Large format posters, contemporary spaces, budget constraints, full-bleed artwork
- Cost: Eliminates mat expense entirely
- Protection: Requires careful spacing to avoid glass contact
Choose mat board when poster has white space borders or requires formal presentation.
Skip mat board when poster features full-bleed artwork or budget limits spending.
Mat board adds 2-4 inches to frame dimensions per side – factor this into frame size selection.
Frame Material Options
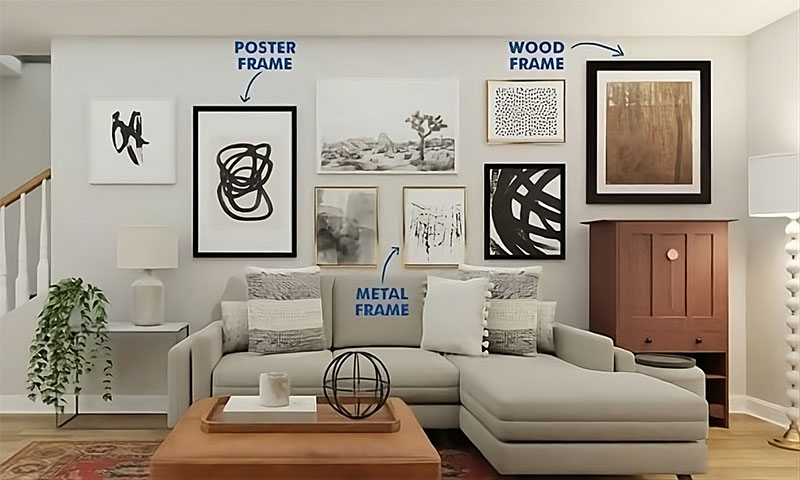
Wood Frames
Weight: 2-4 pounds for 24×36 poster
Durability: 10+ years with proper care, resistant to minor impacts
Style compatibility: Traditional, rustic, formal, Bauhaus design aesthetics
Cost: $30-100 depending on wood species (pine vs. walnut)
Maintenance: Wipe with dry cloth, avoid moisture exposure
Best for valuable posters requiring archival protection and classic presentation.
Metal Frames
Weight: 1-2 pounds for 24×36 poster
Durability: 15+ years, won’t warp in humid conditions
Style compatibility: Modern, industrial, Swiss design influence, minimalist spaces
Cost: $20-60 for aluminum construction
Maintenance: Clean with glass cleaner, resists scratches
Choose for high-traffic areas or contemporary decor where sleek profiles matter.
Plastic Frames
Weight: 0.5-1 pound for 24×36 poster
Durability: 3-5 years, prone to cracking at corners
Style compatibility: Casual, temporary displays, dorm rooms, rental properties
Cost: $10-25 for basic models
Maintenance: Fragile during cleaning
Use for temporary displays or frequently rotated artwork where permanence isn’t needed.
Glass vs. Plexiglass
Glass
Optical clarity: Superior with zero distortion at any viewing angle
Scratch resistance: High – withstands normal cleaning without damage
UV protection: Museum glass blocks 99% UV rays, standard glass offers minimal protection
Weight: 3-5 pounds for 24×36 size
Breakage risk: Shatters into sharp pieces on impact
Cost: $15-30 standard, $80-150 museum grade
Use glass for permanent installations where optical quality matters most.
Museum glass protects valuable posters from fading over decades.
Plexiglass (Acrylic)
Optical clarity: Good with slight distortion when viewed at sharp angles
Scratch resistance: Low – scratches easily during cleaning with wrong materials
UV protection: Acrylic blocks 98% UV rays in treated versions
Weight: 1-2 pounds for 24×36 size
Breakage risk: Cracks under pressure but doesn’t shatter
Cost: $20-40 for UV-protective acrylic
Choose plexiglass for children’s rooms, earthquake-prone areas, or large frames where weight matters.
Clean only with microfiber cloth and plastic-safe cleaner – paper towels scratch acrylic.
Related Processes
After framing your poster, proper hanging ensures level display without wall damage.
Flattening rolled posters before framing prevents permanent creases in the final display.
Mounting posters on foam board creates frameless displays for temporary presentations.
Wrapping posters properly protects them during transport or storage between displays.
Understanding poster design principles helps select appropriate frame styles that complement artwork.
Standard poster sizes determine frame dimensions needed for proper fit.
FAQ on How To Frame A Poster
What size frame do I need for a standard poster?
Most posters follow standard sizes like 18×24, 24×36, or 27×40 inches. Measure your poster’s exact dimensions before buying a frame.
Ready-made frames from IKEA or Michaels typically accommodate these common sizes. Custom framing works better for unusual dimensions.
Should I use glass or acrylic for poster protection?
Acrylic weighs less and won’t shatter, making it safer for large posters. Glass provides better clarity but adds weight.
UV protection glass prevents fading over time. Both materials work fine for most home framing projects, though acrylic suits oversized frames better.
Do I need a mat board when framing posters?
Mat board isn’t required but creates visual breathing room around your poster. It also prevents the print from touching the glass directly.
Acid-free materials protect your poster long-term. Double matting adds depth and looks more professional, especially for valuable prints.
How do I frame a poster without spending too much?
Buy ready-made frames during sales at craft stores. Skip custom framing unless your poster has odd dimensions.
DIY poster framing using frame kits from Amazon Basics saves money. You can also try frameless mounting with clips for a budget-friendly alternative.
What’s the best way to hang a heavy poster frame?
Use wall anchors or find studs with a stud finder for frames over 10 pounds. D-ring hangers distribute weight better than sawtooth hangers.
Picture wire works well for heavy frames. 3M Command strips handle lighter frames without damaging walls, perfect for renters.
Can I frame a poster myself at home?
Absolutely. Frame assembly takes basic tools like corner clamps and a measuring tape. Most frame kits include everything you need except the backing board.
Cut your own mat board using a utility knife and straight edge. The process gets easier after your first attempt.
How do I protect vintage posters during framing?
Conservation framing uses archival quality materials that won’t damage old paper. Avoid regular tape or adhesive directly on the poster.
Museum-quality backing prevents moisture damage. Consider professional framing for rare or valuable vintage prints worth preserving properly.
What hanging height works best for framed posters?
Hang frames so the center sits at eye level, roughly 57-60 inches from the floor. This follows standard gallery wall spacing.
Adjust based on your ceiling height and furniture placement. Group multiple frames using the rule of thirds for balanced visual hierarchy.
Should I use picture wire or sawtooth hangers?
Picture wire suits heavier frames and provides flexibility in positioning. Sawtooth hangers work fine for lightweight posters under 5 pounds.
D-ring hangers paired with wire offer the most secure hanging hardware option. They’re worth the small extra cost for peace of mind.
How do I prevent my poster from warping in the frame?
Use foam core backing or archival mounting board to keep posters flat. Ensure the frame depth accommodates both the poster and backing materials.
Avoid hanging frames in direct sunlight or humid areas. Proper frame assembly with corner joints keeps everything pressed tight and prevents shifting over time.
Conclusion
Learning how to frame a poster transforms a simple print into polished wall art. Whether you choose ready-made frames from Hobby Lobby or invest in custom frame size options, the right approach protects your investment.
Picture hanging becomes straightforward once you understand basic frame assembly techniques. Acid-free materials and proper glazing options prevent damage over time.
Budget framing options work fine for most projects. Professional framing makes sense for valuable prints requiring conservation-grade protection.
The tools needed are minimal. Corner clamps, backing board, and reliable hanging hardware get most jobs done.
Your posters deserve proper display. Start with one frame to build confidence, then tackle that stack of concert posters collecting dust in your closet.
If you liked this article about how to frame a poster, you should check out this article about how to make a poster.
There are also similar articles discussing poster sizes, how to make a beer poster, how to create a poster in PowerPoint, and how to make a wanted poster.
And let’s not forget about articles on making a poster in Word, how to make a movie poster, how to hang a poster, and how to flatten a poster.

Renowned for his expertise in logo design and visual branding, Bogdan has developed a multitude of logos for various clients.
His skills extend to creating posters, vector illustrations, business cards, and brochures. Additionally, Bogdan's UI kits were featured on marketplaces like Visual Hierarchy and UI8.
He also wrote in the past years on sites like Design Your Way, WebDesignerDepot, WPDean, Designmodo, Speckyboy, Slider Revolution, and more.
- The Windsurf Logo History, Colors, Font, And Meaning - 10 October 2026
- How to Remove Background From Product Photos (No Photoshop) - 10 October 2026
- How Designers can Build a Stronger Online Creative Identity - 9 October 2026

Bogdan Sandu is a seasoned designer who has been designing websites since 2008. Renowned for his expertise in logo design and visual branding, Bogdan has developed a multitude of logos for various clients. His skills extend to creating posters, vector illustrations, business cards, and brochures. Additionally, Bogdan's UI kits were featured on marketplaces like Visual Hierarchy and UI8. He also wrote in the past years on sites like Design Your Way, WebDesignerDepot, WPDean, Designmodo, Speckyboy, Slider Revolution, and more.
You Might Also Like