


Send a layered file to a print provider and you are rolling the dice.
Unresolved transparency, live blending modes, and stacked objects behave unpredictably once they hit a RIP. Colors shift. Elements disappear. White boxes appear where shadows used to be.
Knowing how to flatten layers for print is what separates a file that comes back looking exactly as designed from one that comes back at all.
This guide covers the full process across Adobe Photoshop, Illustrator, InDesign, and Affinity, plus how to flatten an existing PDF, what goes wrong during the flatten, and how to verify the file is actually print-ready before you send it.
What Is Flattening Layers for Print
Flattening layers means merging all the separate elements in your document into a single, unified background layer. No more individual objects, no more editable text layers, no more live effects sitting on top of each other.
This is different from simply merging a few layers together. Merge combines selected layers while leaving others intact. Flatten collapses everything into one.
The distinction matters a lot when you’re preparing files for print design.
How Flattening Differs from Merging
Merge: Combines two or more selected layers. Other layers stay separate and editable.
Flatten: Everything goes into one layer. The file is no longer editable in the traditional sense.
For print, you almost always want a full flatten. Partial merges can still leave transparency, blending modes, or live effects that cause problems at the RIP stage.
Raster vs. Vector Flattening
The behavior differs depending on your file type.
In raster files (Photoshop, TIFF), flattening combines pixel data. Every layer becomes part of a single pixel grid at whatever resolution you’ve set. At 300 DPI, this is fine for print. Lower than that and you’ll see quality issues.
In vector files (Illustrator, InDesign), flattening is more complex. Areas affected by transparency get rasterized during the process, turning sharp vector edges into pixel-based shapes. The Transparency Flattener in Illustrator controls how aggressively this happens.
Understanding which type you’re working with changes how you approach the flatten.
What Gets Lost When You Flatten
- Editable text layers (text becomes pixels or locked shapes)
- Live blending modes and opacity settings
- Adjustment layers and smart filters in Photoshop
- Linked Smart Objects
- Any layer that relied on transparency to create its effect
Save a working copy before you flatten. That’s not optional advice.
—
Why Print Workflows Require Flat Files
Most designers flatten because the print provider told them to. But understanding why makes it easier to do it correctly the first time.
RIP (Raster Image Processing) software is what translates your design file into actual print output. Both Fiery and Harlequin, the two dominant RIP platforms in commercial printing, interpret PDF data and convert it into dot patterns for the press.
The problem is that transparency and live blending modes are display-based concepts. They describe how pixels should look on screen. RIP software processes ink, not screen pixels. When it encounters unresolved transparency in a file, it has to make decisions about how to interpret it, and those decisions are not always what you intended.
Transparency and the RIP Problem
Design elements with transparency or overprint settings can behave unpredictably in CMYK output. They may disappear, shift, or blend incorrectly during the RIP stage. This is a well-documented issue across offset and digital print workflows.
Flattening before export removes that uncertainty entirely. You control how the transparency resolves. The RIP just processes the result.
OneVision, a print workflow automation company, notes that flattening or processing transparencies can be one of the most time-consuming steps in the entire print production process depending on file complexity. Leaving it to the RIP means leaving it to chance.
PDF/X Standards and What They Require
The two PDF/X formats you’ll encounter most often in print have very different approaches to transparency.
| Standard | Transparency Handling | Best For |
| PDF/X-1a | Fully flattened before export. No live transparency allowed. | Offset printing, older prepress workflows |
| PDF/X-4 | Live transparency preserved. Printer’s RIP handles it. | Modern digital presses, newer prepress systems |
If your print provider asks for PDF/X-1a, you must flatten before export. There is no way around it. PDF/X-1a was built on PDF 1.3, which has no native transparency support.
PDF/X-4 is the more forgiving format, but it still requires a capable RIP on the printer’s end. If you’re unsure what they’re running, flatten anyway.
Overprint and Knockout Issues
Overprinting tells ink to print on top of other ink. Knockout removes the underlying ink so the top color prints clean.
When layers are unflattened and transparency is unresolved, overprint and knockout settings can conflict. A black text element set to overprint looks fine on screen but may show a colored halo in print if the layers beneath it weren’t properly resolved. Flattening forces these relationships to be calculated before the file leaves your machine.
You can read more about this in detail in the guide on overprint vs knockout.
What Print Providers Actually Want
Most commercial print providers publish file spec sheets. Common requirements across offset, digital, and large-format shops include:
- Single-layer or flattened PDF
- CMYK color mode (no RGB)
- 300 DPI minimum for images
- All fonts embedded or outlined
- Bleeds included (typically 3mm or 0.125 inch)
Flatness is almost always on that list. When it isn’t explicitly stated, it’s usually assumed. If you’re unsure, ask before you send.
—
How to Flatten Layers in Adobe Photoshop
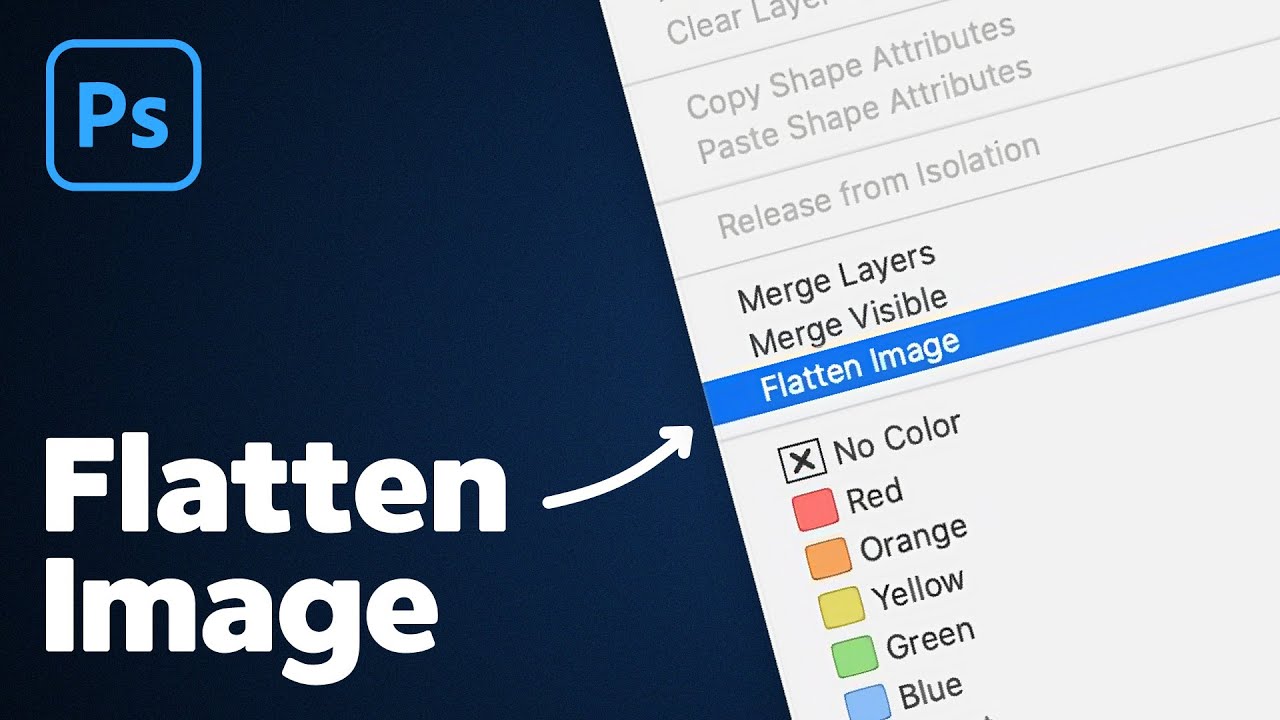
Photoshop is where most raster print files start and end. The flatten workflow here is the most straightforward of any Adobe app, but there are a few decisions worth understanding before you click anything.
Flatten Image vs. Merge Visible vs. Merge Down
These are three different commands. Using the wrong one causes real problems.
Flatten Image: Merges all visible and hidden layers into one background layer. Hidden layers get discarded. Use this when you’re done editing and ready for print export.
Merge Visible: Combines only the visible layers. Hidden layers remain separate. Useful mid-project but not a substitute for a full flatten before print.
Merge Down: Merges the selected layer into the one directly below it. Good for combining two specific layers. Not useful for print preparation on its own.
For print, Flatten Image is the one you want. It’s under Layer > Flatten Image.
Flattening Smart Objects and Adjustment Layers
Smart Objects don’t get flattened the same way as regular layers. When you run Flatten Image with a Smart Object in the stack, Photoshop rasterizes it, but the result may not match what you intended if the Smart Object had active filters or transformations applied.
The safer approach:
- Right-click each Smart Object in the Layers panel
- Choose Rasterize Layer
- Confirm the result looks correct at 100% zoom
- Then run Flatten Image
Adjustment layers work differently. They affect the layers below them without permanently changing pixel data. When you flatten, Photoshop bakes those adjustments into the underlying pixels. The color shift from a Curves layer gets permanently applied. That’s exactly what you want for print, but check the result before saving.
Color Mode and Resolution Before You Flatten
Check these before flattening, not after.
| Setting | Print Requirement | Where to Check |
| Color mode | CMYK (not RGB) | Image > Mode |
| Resolution | 300 DPI minimum | Image > Image Size |
| Bit depth | 8-bit is standard; 16-bit also accepted by most printers | Image > Mode |
| Color profile | Should match your print profile (e.g., Coated FOGRA39) | Edit > Color Settings |
If you convert from RGB to CMYK after flattening, you may get a slightly different color result than if you convert before. Some designers prefer to convert first, flatten second. Either works, but be consistent.
Saving the Flattened File
After flattening, save as TIFF or PDF for print delivery. JPEG compresses your image data, which can introduce artifacts at print scale. PNG is for screen use.
TIFF with LZW compression is a good default for most print jobs. It keeps file size manageable without any quality loss. If the print provider specifically asks for a PDF, use File > Save As > Photoshop PDF and make sure “Preserve Photoshop Editing Capabilities” is unchecked for a clean, flat output.
—
How to Flatten Layers in Adobe Illustrator
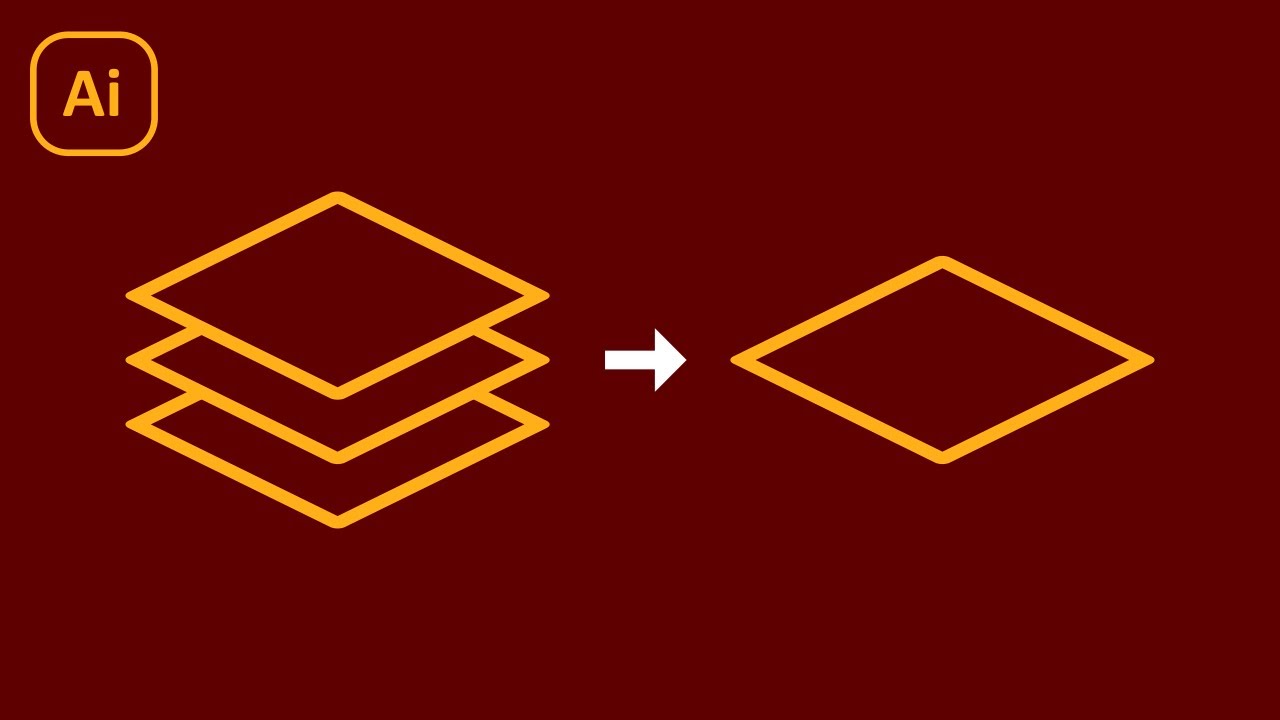
Illustrator handles flattening differently from Photoshop because the files are vector-based. There’s no single “flatten everything” button that works cleanly for print. Instead, the process involves the Transparency Flattener and a few preparation steps before export.
Using the Flatten Transparency Dialog
Go to Object > Flatten Transparency. This opens the dialog that controls how Illustrator resolves any transparency in the document.
The key settings:
- Rasters/Vectors slider: Set to 100 on the Vectors side for print. This keeps as much artwork as vector as possible during the flatten.
- Line Art and Text Resolution: Set to 1200 ppi for offset print. Large format can go lower.
- Gradient and Mesh Resolution: 300 ppi is standard.
- Convert All Text to Outlines: Optional, but useful if you’re worried about font embedding.
For most print jobs, the built-in High Resolution preset is a solid starting point. You can apply it directly or use it as a base to modify.
Preparing Before You Flatten
A few things to sort out before running the transparency flattener:
Expand appearances. Any live effects (drop shadows, glows, etc.) applied via the Appearance panel should be expanded first. Go to Object > Expand Appearance. This converts the effect into actual vector or raster objects that flatten predictably.
Expand strokes. Thick strokes on paths can behave unexpectedly during flatten. Object > Expand lets you convert strokes into filled shapes.
Check overprint settings. Open the Attributes panel and check if any objects have Overprint Fill or Overprint Stroke enabled. Unresolved overprint combined with transparency is a reliable way to get a bad print result.
Exporting Flat PDFs from Illustrator
Illustrator’s native Flatten Transparency command is not always necessary if you export correctly. The PDF export dialog handles flattening during export when set up properly.
Go to File > Save As > Adobe PDF. In the dialog:
- Set Compatibility to Acrobat 4 (PDF 1.3). This forces a full transparency flatten because the format doesn’t support live transparency.
- Or set compatibility to Acrobat 5 or higher and use the Advanced tab to apply a High Resolution flattener preset manually.
- Check Embed All Fonts in the Fonts tab.
- Confirm color conversion is set to CMYK in the Output tab if required.
Spot colors behave differently during flatten. If you’re working with spot color vs process color elements in the same file, check the flattener preview (View > Overprint Preview) before export to confirm nothing unexpected is happening to those areas.
Also worth reading before export: understanding what overprinting in CMYK actually does to your ink layers.
—
How to Flatten Layers in Adobe InDesign

InDesign has no “Flatten” command in the traditional sense. It doesn’t flatten documents in the same way Photoshop or Illustrator does. Flattening happens on export.
This trips up a lot of designers who come from a Photoshop or Illustrator background. The document stays live and editable. The transparency gets resolved when you export to PDF.
PDF Export and the Transparency Flattener
When you export to PDF (File > Export > Adobe PDF), the Advanced tab contains the Transparency Flattener settings.
For PDF/X-1a export (fully flattened output):
- Set Compatibility to Acrobat 4 (PDF 1.3)
- Transparency Flattener: choose High Resolution
- All transparency is resolved during export
For PDF/X-4 export (live transparency passed to RIP):
- Set Compatibility to Acrobat 5 or higher
- Transparency flattener settings are grayed out
- The printer’s RIP handles the transparency
Most print providers that work with modern digital presses will accept PDF/X-4. Older offset shops and providers with stricter file specs usually require PDF/X-1a. When in doubt, check the print provider’s spec sheet or ask.
Preflight Before You Export
InDesign’s built-in Preflight panel (Window > Output > Preflight) checks the document for errors before export. It catches things like:
- Linked images with low resolution
- Missing or modified links
- RGB images in a CMYK document
- Overset text frames
The Preflight panel won’t catch everything a dedicated tool like Enfocus PitStop will catch, but it handles the most common file problems before they become your print provider’s problem.
Running preflight before export is a basic step that saves real time. A designer at a production studio once noted that most returned print files come down to things that InDesign’s own preflight would have flagged. There’s not much excuse for sending a file with red errors in the panel.
Make sure your file includes proper bleed and that the document’s bleed settings are reflected in the PDF export dialog under Marks and Bleeds.
—
How to Flatten Layers in Affinity Publisher and Designer
Affinity apps handle flattening differently from Adobe tools. The terminology isn’t identical, and a few behaviors catch people off guard, especially designers coming from an Adobe background.
Flattening in Affinity Publisher
Affinity Publisher doesn’t have a direct “Flatten Image” command. The closest equivalent is Document > Flatten Document, which merges all content into a single non-editable layer.
This is a destructive action. There’s no undo after save, so work on a copy.
The more practical route for print is exporting directly to PDF with the right settings:
- Go to File > Export > PDF
- Choose the PDF (for print) preset
- Under More, set Compatibility to PDF 1.3 to force a full transparency flatten during export
- Check that color space is CMYK and resolution is 300 DPI or higher
Rasterizing in Affinity Designer
In Affinity Designer, individual layers can be rasterized via Layer > Rasterize. This converts a vector layer or live effect into a pixel layer at the document’s current resolution.
For print file preparation:
- Set document resolution to 300 DPI before rasterizing anything
- Rasterize any layers with live effects or transparency before export
- Use File > Export > PDF and set compatibility to 1.3 for a flattened output
Known Issues with Affinity and Spot Colors
Affinity’s spot color handling during flatten and export is less predictable than Adobe’s. Spot colors can convert to CMYK equivalents during PDF export depending on how the document color profile is set up.
Check before sending: Open the exported PDF in Adobe Acrobat’s Output Preview (or a PDF viewer with separations support) and verify the spot channel is intact. If you’re using Pantone spot colors for a brand-critical print job, test the Affinity export thoroughly before committing to a full print run.
For straight CMYK print work, Affinity handles the flatten and export process cleanly. It’s the spot color edge cases where you need to pay attention.
How to Flatten a PDF for Print
Sometimes the file you need to flatten isn’t a native design file. It’s a PDF someone else made, or one you exported a week ago and now realize needs to be corrected before sending to the printer.
Three tools handle this reliably: Adobe Acrobat Pro, Ghostscript, and online tools as a last resort.
Flattening PDFs in Adobe Acrobat Pro
Path: All Tools > Print Production > Flattener Preview
This opens the Flattener Preview dialog, which lets you preview and apply flattening before committing. Steps:
- Open the PDF in Acrobat Pro
- Go to All Tools > Print Production > Flattener Preview
- Choose the High Resolution preset from the menu
- Set the page range (All or specific pages)
- Click Apply, then Save As to create a new flattened copy
Keep the original. Acrobat’s own documentation confirms that transparency flattening cannot be undone after the file is saved. Always save the flattened version as a new file.
You can also use the PDF Optimizer (All Tools > Optimize PDF > Advanced Optimization) and select Transparency from the left panel to apply a flattener preset as part of a broader file optimization pass.
Using Ghostscript to Flatten PDFs
Ghostscript is a free, open-source tool that processes PostScript and PDF files at the command line. It’s faster than Acrobat for batch jobs and doesn’t require a Creative Cloud subscription.
Basic flatten command:
“ gs -sDEVICE=pdfwrite -dPDFSETTINGS=/prepress -dNOPAUSE -dQUIET -dBATCH -sOutputFile=flattened.pdf input.pdf `
Using -dPDFSETTINGS=/prepress sets Ghostscript to output at high quality, which is what you want for print. The /default setting also works but may produce different compression behavior.
One thing to watch: Ghostscript processes vector content differently from Acrobat. Text that was vector-based may come back slightly rasterized depending on the version and settings used. Check the output at 100% zoom before sending to the printer.
Online Tools and Their Limits
Tools like Smallpdf and PDF24 can flatten PDFs in a browser. They work fine for simple documents, removing form fields or basic layer structures.
For print production, they’re less reliable. They don’t give you control over the flattener resolution, transparency handling quality, or color profile behavior. Rogue Print and Mail, an Australian print provider, explicitly states they don’t accept responsibility for the output of unflattened files and require all files, even 80-page booklets, to be submitted flat.
Use online tools only for low-stakes or quick-turnaround jobs where print fidelity isn’t the priority.
Flattening Layers for Specific Print Types
Flatten requirements aren’t universal. The right approach depends on what kind of press the job is going to.
| Print Type | Color Mode | Resolution | Format |
| Offset printing | CMYK | 300 DPI | PDF/X-1a or PDF/X-4 |
| Large format | CMYK or RGB | 100–150 DPI at final size | PDF or TIFF |
| Screen printing | Spot colors (one layer per ink) | 300 DPI per separation | Separated PDF or EPS |
| On-demand | CMYK or RGB (varies) | 300 DPI | PDF, PNG, JPEG |
Offset Printing
The strictest file requirements. Offset uses physical plates, one per color channel, so the file must be fully resolved before it goes anywhere near the press.
Key requirements:
- CMYK only, no RGB objects remaining
- All transparency flattened
- Fonts embedded or outlined
- Bleed included (3mm minimum)
Heidelberg, one of the major offset press manufacturers, designs their Prinect workflow around PDF/X-4, which keeps transparency live and lets the RIP handle it. But many commercial printers still request PDF/X-1a for full control. Check before you export.
Large Format Printing
Resolution rules are completely different here. A 300 DPI file that looks great at A4 size will be enormous and unnecessary at 3 meters wide. Large format is typically viewed from a distance, so 100-150 DPI at final print size is standard.
RGB is sometimes accepted for large format inkjet printing because many wide-format printers are built for RGB input. Ask the provider. If they want CMYK, flatten and convert. If they take RGB, skip the CMYK conversion entirely to preserve color range.
Flattening still matters for large format. Elements that move around or disappear during RIP processing cause the same problems at any size, just on a bigger and more expensive scale.
Screen Printing
Different process entirely. Screen printing uses separate physical screens per ink color, so the file needs to be prepared as individual color separations, one layer per ink.
You don’t flatten everything into one layer for screen printing. You flatten each color separation individually.
Color separations for screen printing require each ink to be on its own isolated layer, then exported as separate files or a multi-channel document. Understanding color separations for screen printing in detail will save you from a full reprint conversation with a very annoyed screen printer.
Common Errors When Flattening for Print
Most flatten-related print failures come down to five problems. All of them are preventable.
White Boxes Appearing Over Transparency
This is one of the most common transparency flattening artifacts. A white box appears on top of an element that should be transparent, usually over a spot color or object with overprint settings.
Why it happens: When transparency is flattened over a spot color, Acrobat or InDesign adds a white-filled element set to overprint to simulate the transparency. Some preflight systems then turn off overprint on that element, revealing the white box in the final output.
The fix is to check Output Preview (with Simulate Overprint enabled) in Acrobat before sending. If you see a white box in the preview, you’ll see it in print.
Color Shifts After Flattening
Colors in or near transparent areas look different in print from what you designed. This is especially noticeable when the document’s Transparency Blend Space was set to RGB instead of CMYK.
Fix this before you even get to the flatten step. In Illustrator and InDesign, go to Edit > Transparency Blend Space > Document CMYK. Setting this in RGB for a print document means all transparency calculations happen in the wrong color space, and the results after CMYK conversion are unpredictable.
Prepress specialists note that using the default RGB blend space on a print document is one of the most common causes of unexpected color shifts from RGB to CMYK during flatten.
Rasterized Vector Text
Text that was sharp vector outlines becomes soft pixel-based shapes after flattening. This is almost always caused by either:
- A low Rasters/Vectors slider setting in the Transparency Flattener
- Text positioned directly over a transparent object, forcing rasterization
Set the Rasters/Vectors slider to 100 (fully vector) when the flattener preset allows it. If text still rasterizes because of how it interacts with transparency, outline the text first, then flatten.
Missing Fonts After Flatten
Fonts that weren’t embedded or outlined before flattening may get substituted or dropped entirely. UPrinting’s print production team lists missing fonts as one of the top causes of prepress delays and file rejections.
Embed fonts in the PDF export settings, or outline all text before flattening. Both work. Outlining is more reliable but makes the text permanently uneditable. Keep the source file.
Overprint Conflicts and Dropped Elements
Overprint on: ink prints on top of whatever is underneath it.
Overprint off: ink knocks out the color beneath it.
When flattening collapses a layered stack that has overprint settings and transparency, the interaction can produce invisible text or dropped objects. Black text set to overprint over a transparent shape is the classic example. Always run Acrobat’s Output Preview with Simulate Overprint enabled after flattening to check for dropped or invisible elements.
How to Check a Flattened File Before Sending to Print
Flattening is only half the job. Sending a file without checking the output is where most print problems begin.
Verify the Layer Structure
Open the flattened PDF in Acrobat. Go to View > Show/Hide > Navigation Panes > Layers.
If the file is properly flattened, there should be no layers listed, or a single locked background layer. Multiple active layers mean the flatten didn’t complete correctly, or only certain pages were processed.
For Photoshop TIFFs, check the Layers panel. A correctly flattened file shows one Background layer only.
Run Acrobat Preflight
Acrobat Pro’s Preflight tool (All Tools > Print Production > Preflight) checks the file against a defined profile. For most print jobs, use the built-in PDF/X-1a or PDF/X-4 profile depending on what the printer requires.
Preflight catches:
- Remaining RGB objects
- Fonts not embedded
- Images below 300 DPI
- Missing bleed
- Active transparency that wasn’t flattened
Markzware’s FlightCheck and Enfocus PitStop Pro go further than Acrobat’s built-in preflight, particularly for catching overprint issues and checking ink coverage in CMYK. PitStop Pro also auto-fixes many errors and generates a report with clickable error locations, which saves real time on complex documents.
Check Resolution and Color Mode
Two checks that take 30 seconds and prevent the most common reprint conversations.
Resolution: In Acrobat, go to Tools > Print Production > Output Preview and select the Separations tab. Check that no images are flagged below your required DPI. You can also read more about print resolution standards to confirm what thresholds apply to your job type.
Color mode: In the same Output Preview panel, check the color channels. A CMYK print file should show C, M, Y, K separations only. Any RGB or Lab objects will show up as additional channels. Convert or remove them before sending.
Understanding the difference between resolution for print vs screen matters here too, especially if images were pulled from a website or screen export at 72 DPI.
Soft Proof Before Final Send
Soft proofing simulates how the file will look when printed on a specific device using a specific color profile. It won’t catch every issue, but it’s the closest thing to a visual check without running a physical proof.
In Photoshop: View > Proof Setup > Custom, then choose your print profile (e.g., Coated FOGRA39 for European offset, US Web Coated SWOP for North American). Toggle View > Proof Colors on and off to compare screen color with simulated print output.
Do this before flattening when possible. Adjusting colors after flattening is harder because adjustment layers are gone. If the soft proof shows a significant color shift, go back to the source file, fix it, and flatten again.
For color proofing for print on critical jobs, a physical proof from the actual press is the only true check. Soft proofing is a tool, not a substitute.
FAQ on How To Flatten Layers For Print
What does flattening layers mean in print design?
Flattening merges all layers into a single background layer. It removes transparency, live effects, and editable objects. The result is a static, print-ready file that a RIP can process without misinterpreting blending modes or layer stacking.
Why do print providers require flat files?
Unresolved transparency causes unpredictable results during RIP processing. Elements can shift, disappear, or produce color errors on press. Sending a flattened file means you control how transparency resolves, not the printer’s software.
What is the difference between flattening and merging layers?
Merging combines selected layers while leaving others intact. Flattening collapses everything into one layer. For print file preparation, a full flatten is almost always required, not a partial merge.
How do you flatten layers in Photoshop for print?
Go to Layer > Flatten Image. Before flattening, rasterize any Smart Objects, confirm the document is set to CMYK, and verify the resolution is 300 DPI. Save the result as TIFF or PDF.
How do you flatten transparency in Illustrator?
Go to Object > Flatten Transparency. Use the High Resolution preset and set the Rasters/Vectors slider to 100. Expand appearances and check overprint settings before running the flatten to avoid unexpected color output.
Does InDesign have a flatten command?
No. InDesign flattens on export, not inside the document. Set the Transparency Flattener to High Resolution in the Advanced tab when exporting to PDF/X-1a. PDF/X-4 passes live transparency to the printer’s RIP instead.
Can you flatten a PDF without the original source file?
Yes. Use Adobe Acrobat Pro via Print Production > Flattener Preview > Apply. Ghostscript also flattens PDFs from the command line at no cost. Always save the flattened version as a new file.
What causes white boxes to appear after flattening?
White boxes typically appear when transparency is flattened over a spot color. Some preflight systems disable overprint on the resulting element, exposing the white fill. Check Output Preview with Simulate Overprint enabled before sending.
Why do colors shift when flattening for print?
The most common cause is a document with its Transparency Blend Space set to RGB instead of CMYK. Set it to Document CMYK in Edit > Transparency Blend Space before designing. Changing it after the fact won’t fully reverse the damage.
Do you need to flatten files for large format printing?
Yes. Unflattened elements can still cause RIP errors at any print size. Large format providers often accept RGB files, but flattening is still required. Resolution can drop to 100-150 DPI at final size, unlike standard offset print requirements.
Conclusion
This conclusion is for an article presenting the full layer flattening process across every major tool in a print workflow.
Whether you’re exporting a PDF/X-1a from InDesign, running the Transparency Flattener in Illustrator, or processing an existing PDF through Acrobat Pro, the goal is the same: a single resolved layer that the press can reproduce exactly as designed.
Check your color mode. Verify your 300 DPI resolution. Run preflight before you send.
Offset, large format, screen printing – each has different requirements, but none of them forgive an unflattened file. The print file preparation steps covered here apply whether you’re working in Photoshop, Affinity, or fixing a flat PDF with Ghostscript.
Get the flatten right, and the rest takes care of itself.

Renowned for his expertise in logo design and visual branding, Bogdan has developed a multitude of logos for various clients.
His skills extend to creating posters, vector illustrations, business cards, and brochures. Additionally, Bogdan's UI kits were featured on marketplaces like Visual Hierarchy and UI8.
He also wrote in the past years on sites like Design Your Way, WebDesignerDepot, WPDean, Designmodo, Speckyboy, Slider Revolution, and more.
- Friendly Karla Font Pairing Ideas for Modern Brands - 26 September 2026
- The Cursor Logo History, Colors, Font, And Meaning - 24 September 2026
- Top 7 Web Design Subscription Services That Replace Full-Time Hires - 24 September 2026

Bogdan Sandu is a seasoned designer who has been designing websites since 2008. Renowned for his expertise in logo design and visual branding, Bogdan has developed a multitude of logos for various clients. His skills extend to creating posters, vector illustrations, business cards, and brochures. Additionally, Bogdan's UI kits were featured on marketplaces like Visual Hierarchy and UI8. He also wrote in the past years on sites like Design Your Way, WebDesignerDepot, WPDean, Designmodo, Speckyboy, Slider Revolution, and more.
You Might Also Like


