


A printed piece only gets its final width and height once it has been cut from the larger press sheet. That finished measurement is the trim size.
Designers build the layout around it, with the bleed and margins measured from the same edge. Printers use the number to plan press sheet fit and binding, and the quote follows from both.
The cost side is easy to underestimate. KDP places a paperback in a higher printing cost class once it is wider than 6.12 in or taller than 9 in, so a 6.14 x 9.21 in book costs more to print than a 6 x 9 in one (KDP, 2026).
What Is Trim Size in Print Design?

Fix the trim size first and the rest of the file follows. Most print design work starts there, since bleed and image dimensions both follow from it and margins are measured in from it.
The guillotine cutter slices the stack along the trim line, and the crop marks in the file show where that line falls. Anything outside it gets thrown away.
How trim size is written and measured
Width goes first, then height. 6 x 9 in is portrait and 9 x 6 in is landscape, and KDP’s paperback table even lists an 8.25 x 6 in landscape size among the portrait ones.
Inches are the US default, as in a 6 x 9 in paperback. Metric printers work in millimeters, so KDP’s help pages show the same book as 152.4 x 228.6 mm. Layout software also counts in points, 72 to the inch.
Conversion is exact at 25.4 mm per inch, though printers round the result (KDP lists 5.25 x 8 in as 13.34 x 20.32 cm). Copy the printer’s own figure instead of converting by hand.
Trim size vs page size, flat size and press sheet size
Print files use a handful of size terms that sound interchangeable and aren’t. Only trim size is the finished one.
| Term | What it measures | Relation to trim size |
|---|---|---|
| Trim size | Finished piece after cutting | The reference value |
| File size with bleed | Artwork canvas | Trim plus bleed on each trimmed edge |
| Flat size | Unfolded sheet of a folded piece | Larger than the folded size |
| Press sheet size | Parent sheet through the press | Larger, then cut down to trim |
Printers do not all use the word the same way. Vistaprint’s help center applies “trim size” to the dashed safe-area line about 1/8 in inside the document edge, while 4over4 and Mixam use it for the cut line itself.
Every figure in this guide follows the cut-line meaning.
How Trim Size, Bleed and Safe Zone Fit Together
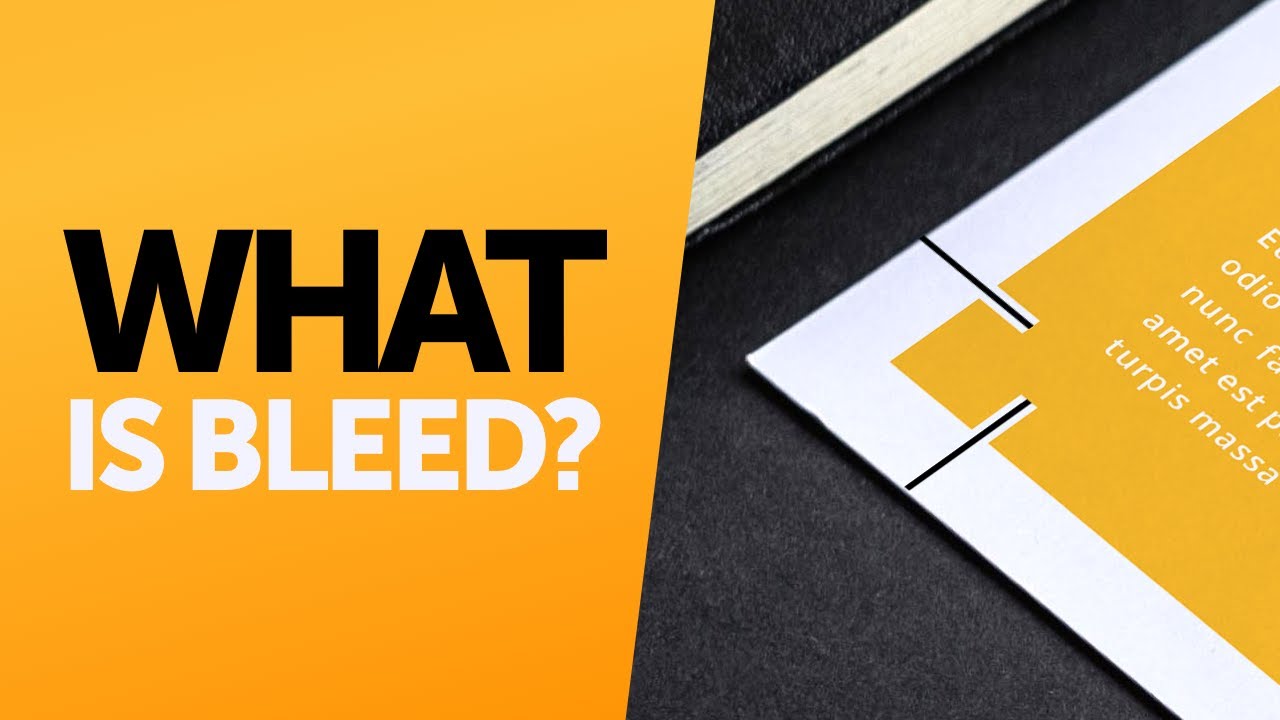
The blade cuts along the trim line. Bleed is the artwork that runs past it, and the safe zone is the margin on the inside where text and logos stay clear of the edge.
Cutting is never perfectly precise, so any image or color that reaches the edge needs the bleed area behind it. Without that, a thin white sliver shows whenever the blade drifts.
The usual amount is 0.125 in (3 mm) past each trimmed edge. Mixam asks for 3 mm on all items except casebound hardcover covers, which need 20 mm.
The math changes with the product. Flat pieces get bleed on all four edges, so width and height each grow by 0.25 in, and a 3.5 x 2 in card becomes a 3.75 x 2.25 in file (4over4).
Bound book interiors work differently because the bound edge is never cut. Bleed goes on the outside edge and on the top and bottom, which adds 0.125 in to the width and 0.25 in to the height (KDP).
For a 6 x 9 in paperback, KDP’s formula gives a 6.125 x 9.25 in page. Two third-party guides add 0.25 in to both dimensions and quote 6.25 x 9.25 in, which disagrees with KDP’s own page. Go with KDP’s number.
KDP sets minimum outside margins at 0.25 in without bleed and 0.375 in with bleed. Text and logos belong inside the safe zone of the layout, the margin kept clear of the cut.
Publishers set their own distance. Structure magazine’s 2024 ad specs keep live copy 0.25 in from trim, while Printing Impressions asks for 0.375 in.
A few of these figures are worth keeping close when setting up a file.
- KDP and IngramSpark both set minimum bleed at 0.125 in (3.2 mm)
- Mixam’s standard bleed is 3 mm, or 20 mm on casebound covers
- KDP’s minimum outside margin is 0.25 in without bleed and 0.375 in with bleed
- On cards and flyers, 4over4 puts the safe zone 0.125 in inside the trim
Standard Trim Sizes for Common Print Products
In the US, business cards are 3.5 x 2 in and flyers 8.5 x 11 in at nearly every print shop, with 4 x 6 in as the usual postcard. The A-series covers the same jobs elsewhere.
| Product | US trim | Metric | Where it varies |
|---|---|---|---|
| Business card | 3.5 x 2 in | 88.9 x 50.8 mm | Same in the US and Canada |
| Postcard | 4 x 6 in | 101.6 x 152.4 mm | Postage caps at 4.25 x 6 in |
| Flyer | 8.5 x 11 in | 215.9 x 279.4 mm | A4 outside North America |
| Magazine page | 8.375 x 10.875 in | 212.7 x 276.2 mm | Set by each publication |
Postcard trim carries a postage rule. The USPS postcard rate covers cards from 3.5 x 5 in up to 4.25 x 6 in, and 4over4 notes the limit is checked against the trimmed size, not the file with bleed.
Magazine trim has no single value. Structure magazine’s 2024 ad specs list 8.375 x 10.875 in. Northwest Indiana Business Magazine lists 8.125 x 10.875 in, and Printing Impressions lists 8.875 x 10.875 in.
All of them share a 10.875 in height, and only the width moves. Ask the publisher for its spec sheet instead of working from a chart.
Flyers sit on letter stock in the US, though printers offer a wider range of flyer sizes for other formats.
A-series and US letter
ISO 216:2007 covers the trimmed sizes of writing paper and printed matter such as forms and catalogues. ISO confirmed it again in 2021. The standard itself says it does not necessarily apply to newspapers, published books or posters.
That carve-out is why books and posters follow printer lists instead. A wider guide to international paper sizes covers the rest of the series.
A4 measures 210 x 297 mm, or 8.27 x 11.69 in. US letter is 8.5 x 11 in, or 215.9 x 279.4 mm.
A4 is 0.23 in narrower and 0.69 in taller than letter, so a layout moved between them needs reflow, not just scaling. KDP lists both as separate paperback trim sizes.
Untrimmed sheet sizes under ISO 217
ISO 217 deals with the stock before the cutter touches it. The 2013 edition (July 2013) specifies a primary and a supplementary range of untrimmed sheet sizes, each cut down to an ISO 216 size, and it replaced the 2008 edition.
The extra paper beyond the trim line holds bleed and printer’s marks, then goes to waste.
Standard Book Trim Sizes and Why Printers Fix Them
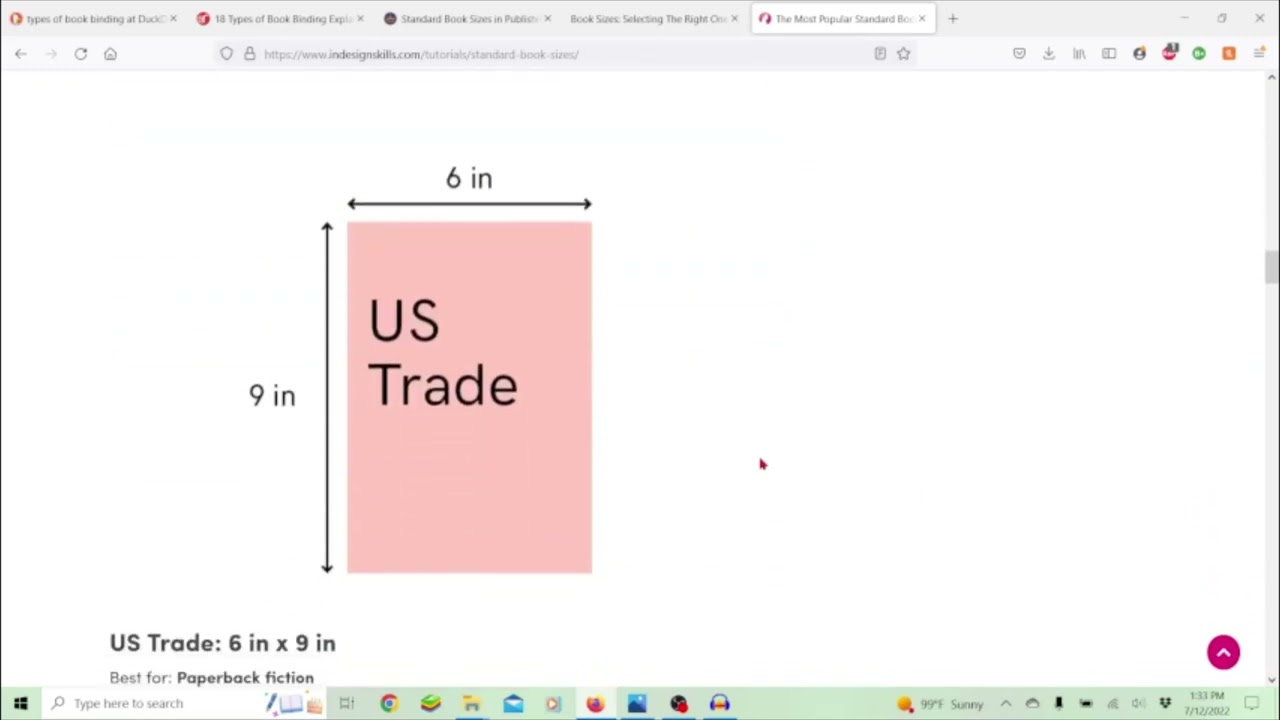
Each print-on-demand printer prints only the trim sizes on its own list, and KDP names 6 x 9 in the most common US paperback size.
The lists differ at the small end. IngramSpark starts at 4 x 6 in, KDP’s US list starts at roughly 5 x 8 in, and both top out near letter size.
Hardcover is tighter still, with 5 trim sizes on KDP’s hardcover list against 16 for paperback.
Gatekeeper Press (2025) puts trade paperbacks at 5.5 x 8.5 in and nonfiction at 6 x 9 or 7 x 10 in. Textbooks run 8 x 10 or 8.5 x 11 in, and children’s books 8.25 x 8.25 or 8 x 10 in.
“Standard” depends on who is asked. KDP’s most common paperback size is 6 x 9 in, while Gatekeeper Press recommends 5.5 x 8.5 in for most titles and calls that the trade paperback size.
Treat genre sizes as habits. The printer’s list is the rule.
A larger trim fits more words per page, so the book gets thinner (Gatekeeper Press). It also tightens the limit, since KDP caps black-and-white paperbacks on white paper at 828 pages for 6 x 9 in but 590 pages for 8.5 x 11 in.
Page count also sets the inside margin. KDP’s minimum gutter runs from 0.375 in for 24 to 150 pages up to 0.875 in for 701 to 828 pages.
The spine follows page count, and the cover follows the spine. KDP’s formula for cover width is bleed + back cover + spine + front cover + bleed, with cover height equal to trim height plus two bleeds of 0.125 in.
Anyone working on book cover design starts from that formula, since the full wrap changes every time the page count moves.
How to Set Trim Size in a Print File
Set the document’s page size to the finished size, put the bleed in its own field, and export a PDF whose TrimBox matches that size.
- Get the trim size from the printer’s spec sheet or template before opening any software.
- Create the document at that size, as the Page Size in InDesign and Affinity Publisher or the paper size in Word.
- Enter the printer’s bleed amount in the bleed fields wherever the program has them.
- Run backgrounds and images out to the bleed guides, and keep text inside the margins.
- Export a PDF with bleed included, and add crop marks only if the printer asks for them.
- Open the PDF and confirm that its TrimBox equals the size from step 1.
These steps hold across tools, but each program stores bleed differently. A wider guide to setting up a print-ready file covers fonts, color mode and resolution.
Layout and illustration software
- In InDesign, Page Size is the finished size, and the bleed and slug areas extend outward from it, per Adobe’s documentation.
- Illustrator artboards should be the trim size, with bleed entered in the Bleed fields of the New Document dialog or Document Setup (Premier Press).
- Affinity Publisher treats the page dimensions in Document Setup as the TrimBox, and the Include bleed option at export adds the extension (Affinity Help).
- In Canva, go to File, then Settings, then Show print bleed. On download, choose PDF Print and tick the crop marks and bleed box.
- Word only needs the page size set to the trim size, which is KDP’s own instruction.
Sources split on Illustrator. Premier Press and PrintSimple keep the artboard at trim size and use the Bleed fields, while Vistaprint’s help center says to build Illustrator and Photoshop files at the full bleed size.
Both approaches work. Mixing them counts the bleed twice and produces a page larger than the printer expects.
Check which one the printer assumes before exporting. A walkthrough on setting up bleed in Illustrator shows where the fields sit.
Canva fixes its bleed amount and offers no way to change it. Margins, bleed and crop marks are not available in Canva Docs at all, and the help center tells users to check bleed requirements with the printer when printing outside Canva Print.
What the PDF TrimBox and BleedBox record
A PDF stores trim size as a rectangle inside each page, not as a number in the file name or the order form.
| Box | What it records | PDF/X rule |
|---|---|---|
| MediaBox | Full page, including marks and bleed | Required on every page |
| TrimBox | Finished page size | TrimBox or ArtBox, never both |
| BleedBox | Clip region for production, usually 3 to 5 mm beyond the TrimBox | Sits between the TrimBox and the MediaBox |
Most imposition workflows place pages on the press sheet from the TrimBox, according to prepressure.com. Many prepress systems let the operator set the bleed amount directly and ignore the BleedBox.
A US letter page with 0.125 in of bleed carries a TrimBox of 0, 0, 612, 792 and a BleedBox of -9, -9, 621, 801 in PDF points (Mapsoft). Nine points equal 0.125 in.
Book interiors that bleed on three edges produce a TrimBox sitting off-center inside the BleedBox. That looks wrong at first glance but is correct, since the bound edge is never cut.
Kodak’s workflow documentation lists the same limits for PDF/X-1a, the print standard defined in ISO 15930-1:2001. Every page needs a MediaBox, plus a TrimBox or an ArtBox that sits entirely inside the BleedBox.
How Trim Size Affects Printing Cost
Trim size affects cost through press sheet fit and, for books, through the number of pages the text needs once it is set.
Pages that tile cleanly on the parent sheet cut paper, plates and press time, according to Qin Printing. It lists 880 x 590 mm, 880 x 620 mm and 780 x 540 mm as typical press-friendly sheet sizes.
over4’s production team gives a small-scale case. A 6 x 6 in postcard nests more pieces per sheet, while a 6.5 x 6.5 in card fits only two per sheet on that job, so paper is trimmed away and the cost per card rises.
Under about 1,000 copies, a 64-page 8.5 x 11 in book often costs less than a 60-page one, because 8.5 x 11 in signatures typically hold 16 pages (Qin Printing).
Saddle stitch needs page counts in multiples of four, covers included, since every folded sheet carries four pages. The trade-offs between saddle stitch and perfect binding start from that rule.
Sources disagree on where saddle stitch stops. SAIC’s service bureau recommends 8 to 60 pages and caps the job at 100 on the thinnest paper. 4over4 puts the ceiling at roughly 64 pages, while Printivity offers up to 144 pages with square saddle binding.
Perfect binding has a floor instead. 4over4’s catalog FAQ lists about 28 pages as the minimum, while its binding guide puts the practical start near 48.
Print-on-demand pricing is more mechanical. KDP charges a fixed cost plus a per-page cost, and the per-page rate depends on the trim size class. As of October 2026, its published US rates for a black-ink paperback are 1.00 USD fixed plus 0.012 USD per page at a regular trim size, or 0.017 USD per page at a large one.
At 300 pages that works out to 4.60 USD against 6.10 USD.
KDP counts a book as large when it is wider than 6.12 in or taller than 9 in, so a 6.14 x 9.21 in trim lands in the pricier class while 6 x 9 in does not. KDP also states that bleed settings and cover finish do not change printing cost.
Larger trims can lower print cost by cutting page count, but they often raise shipping cost (1106 Design).
How to Choose a Trim Size for a Project
Start from the printer’s list of supported sizes, then match product type, content density and page count to a size on it.
Roughly in this order:
- Confirm which trim sizes the printer offers for the binding, paper and ink you picked.
- Cards, mailers and books each have conventional ranges.
- Large images or large type call for a larger page, per 1106 Design.
- Page count sets the binding, and the binding limits the sizes available.
- Fix the size before cover and interior design start, so designers know the space they have.
Choose a standard size unless the content or a fixed display space forces a custom one. The US Government Publishing Office’s cost guide advises changing a size to fit standard paper stock, which removes waste and widens paper options.
Posters show the gap clearly. 4over4 calls 18 x 24 in and 24 x 36 in the economical choices, while other poster sizes price as custom work because of extra trimming and material waste.
A standard trim size matches stock sheets, so waste stays low, and printers publish templates for it (KDP offers a Word template in each size it supports). The downside is that it may not fit unusual content or a fixed display space.
A custom size fits the content or the space exactly. It also costs more, since 4over4 attributes the premium to non-standard cutting and less efficient sheet use, and off-size pieces are harder to frame or fit into ready-made holders.
The size list shrinks as options stack up. IngramSpark offers groundwood eggshell paper in limited black-and-white trim sizes only, and perforated pages in limited paperback sizes.
File mismatches are the other trap. KDP warns that a manuscript with wrong sizing may be rejected on upload, and IngramSpark names interior PDFs that do not match trim size or bleed as its usual interior problem.
IngramSpark allows multiple file revisions before final approval at no extra cost. Mixam takes a different route and scales a file without bleed up to the bleed size, which can leave important content close to the trim or binding edge.
Trim Size FAQ
Does every print job need bleed?
No. A design that sits fully inside a white border needs none, and KDP lets a book interior go without it.
There are exceptions. Every KDP cover requires bleed, and a single bleeding page puts the whole interior file on the bleed size.
What are crop marks and trim marks?
Both names point at the same thing, the thin corner lines that show where the blade cuts.
Registration marks are different, since they are crosshair targets that align color separations. Whether a file needs either set depends on the printer’s spec sheet.
What does the dashed line on a printer’s template mean?
It depends on the printer, because line styles are not standardized.
Vistaprint’s dashed border marks the safe area, Mixam draws the trim line in green and the bleed line in blue, and Affinity Publisher outlines the bleed in red. Read the template legend before trusting any color.
How accurate is the cut, and what tolerance should a design allow?
Industry tolerance lets the blade shift up to 1/16 inch in either direction, according to 4over4. Some sources quote a range reaching 1/8 inch.
Smaller pieces show the shift more, and thin borders near the trim look uneven when it happens.
Can the trim size of a published book be changed?
Not in place. KDP locks trim size after publication for both paperback and hardcover, so a different size means creating a new edition.
Cover width and height follow the trim size, so the cover needs rebuilding too.
Checking Trim Size Before the File Goes to Press
In Acrobat Pro, trim size gets confirmed by comparing the TrimBox and BleedBox values with the printer’s spec, then by reviewing a printed proof.
Start with the cheapest check, which is comparing the box values in Output Preview. Next, inspect the bleed area for artwork. Books and long runs also deserve a printed proof.
The second check exists because Preflight reports box geometry and does not detect whether artwork reaches into the bleed area, per Adobe Community guidance from August 2025. Identical TrimBox and BleedBox values mean the file carries no bleed at all.
A KDP proof carries a Not for Resale watermark and no ISBN, and each proof round adds delivery time and the print cost of one copy. A Preflight profile that detects artwork in the bleed would make the second check redundant.
Paper stock is the next decision once the size is fixed, and a guide to paper types used in print design covers the choices.

Renowned for his expertise in logo design and visual branding, Bogdan has developed a multitude of logos for various clients.
His skills extend to creating posters, vector illustrations, business cards, and brochures. Additionally, Bogdan's UI kits were featured on marketplaces like Visual Hierarchy and UI8.
He also wrote in the past years on sites like Design Your Way, WebDesignerDepot, WPDean, Designmodo, Speckyboy, Slider Revolution, and more.
- The Windsurf Logo History, Colors, Font, And Meaning - 10 October 2026
- How to Remove Background From Product Photos (No Photoshop) - 10 October 2026
- How Designers can Build a Stronger Online Creative Identity - 9 October 2026

Bogdan Sandu is a seasoned designer who has been designing websites since 2008. Renowned for his expertise in logo design and visual branding, Bogdan has developed a multitude of logos for various clients. His skills extend to creating posters, vector illustrations, business cards, and brochures. Additionally, Bogdan's UI kits were featured on marketplaces like Visual Hierarchy and UI8. He also wrote in the past years on sites like Design Your Way, WebDesignerDepot, WPDean, Designmodo, Speckyboy, Slider Revolution, and more.
You Might Also Like


