


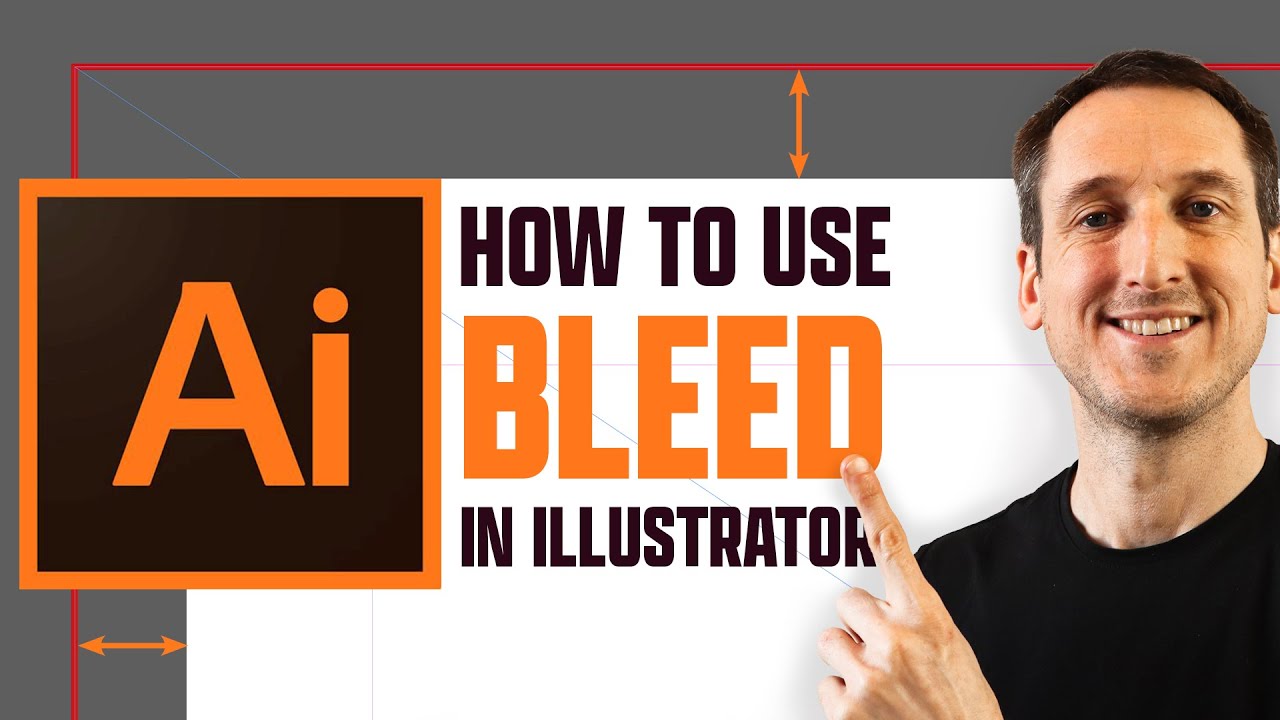
To set up bleed in Illustrator, type the value into the Bleed fields in File > New or File > Document Setup, then extend every edge-touching element to the red line that appears outside the artboard.
The blade doesn’t always land on the trim line, and the bleed area gives it room to miss without showing bare paper.
Smartpress says in its cutting tolerance guide that the trim line can vary by up to 0.125 in. That happens to be the standard bleed for small print products.
None of it matters if the export drops it, though. The PDF only carries the bleed when Use Document Bleed Settings is ticked under Marks and Bleeds.
How Much Bleed Should You Add in Illustrator?
Use whatever your commercial printer specifies. With no spec on hand, 0.125 in (about 3 mm) on all four sides is the standard choice for small print products.
The two common values aren’t identical, which trips people up. 0.125 in equals 3.175 mm, so a printer asking for 3 mm and one asking for 1/8 in differ by 0.175 mm per side. Match the unit in the printer’s spec and the question goes away.
Here is what a few printers publish (checked in October 2026).
- Amazon KDP asks for 0.125 in (3.2 mm). It’s required on covers, and on interiors that use bleed it goes on the top, bottom and outside edges.
- Interempresas Media (trade magazines) sets 3 mm as the minimum for full-bleed ads.
- Printsimple wants 3 mm on each side.
- 4OVER4 asks for 0.25 in on banners under 4 ft wide and 0.5 in at 4 ft or wider.
Whichever value you pick, bleed goes outside the finished trim size, never inside it. The artboard stays at the trim size.
Printers can’t hit the cut line exactly every time, and extra artwork beyond the cut line covers for that.
In practice it comes down to the printer’s spec first and the product type second. If the printer names a value, use it, in whatever unit the printer uses. With no value given, a flyer, postcard, business card or brochure gets 0.125 in. Banners, posters and signs need a question to the printer before anything else, and the answer will probably be 0.25 in or more.
OVER4 notes that large-format pieces such as banners and posters generally want more bleed than small-format work. A bleed built for a business card may not carry over when you resize the file into a poster, so reset the Bleed fields whenever the product or size changes.
How to Set Up Bleed in a New or Existing Illustrator Document
Type the value into the Bleed fields in File > New or File > Document Setup. The fields are identical in both dialogs, and a red line appears outside the artboard once the values are in.
Build the artboard at the trim size first. Premier Press, a print shop, has advised since 2013 to make the artboard the trim size and set the bleed on top of it.
Setting bleed in the New Document dialog
- Press Ctrl+N (Windows) or Cmd+N (Mac).
- Choose the unit and enter the finished width and height, not the size plus bleed.
- Find the Bleed section and check that the link icon beside the fields is active.
- Type the value in Top, for example 0.125 in or 3 mm. Illustrator converts units automatically, according to LabelValue’s walkthrough, so 3 mm works in an inch-based document.
- Click Create. A red line now sits outside the artboard.
Adding bleed to an existing file
Open File > Document Setup, enter the same values in the Bleed fields and click OK. The red line appears and the artboard size doesn’t change (SoftwareHow).
One catch. Artwork already on the page stays exactly where it was, so anything that stopped at the artboard edge still stops there and needs extending (covered below).
Linking and unlinking the four bleed fields
The link icon decides whether one value fills all four sides. In Document Setup the values are linked by default, per SoftwareHow.
Linked, you type once and get four equal sides, with fewer typos along the way. Unlink the fields and each side takes its own value, which matters when a printer wants bleed on only some edges.
KDP’s interior spec is the usual example, with bleed on the top, bottom and outer edges only. Unlink the fields and set the spine-side value to 0.
How to Extend Artwork to the Bleed Line
Every background and photo, plus any shape that touches an edge, has to go out to the red line, not just to the artboard edge. The Bleed fields only create the zone, and artwork that stops at the artboard edge leaves white edges whenever the cut lands slightly inside the trim.
If the red line is missing, check View > Hide Guides first. An Adobe Community thread from January 2020 traced a missing bleed frame to hidden guides.
Extending backgrounds and images
A rectangle drawn to the artboard edge stops at the artboard edge. A forum user on Adobe Community hit this with a black background in December 2017, and the answer was to extend the rectangle to the bleed line.
Take a 3.5 x 2 in card with 0.125 in bleed. The background shape should measure 3.75 x 2.25 in. Draw it with the Rectangle Tool, then set X and Y to -0.125 in in the Transform panel (reference point at top left).
Placed images work the same way. Scale up until the image covers the red box, holding Shift to keep proportions (University of Maryland IT guidance). Then look at what the crop removed, because scaling pushes edge content outward.
Keeping text inside the safe margin
Print guides put the safe margin at 0.125 to 0.25 in inside the trim (4OVER4), while Interempresas Media recommends 5 mm for magazine ads.
Those values span roughly 3 mm to 6 mm. Use 0.25 in for text and logos on standard print products and every figure above is covered. Large banners (4OVER4 asks for 0.5 in) and KDP interiors with bleed (0.375 in minimum on the outside) need more.
Anything you can’t afford to lose belongs inside the safe zone of a print layout, just within the trim line. The strip between the safe margin and the trim edge holds background only.
Draw a rectangle inset 0.25 in from each trim edge and convert it with View > Guides > Make Guides, so the live area stays visible while you work. Body text and logos stay inside that box. So do QR codes, phone numbers and URLs.
How to Add Trim Marks to a Bleed Document
Object > Create Trim Marks gives you editable marks. Effect > Crop Marks gives live marks tied to an object, and ticking Trim Marks in the PDF export dialog adds them when the file is written. Adobe’s own help keeps the first two separate from the export option.
| Method | Where | Behavior |
|---|---|---|
| Create Trim Marks | Object menu | Editable lines you can move or delete |
| Crop Marks effect | Effect menu | Live, follows the object, delete it in the Appearance panel |
| Trim Marks at export | Save Adobe PDF, Marks and Bleeds | Added when the PDF is written |
Both object-based methods draw marks around the selected object, so size a rectangle to the trim edge first. The same commands handle several objects at once, which is how a sheet of business cards gets one mark set per card.
The marks show the printer where the blade falls, the standard job of crop marks in a print file. Placement decides whether they help or hurt.
Adobe’s InDesign help says to set the offset larger than the bleed so marks stay out of the bleed zone, for example at least 9 points for a 0.125 in bleed. Illustrator’s Save Adobe PDF dialog has the same Offset field.
Printers disagree on whether to send marks at all. GogoPrint asks for Trim Marks and Registration Marks in its Illustrator PDF guide. Printsimple goes the other way, doesn’t recommend trim marks and wants a single set if you add any.
Adobe Community Expert Monika Gause made the case against marks in February 2021, on the grounds that the PDF usually already holds the information the printer needs.
Registration marks, the small targets that align color separations on press, only go in when the printer lists them. If you’re unsure, the printer’s upload page settles it.
How to Save a PDF With Bleed From Illustrator

Go to File > Save As, set the format to Adobe PDF, open the Marks and Bleeds category and tick Use Document Bleed Settings. The option copies the values from Document Setup, so nothing gets retyped.
The steps below follow the Save Adobe PDF dialog as printer guides describe it, checked October 2026.
- Choose File > Save As, name the file and set the format to Adobe PDF.
- Click Save to open the Adobe PDF options.
- Pick the Adobe PDF Preset and Standard the printer asks for.
- Select Marks and Bleeds in the left column.
- Tick Use Document Bleed Settings in the Bleeds panel.
- Tick Trim Marks or Registration Marks only if the printer requests them.
- Click Save PDF.
Marks and Bleeds settings in Save Adobe PDF
Trim Marks and Registration Marks depend on the printer, as the previous section covers. Use Document Bleed Settings gets ticked every time, no exceptions.
Untick it and the Top, Bottom, Left and Right fields unlock for manual values. That helps when a printer wants more bleed than the document holds.
Choosing a PDF preset or PDF/X standard
PDF/X-1a dates from 2001 and PDF/X-4 from 2010, according to Hybrid Software’s 2025 comparison.
PDF/X-1a handles CMYK (plus spot colors) only and flattens transparency at export, though some printers still request it. PDF/X-4 is the newer one. It keeps transparency live and supports ICC color management, which helps it move between presses and print methods more easily.
Pick PDF/X-4 unless the printer names X-1a. GogoPrint’s Illustrator guide does name it, asking for PDF/X-1a:2001, and notes that some Illustrator versions show only a Custom preset in the menu.
Checking BleedBox and TrimBox in Acrobat
Open the PDF in Acrobat Pro, not Reader. An Adobe Community reply states that Reader can’t inspect bleed boxes, which is annoying, since Reader is what most people have installed.
Go to Tools > Print Production > Set Page Boxes and read the TrimBox, then the BleedBox. A letter flyer with 0.125 in bleed reads 8.5 x 11 in for the TrimBox and 8.75 x 11.25 in for the BleedBox. Identical values mean the file holds no bleed.
Preflight (All Tools > Print Production > Preflight) reports the boxes too, but the same Adobe reply says it does not detect whether artwork reaches into the bleed area. Zoom to each edge in Output Preview and look.
Why Bleed Fails in Illustrator and When It Does Not Apply
Most bleed problems trace back to the Bleed fields sitting at zero, an artboard enlarged by hand, an image stretched too far, or a misread size from the printer. And it isn’t always needed, since a file with nothing at the trim edge, or one that never gets cut, doesn’t call for it.
Common bleed mistakes in Illustrator files
Leave the Bleed fields at zero and the PDF clips the art at the artboard edge. The printer then either repairs the file or asks for a resend (Premier Press, 2013).
Enlarging the artboard by hand backfires too. The Bleed fields then add a second margin outside the first, and the file no longer matches the finished size.
A photo stretched to the red line is the sneaky one. A background image that barely covers the trim size gets enlarged to reach the bleed, and its softest part lands at the most visible edge, which 4OVER4 lists among common file problems. Recheck effective resolution after scaling.
Some printers quote the full file size instead of a bleed value. One Adobe Community poster in September 2014 listed a 7 x 20 in layout with a 7.5 x 20.5 in bleed size, and the answer was to subtract the trim size from the bleed size and divide by 2. That gives 0.25 in per side (the thread’s own example misstated it as 1/2 in).
Check File > Document Color Mode before sending, since print files belong in CMYK rather than RGB. A broader walk-through of setting up a print-ready file covers fonts and links, and resolution too.
When bleed is not needed
If nothing touches the trim edge, there’s nothing to extend. Screen-only artwork never gets cut, so the same goes there.
Don’t count on a printer’s fallback, though. Printenbind says that if a borderless file arrives without bleed or trim marks, the shop enlarges the document by one percent to make room to trim. On A4’s 210 mm width, one percent adds 2.1 mm in total, so roughly 1 mm per side. Anything near the edge gets pushed out by that amount.
Bleed in Illustrator FAQ
What is bleed in Illustrator?
Illustrator treats bleed as a document setting. It lets artwork run past the trim edge, so a cut that lands slightly off leaves no white edges.
You’ll find it in Document Setup, where it shows as a red line outside the artboard.
What is a slug, and how is it different from bleed?
According to Adobe’s InDesign help, a slug is the area beyond the bleed that holds printer instructions and color bars, along with page information.
Artwork goes in the bleed. The slug is where notes for the printer live.
Does the bleed setting apply to every artboard in a multi-artboard file?
Yes. Bleed is a document-level value set once in Document Setup, so every artboard gets the same distance on each side.
How do I get rid of the red box around my artboard?
Open File > Document Setup and set the Bleed fields back to 0. An Adobe Community Expert gave that fix in June 2024 to a user whose new documents opened with a large red outline.
View > Hide Guides only hides the line. The bleed value stays in the file.
Why is my exported PDF larger than the artboard?
The PDF page includes the bleed on all four sides, and printer’s marks widen it further, since Adobe’s InDesign help says selecting a mark option expands the page boundaries.
A larger page is correct. If the page matches the artboard exactly, the bleed never made it into the export.
Saving Bleed in Illustrator as a Reusable Preset
Bleed carries over from one job to the next through a document preset that holds the Bleed fields, plus a PDF preset with Use Document Bleed Settings ticked.
Adobe’s Illustrator help, updated 11 February 2026, lists Bleed among the options a document preset stores, along with Color Mode and artboard count.
A typical pair for one printer is a document preset with that printer’s bleed value in CMYK, and a PDF preset with Marks and Bleeds set. Build the document preset first, since the PDF option reads the value from the document.
Each preset locks in one value per printer, so a shared preset fails the first time a shop asks for 3 mm instead of 0.125 in.
Recheck both presets when a printer revises its file spec or Illustrator changes the New Document window (position verified October 2026).

Renowned for his expertise in logo design and visual branding, Bogdan has developed a multitude of logos for various clients.
His skills extend to creating posters, vector illustrations, business cards, and brochures. Additionally, Bogdan's UI kits were featured on marketplaces like Visual Hierarchy and UI8.
He also wrote in the past years on sites like Design Your Way, WebDesignerDepot, WPDean, Designmodo, Speckyboy, Slider Revolution, and more.
- The Windsurf Logo History, Colors, Font, And Meaning - 10 October 2026
- How to Remove Background From Product Photos (No Photoshop) - 10 October 2026
- How Designers can Build a Stronger Online Creative Identity - 9 October 2026

Bogdan Sandu is a seasoned designer who has been designing websites since 2008. Renowned for his expertise in logo design and visual branding, Bogdan has developed a multitude of logos for various clients. His skills extend to creating posters, vector illustrations, business cards, and brochures. Additionally, Bogdan's UI kits were featured on marketplaces like Visual Hierarchy and UI8. He also wrote in the past years on sites like Design Your Way, WebDesignerDepot, WPDean, Designmodo, Speckyboy, Slider Revolution, and more.
You Might Also Like


