


Timelines turn chaos into clarity. Project milestones, historical events, company roadmaps, personal achievements: they all make more sense when mapped visually.
Learning how to make a timeline in Canva takes about 15 minutes. No design experience required.
Canva’s drag-and-drop editor and free timeline templates handle the heavy lifting. You pick a layout, customize colors and fonts, add your events, and download.
This guide walks through 12 steps: from creating your first design to exporting a polished timeline infographic ready for presentations, social media, or print.
How to Make a Timeline in Canva
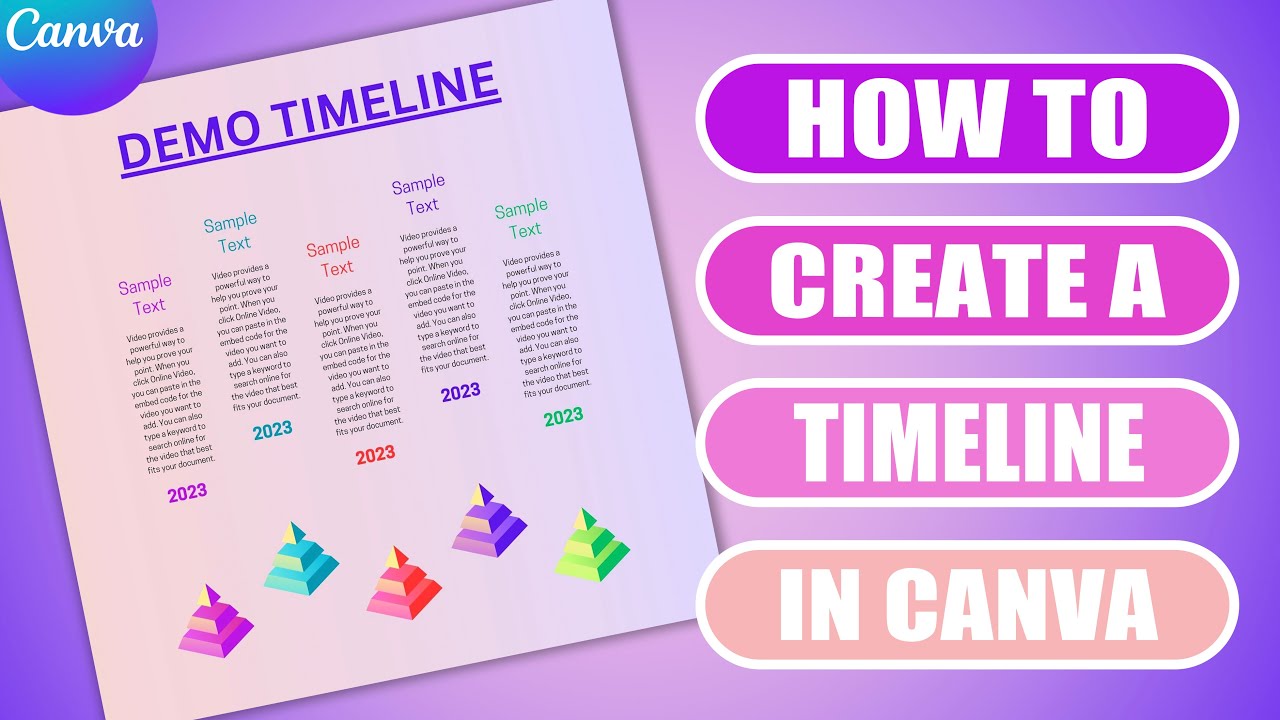
Creating a timeline in Canva is the process of building a visual representation of events, milestones, or project phases using Canva’s graphic design platform.
Users need this when planning projects, presenting historical events, mapping company roadmaps, or visualizing personal milestones.
This guide covers 12 steps requiring 10-15 minutes and basic computer skills.
What You Need Before Starting
Gather these before you begin:
- Canva account (free or Canva Pro)
- Web browser (Chrome, Firefox, Safari, Edge) or Canva desktop/mobile app
- 10-15 minutes of uninterrupted time
- Your timeline content ready: dates, events, descriptions
- Basic drag-and-drop skills
Pro users get access to Brand Kit, premium templates, and additional export options.
Free accounts work fine for most timeline projects.
Step 1: How Do You Start a New Timeline Design in Canva?
Open Canva’s homepage and click Create a design in the top right corner, then type “timeline” in the search bar to see template options and blank canvas sizes.
Action:
- Canva homepage > Create a design (top right)
- Search bar > Type “timeline” or “timeline infographic”
- Result: Grid of timeline templates plus custom size options
Why this matters: Starting with the search filters your view to timeline-specific layouts immediately.
Step 2: Where Do You Find Timeline Templates in Canva?
The Templates tab in the left sidebar contains thousands of pre-made timeline infographic templates sorted by style, theme, and color scheme.
Action:
- Left sidebar > Templates tab
- Search “timeline infographic” or “project timeline”
- Filter by: Style (minimalist, modern, playful), Theme (business, education), Color
- Result: Filtered grid of customizable timeline designs
Look for templates matching your purpose.
Business roadmaps need clean layouts. School projects can use more colorful options.
Step 3: How Do You Choose the Right Timeline Layout?
Timeline formats fall into three categories: horizontal, vertical, and circular, each serving different presentation needs and event counts.
Layout comparison:
- Horizontal timeline: Best for presentations and slideshows, fits 5-10 events comfortably, reads left to right
- Vertical timeline: Ideal for infographics and scrolling content, handles 10+ events, works well for detailed descriptions
- Circular timeline: Perfect for cyclical processes, annual reviews, or repeating workflows
Consider your audience and where the timeline will appear.
A presentation in Canva needs horizontal layouts. Instagram posts work better with vertical formats.
Action:
- Click template thumbnails to preview
- Count your events and match to layout capacity
- Consider final output: screen, print, social media
- Click template to open in editor
The template opens in Canva’s drag-and-drop editor where all customization happens.
Step 4: How Do You Edit Text on Your Canva Timeline?
Click any text box to select it, then type your content directly; the top toolbar reveals font options, sizing controls, and formatting tools.
Action:
- Click text box > Type your event name or date
- Top toolbar > Font dropdown > Select from 3000+ fonts
- Font size range: 6-96pt (use 12-14pt minimum for readability)
- Result: Updated text appears instantly on timeline
Need more text areas? Learn how to add a text box in Canva for additional labels.
Step 5: How Do You Change Colors and Fonts on Your Timeline?
Select any element to access the color picker in the top toolbar; choose from document colors, default palettes, or enter a custom hex code for brand matching.
Action:
- Select element > Click color square (top toolbar)
- Options: Document colors, Default colors, Custom hex code
- Text: Select > Font dropdown > Browse or search fonts
- Result: Consistent color palette across timeline
Stick to 2-3 colors maximum.
Too many hues create visual chaos. Monochrome color schemes work well for professional timelines.
Step 6: How Do You Add and Remove Timeline Events?
Duplicate existing timeline sections to add events; delete unwanted elements with Backspace or the trash icon.
Action:
- Add: Select section > Right-click > Duplicate (or Ctrl/Cmd + D)
- Drag duplicated section to correct position
- Remove: Select element > Backspace key or Delete icon
- Result: Timeline reflects accurate event count
Use grouping in Canva to move multiple elements together when repositioning.
Step 7: How Do You Add Icons and Images to Your Timeline?
The Elements tab contains millions of icons, shapes, and graphics; the Uploads tab accepts your own JPEG, PNG, and SVG files.
Action:
- Left sidebar > Elements tab
- Search: “milestone,” “calendar,” “arrow,” “checkmark”
- Uploads tab > Drag files or click Upload
- Drag elements onto timeline points
- Result: Visual markers appear at each event
Icons communicate faster than text. A rocket icon says “launch” instantly.
Step 8: How Do You Adjust Timeline Spacing and Alignment?
Select multiple elements with Shift+Click, then use Position tools in the top toolbar for precise alignment and even distribution.
Action:
- Hold Shift > Click elements to multi-select
- Top toolbar > Position > Align (left, center, right, top, bottom)
- Position > Tidy up (auto-spacing)
- Result: Evenly distributed timeline elements
Proper white space prevents cluttered designs.
Give each event room to breathe.
Step 9: How Do You Add Connecting Lines Between Timeline Points?
Lines create visual hierarchy and guide viewers through your chronological sequence.
Action:
- Left sidebar > Elements > Lines & Shapes
- Select style: solid, dotted, dashed, arrow
- Drag endpoints to connect timeline items
- Line settings: Weight (1-100px), Color, Style
- Result: Clear visual flow between events
Arrows show direction. Dotted lines suggest progression. Solid lines create stronger connections.
Step 10: How Do You Download Your Finished Timeline?
Click Share in the top right, then Download to export your timeline as PNG, PDF, JPEG, or SVG (Pro only).
Action:
- Top right > Share button > Download
- File type: PNG, JPG, PDF, SVG (Pro), MP4 (animated)
- Quality: Standard (96 DPI for web) or Print (300 DPI)
- Result: Timeline saved to device
Format recommendations:
- PNG: Web use, transparent backgrounds, sharp edges
- PDF: Print materials, multi-page documents
- JPG: Email attachments, smaller file size
Step 11: How Do You Share Your Timeline Directly from Canva?
Skip the download; share via link, embed code, or direct social media posting from Canva’s Share menu.
Action:
- Top right > Share button
- Options: Copy link, Share to social, Embed, Present
- Collaboration: Set view or edit permissions
- Result: Recipients access timeline without downloading
Team projects benefit from edit access. Client reviews need view-only links.
Verification
Confirm your timeline works correctly:
- Preview mode (Present button) displays all elements properly
- Download test file at target resolution
- Text remains readable at intended display size
- Dates and events appear in correct chronological order
- Colors display consistently across all sections
- Lines connect to correct timeline points
Common Problems and Fixes
Text overlaps other elements
Select text box > Drag corner handles to resize, or reduce font size to 12-14pt minimum.
Timeline appears blurry after download
Share > Download > PNG > Size: Custom > Width: 1920px minimum for presentations.
Print projects need 300 DPI PDF exports.
Cannot edit template elements
Select element > Right-click > Ungroup.
Some grouped elements require ungrouping before individual editing.
Colors look different after download
PNG/JPG use RGB color mode.
Print materials need PDF format for accurate color reproduction.
Related Processes
Continue building your design skills:
- How to make a graph in Canva
- How to make a poster in Canva
- How to make a slideshow in Canva
- How to make a flyer in Canva
FAQ on How To Make A Timeline In Canva
Is Canva timeline maker free to use?
Yes. Canva’s free account includes thousands of timeline templates, basic design elements, and standard export options. Pro users get premium templates, Brand Kit access, and SVG downloads. Most timeline projects work perfectly with the free version.
What size should I use for a timeline in Canva?
A4 landscape (297 x 210mm) works for presentations. Use 1080 x 1920 pixels for Instagram Stories. Custom dimensions fit specific needs. Changing to landscape orientation gives horizontal timelines more room.
Can I create a timeline without using a template?
Absolutely. Start with a blank canvas, add lines from the Elements tab, insert shapes for milestone markers, and place text boxes for dates and descriptions. Building from scratch offers complete creative control.
How do I add more events to my Canva timeline?
Select an existing timeline section, press Ctrl+D (Cmd+D on Mac) to duplicate, then drag it into position. Edit the duplicated text and icons. Delete unwanted sections with Backspace.
Can I animate my timeline in Canva?
Yes. Select elements and click Animate in the top toolbar. Options include fade, rise, pop, and slide effects. Animated timelines export as MP4 or GIF. Perfect for video presentations and social media.
How do I make my timeline look professional?
Limit your color scheme to 2-3 colors. Use consistent typography throughout. Maintain even spacing between events. Add icons that match your theme. Clean layouts with breathing room always look more polished.
Can I collaborate with others on a Canva timeline?
Yes. Click Share and invite team members via email or link. Set permissions to view or edit. Multiple users can work simultaneously. Comments and real-time updates keep everyone aligned on project timelines.
What file format should I download my timeline as?
Choose PNG for web use and transparent backgrounds. PDF works best for printing. JPG creates smaller files for email. SVG (Pro only) provides vector graphics that scale without quality loss.
How do I change the background color of my timeline?
Click anywhere on the empty canvas area. The color picker appears in the top toolbar. Select from preset colors or enter a custom hex code. Learn more about changing background colors in Canva.
Can I convert my Canva timeline to PowerPoint or Google Slides?
Yes. Download as PPTX for PowerPoint compatibility. For Google Slides, export as PDF or PNG and insert as images. You can also convert Canva designs directly to Google Slides format.
Conclusion
You now know how to make a timeline in Canva from start to finish.
The process covers template selection, text editing, color customization, adding milestone markers, adjusting spacing, and exporting in multiple formats.
Canva’s timeline maker works for project planning, historical events, business roadmaps, and personal milestones. Horizontal layouts fit presentations. Vertical formats suit infographics and social media posts.
Start with a template or build from a blank canvas. Either way, the drag-and-drop interface makes visual storytelling accessible to everyone.
Export as PNG for web, PDF for print, or MP4 for animated timelines.
Your first timeline takes 15 minutes. The next one takes five.

Renowned for his expertise in logo design and visual branding, Bogdan has developed a multitude of logos for various clients.
His skills extend to creating posters, vector illustrations, business cards, and brochures. Additionally, Bogdan's UI kits were featured on marketplaces like Visual Hierarchy and UI8.
He also wrote in the past years on sites like Design Your Way, WebDesignerDepot, WPDean, Designmodo, Speckyboy, Slider Revolution, and more.
- The Cursor Logo History, Colors, Font, And Meaning - 24 September 2026
- Top 7 Web Design Subscription Services That Replace Full-Time Hires - 24 September 2026
- Canva vs PowerPoint: Which Is Better for Presentations? - 22 September 2026

Bogdan Sandu is a seasoned designer who has been designing websites since 2008. Renowned for his expertise in logo design and visual branding, Bogdan has developed a multitude of logos for various clients. His skills extend to creating posters, vector illustrations, business cards, and brochures. Additionally, Bogdan's UI kits were featured on marketplaces like Visual Hierarchy and UI8. He also wrote in the past years on sites like Design Your Way, WebDesignerDepot, WPDean, Designmodo, Speckyboy, Slider Revolution, and more.
You Might Also Like


