


Canva has no single “add border” button. That surprises a lot of people, and it is exactly why so many end up with the wrong result.
Knowing how to add a border in Canva means understanding which of the 3 border types you actually need: a page border, an element stroke, or a frame-based border. Each uses a different workflow.
This guide covers every method, including borders for images, shapes, text boxes, and full pages, on both desktop and mobile, across Canva Free and Canva Pro.
What Is a Border in Canva?
A border in Canva is not a single feature. It refers to 3 distinct design elements: a page border (a decorative frame around the entire canvas), an element border (a stroke applied directly to an image, shape, or video), and a frame border (a structural crop container with a visible edge).
Canva has no dedicated “add border” button. Each border type uses a different workflow, which is why so many users end up applying the wrong method for their goal.
Understanding which border type you need before opening the editor saves real time. The Canva Help Center separates these into 2 distinct help articles: “Add border elements” and “Adding borders and rounded corners to elements.” They cover different things entirely.
| Border Type | What It Is | Best For |
|---|---|---|
| Page border | A rectangle shape placed around the entire canvas | Certificates, posters, invitations, and formal documents |
| Element stroke | An outline applied directly to a shape, graphic, or image | Photos, icons, illustrations, and social media designs |
| Frame border | A cropping frame with a visible edge or boundary | Collages, galleries, and structured layouts |
| Text outline | An outline effect applied to text through the Effects panel | Headlines, display text, logos, and labels |
Canva reached 260 million monthly active users in 2025, with 30 billion total designs created on the platform (Canva, 2025). Most of those designs involve at least one of these border types.
If you are new to the platform, it helps to understand what Canva is before going through the methods below. The tool runs fully in-browser with no software install required, which is part of why it became so widely used across education, marketing, and small business design.
How Do You Add a Border to a Whole Page in Canva?

Add a rectangle shape from the Elements tab, remove its fill, and set a stroke color and weight. Resize the rectangle to cover the full canvas edges. That rectangle becomes your page border.
This is the most common use case for adding a page border in Canva. Certificates, poster designs, and event invitations all rely on this approach.
Using a Rectangle Shape as a Page Border
Step-by-step:
- Open your design and go to Elements > Shapes
- Select the square or rectangle shape
- Click the fill color tile in the toolbar and set it to transparent (no fill)
- Click the border color tile and choose your stroke color
- Drag the corner handles until the rectangle covers the full canvas
- Lock the element using the lock icon so it stays in place
Works in both Canva Free and Canva Pro. No paid features required.
Adjusting Stroke Width and Color
Stroke weight controls border thickness. Canva lets you type a specific pixel value or drag the slider.
For a clean page border, values between 8px and 20px work well for most canvas sizes. Below 4px, the border disappears on exported images at smaller sizes.
Border color follows the same rules as any Canva color: you can pick from the default palette, use your brand kit colors (Canva Pro), or enter a hex code directly. Understanding hue and how color choices affect your design’s tone helps here, especially when matching border colors to a poster background.
Starbucks and Zoom are among the 85% of Fortune 500 companies that use Canva for branded design work (Cropink, 2024). Consistent border color tied to brand guidelines is one of the simplest ways to maintain visual cohesion across templates.
How Do You Add a Border to an Image in Canva?
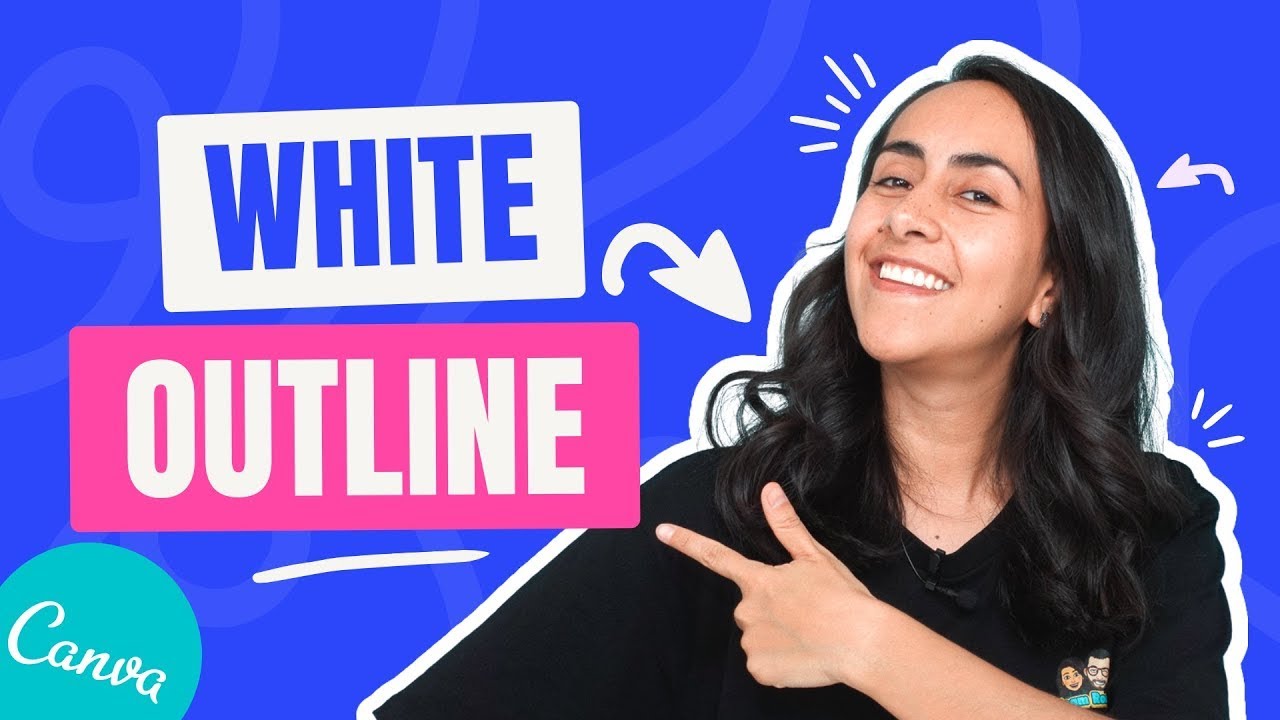
Select the image, then click the Border Style button in the top toolbar. Choose a style (solid or dashed), drag the weight slider to set thickness, and click the stroke color tile to change the color. The border appears directly around the image edge.
This is the fastest method available and works on images, videos, and most frames. According to Canva’s Help Center, some element types do not support the border style button. In those cases, the manual rectangle method is the fallback.
Using the Border Style Button (Free and Pro)
The Border Style button lives in the top toolbar and only appears when a compatible element is selected. It gives you 3 controls:
- Style: Solid or dashed stroke
- Weight: Thickness in pixels
- Color: Full color picker including hex input
Corner rounding is also available from this panel. Rounded corners soften the border and work well for social media image posts and branded graphics.
Manual Rectangle Method (Free and Pro)
Place a rectangle behind the image. Set the rectangle fill to a color and make it slightly larger than the image. The visible portion of the rectangle around the image edges functions as a border.
This method gives more control over border width because you adjust it visually by resizing the rectangle. It also supports gradient fills, which the stroke panel does not natively support.
A quick tip from working with Canva regularly: group the image and the background rectangle together once you get the sizing right. That way, moving one moves both, and nothing slips out of alignment when you resize the canvas.
How Do You Add a Border to a Text Box in Canva?

Canva does not have a native border option for text boxes. The toolbar that appears when you select a text element does not include a Border Style button. There are 2 workarounds: place a rectangle shape behind the text box, or use the Outline effect on individual text characters via the Effects panel.
Rectangle Behind the Text Box
Process:
- Add a rectangle from Elements and position it behind your text
- Set the rectangle fill to transparent and add a stroke color
- Resize until the rectangle forms an even border around the text box
- Adjust padding manually by nudging the rectangle edges
This approach applies to framing the whole text container. It is the method used on certificate designs, label templates, and call-out boxes in presentation layouts.
Text Outline via Effects Panel
The Effects panel (click Effects in the toolbar with text selected) includes an Outline option. This adds a border directly around each letter or word, not around the text box itself.
It controls thickness and color of the outline separately from the text fill. Useful for display headings, social media graphics, and designs where the text needs to stand out against a busy background. The relationship between contrast and legibility is worth understanding here: a well-chosen outline color increases readability on complex backgrounds without changing the font.
How Do You Add a Border to a Shape in Canva?

Select the shape. The stroke controls appear in the top toolbar automatically. Canva applies a border directly to the shape edge with full control over color, weight, and style.
This is the most straightforward border method in Canva. Shapes natively support stroke styling without workarounds.
| Control | Options Available | Notes |
|---|---|---|
| Stroke color | Full color picker, HEX input, and brand colors | Managed separately from fill color |
| Stroke weight | Slider or manually entered pixel value | No explicit upper limit displayed in the UI |
| Stroke style | Solid, dashed, and dotted | Dash spacing scales with stroke weight |
| Corner radius | Drag handle or enter a numeric value (including per-corner controls where supported) | Applies to rectangles and many polygon-based shapes |
Corner radius adjustments directly change how the border looks on rectangles. A high corner radius value (above 40) turns a rectangle border into a pill or oval shape, which is useful for button outlines in web design mockups built in Canva.
One thing to know: uploaded SVG shapes do not support stroke editing in Canva. Only native Canva shapes (from the Elements tab) allow corner, stroke, and color changes (Canva Help Center, 2024).
How Do You Use Canva Frames as Borders?

Canva Frames crop images into a defined shape. Adding a background rectangle behind a frame creates a border effect. The rectangle edge that extends beyond the frame boundary becomes the visible border.
Frames work differently from stroke-based borders. There is no adjustable line weight on a frame itself. The “border” is entirely created by the gap between the frame and a background element placed behind it.
Setting Up a Frame Border
The process uses layering. Place a colored rectangle on the canvas first. Then add a frame on top of it, sized slightly smaller than the rectangle. The visible area of the rectangle around the frame acts as the border.
Width of the visible border is controlled by the size difference between the rectangle and the frame. A 10px difference on each side creates a thin border. A 30px difference creates a thick one.
This matters most for collage designs and book cover designs where multiple framed images sit together in a grid. Consistent gap sizes between frames create a visual rhythm across the layout.
Frames vs. Stroke Borders: Key Difference
Stroke borders add an outline around an element’s edge. They adjust in weight and color from the toolbar, and the border grows outward from the element boundary.
Frame borders are structural. The frame defines a crop zone. The “border” is a separate background element, not a property of the frame itself. You cannot edit a frame border’s weight directly. You resize the background rectangle instead.
Use stroke borders for individual images or graphics. Use frame-based borders for collage layouts and grid designs where you want uniform spacing between cropped images. Framing as a design concept goes beyond Canva’s feature set: it is a fundamental principle that controls what the viewer focuses on within a composition.
How Do You Add a Dashed or Dotted Border in Canva?

Select a shape or image, open the Border Style panel in the top toolbar, and choose the dashed or dotted stroke option. The gap size between dashes scales automatically with stroke weight.
Dashed borders are one of the most requested border style options in Canva. They signal cut lines on printable templates, separate sections in infographics, and add a hand-crafted look to certificate and invitation designs.
Where to Find Stroke Style Options
The stroke style selector appears in the Border Style panel alongside weight and color controls. Canva currently offers 3 style options:
- Solid
- Dashed (longer gaps)
- Dotted (round dots, shorter gaps)
Increasing stroke weight makes dashes and dots larger and more visible. At low weight values (below 3px), dotted borders can look too subtle on standard canvas sizes. A weight of 6px to 12px usually produces clean, visible results for most use cases.
Best Use Cases for Dashed Borders
Dashed borders do specific jobs that solid borders cannot.
Cut line indicators: Common on printable designs like business cards, labels, and stickers where the border marks where the paper gets trimmed.
Section dividers: Used in infographic layouts to visually separate content blocks without a solid line that would feel too heavy.
Decorative certificates: A dashed inner border adds structure and a traditional document look to award certificates and flyer designs with a vintage style. The repetition of the dash pattern itself creates visual texture without adding weight to the composition.
How Do You Add a Border in Canva on Mobile?
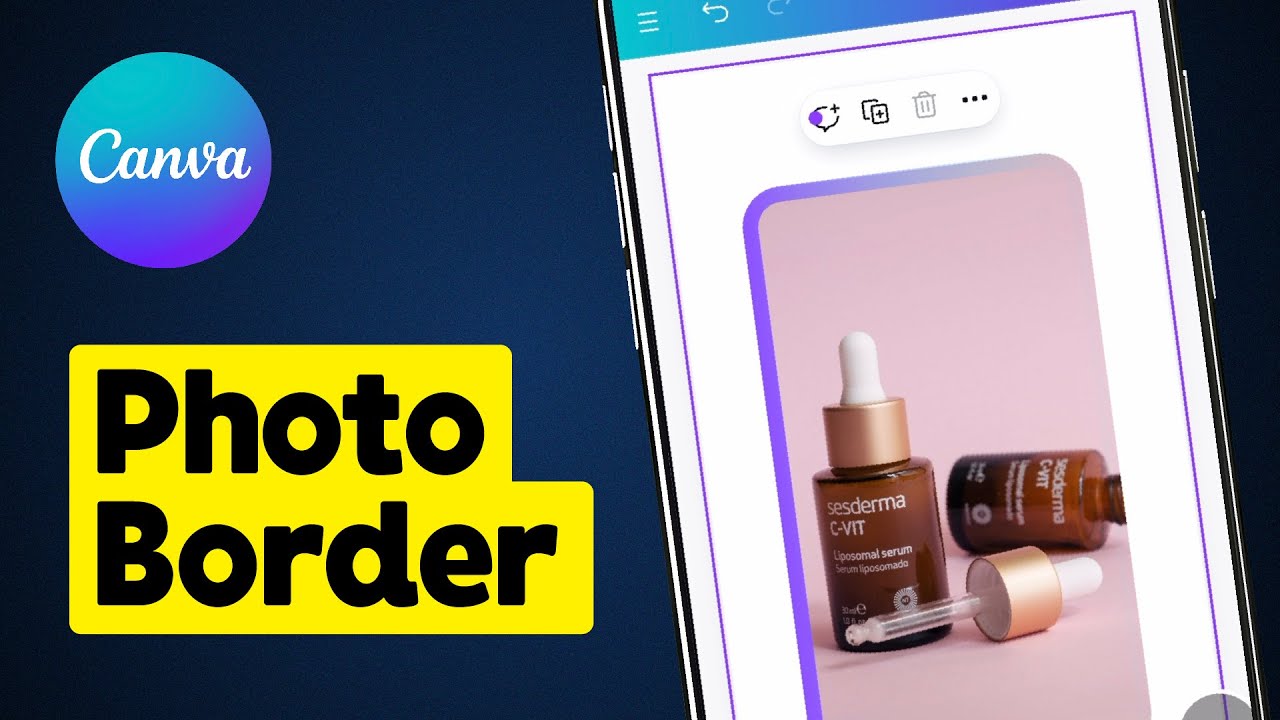
The Canva mobile app has been downloaded over 500 million times globally, with India, Indonesia, and Brazil among the top markets (Electroiq, 2024).
Border controls on iOS and Android follow the same logic as desktop, but the toolbar placement is different. Controls appear at the bottom of the screen rather than across the top.
Adding a Page Border on Mobile
Steps on iOS and Android:
- Tap the + button to open Elements
- Search for “shapes” and select the rectangle
- Tap the shape to open the bottom toolbar
- Set fill to transparent, then tap the color tile to set stroke color
- Drag corner handles to resize across the full canvas
The lock icon is available on mobile too. Use it once the border rectangle is positioned correctly so it does not shift when editing other elements.
Adding an Image Border on Mobile
Tap the image to select it. The Border Style option appears in the scrollable bottom toolbar.
Scroll right through the bottom toolbar options until Border Style is visible. Tap it to open stroke weight, style, and color controls. The mobile interface supports solid and dashed borders with the same color picker as desktop.
One practical difference: complex border adjustments (fine-tuning pixel values, precise corner radius) are noticeably harder on mobile due to screen space. Most users doing detailed border work still switch to desktop. Around 70% of business users report that Canva improves their workflow (Susdey, 2025), but that figure reflects desktop-first usage patterns.
Mobile vs. Desktop Border Controls
| Control | Desktop | Mobile |
|---|---|---|
| Border Style button | Top toolbar | Bottom scrollable toolbar |
| Stroke weight input | Slider and direct value entry | Slider only |
| Corner radius | Individual per-corner controls | Global radius control only |
| Layers panel access | Via the Position menu with fuller controls | Via the Position menu with more limited controls |
What Are the Border Customization Options in Canva?

Canva’s border styling covers 4 properties: color, weight, style, and opacity. Each is controlled separately, and they apply to both native element strokes and shape-based borders.
Canva Pro users get additional customization through the Brand Kit, which stores preset colors for consistent border styling across templates. Canva Pro costs $14.99/month for up to 5 members (AnswerIQ, 2024).
Color and Opacity Controls
Color: Full color picker with hex input, RGB sliders, and saved brand colors (Pro).
Opacity: Adjusted per element using the transparency slider, not specific to the border stroke alone. This means a semi-transparent border requires adjusting the whole element’s opacity, not just the stroke. Understanding saturation helps here: a desaturated border color at 80% opacity often blends more cleanly into a design than a fully saturated color at the same opacity.
Weight, Style, and Corner Options
Canva’s border weight has no published upper limit in the UI, but values above 50px start overlapping element content on smaller canvas sizes.
Style options available:
- Solid
- Dashed
- Dotted
Corner radius applies to rectangle-based borders and rounds the corners independently per corner on desktop. Rounded corners at values of 20px to 50px work well for card-style layouts and social post borders.
One thing worth knowing: Canva does not support gradient strokes natively. The workaround is a gradient-filled rectangle placed behind the element, as covered in the image border section. For designs where color accuracy matters across print and digital, understanding the difference between RGB and CMYK color modes is useful. Canva exports in RGB by default. Print-ready PDF exports use CMYK, which can shift border colors slightly from what you see on screen.
What the Brand Kit Adds for Border Styling (Pro)
Canva Pro’s Brand Kit stores up to 100 colors per brand palette, which appear directly in the color picker when styling borders.
This makes it fast to apply consistent border colors across multiple templates without manually entering hex codes each time. Useful for teams managing brand guidelines across social media, presentations, and print materials. Canva Pro grew paid business subscriptions by 30% in 2024 (Susdey, 2025), partly driven by teams using Brand Kit features for exactly this kind of consistency.
How Do You Remove or Edit a Border in Canva?

Removing a border depends on how the border was originally created. There are 3 distinct removal methods, each matching a specific creation method.
Removing a Stroke-Based Border
Select the element. In the Border Style panel, either set the stroke weight to 0 or click the border color tile and set it to transparent. Both methods make the border invisible without deleting the element.
Setting weight to 0 is cleaner. The transparent color method can leave artifacts if the element is exported and re-imported.
Removing a Rectangle-Based Border
Click the rectangle border element to select it, then press Delete or Backspace. If the rectangle is grouped with other elements, ungroup first using Ctrl+Shift+G (Windows) or Cmd+Shift+G (Mac).
If you cannot click the rectangle because other elements sit on top, use the Layers panel to find and select it. Access the Layers panel via Position in the top toolbar, then select the Layers tab. The panel lists every element on the page as a separate layer, which makes locating hidden or stacked border shapes straightforward (Canva Help Center, 2024).
Editing an Existing Border
Select the border element. Any property changed from that point forward updates immediately in the editor.
Common edits users make after placing a border:
- Weight increase: designs that looked fine in the editor appear thin on export at smaller sizes
- Color swap: border color clashes with a new background once the background image is changed
- Style switch from solid to dashed: for certificate and print templates that need cut indicators
A note on grouping: locking a border element (the lock icon in the toolbar) prevents accidental selection and editing when working on other parts of the design. This is different from grouping. A locked element stays in place and cannot be selected until unlocked, while a grouped element moves with the group but can still be selected within it.
The same principle applies when outlining an image in Canva: once the outline effect is applied via the Effects panel, editing it means returning to Effects and adjusting the thickness and color controls directly. There is no separate stroke layer to select or delete for text and image outline effects applied this way.
FAQ on How To Add A Border In Canva
Does Canva have a dedicated border tool?
No. Canva has no single border button. You add borders using the Border Style panel in the toolbar, a rectangle shape with a stroke, or decorative border elements from the Elements tab. The method depends on what you are bordering.
How do I add a border to an image in Canva?
Select the image and click Border Style in the top toolbar. Choose solid or dashed, set the stroke weight, and pick a color. This works on images, videos, and most frames in both Canva Free and Canva Pro.
Can I add a page border in Canva for free?
Yes. Add a rectangle shape from the Elements tab, set the fill to transparent, apply a stroke color and weight, then resize it to cover the full canvas. No paid features required. Works on any canvas size.
How do I add a dashed border in Canva?
Select your shape or image, open the Border Style panel, and choose the dashed option. Increase stroke weight to make the dashes more visible. Values between 6px and 12px produce clean results for most canvas sizes and design types.
Why can’t I add a border to my text box in Canva?
Canva does not support native borders on text boxes. The toolbar shows no Border Style button for text elements. The fix is placing a transparent-fill rectangle with a stroke behind the text box, or using the Outline effect in the Effects panel.
How do I remove a border in Canva?
For stroke-based borders, set the weight to 0 or the color to transparent in the Border Style panel. For rectangle-based borders, select the rectangle and delete it. Use the Layers panel via Position to find borders hidden behind other elements.
Can I add a rounded border in Canva?
Yes. Select a rectangle shape or image with a stroke applied, then adjust the corner radius in the toolbar. Desktop allows per-corner control. On mobile, only a global radius is available. Values of 20px to 50px work well for most designs.
How do I add a border to a shape in Canva?
Select any native Canva shape. The stroke controls appear automatically in the toolbar. Set the color, weight, and style directly. Note that uploaded SVG shapes do not support stroke editing. Only shapes added from Canva’s Elements tab allow full border customization.
How do I add a border in Canva on my phone?
Select the element and look for Border Style in the scrollable bottom toolbar. Tap it to access stroke weight, style, and color. Page borders follow the same rectangle method as desktop. Fine pixel adjustments are harder on mobile due to limited screen space.
How do I use Canva frames as borders?
Place a colored rectangle on the canvas first. Add a frame on top, sized slightly smaller. The visible rectangle edge around the frame acts as the border. Adjust the size gap between the two elements to control border width.
Conclusion
This conclusion is for an article presenting every practical method to add a border in Canva, from basic image strokes to page borders, dashed styles, frame-based outlines, and text box workarounds.
The right approach depends on what you are bordering. A rectangle shape handles page borders. The Border Style panel handles image and shape strokes. The Effects panel handles text outlines.
Border width, stroke color, corner radius, and style are all adjustable on desktop. Mobile covers the essentials but with less precision.
For consistent results across templates, especially in branded social media or poster design work, locking border elements after placement saves real editing time.
Pick the method that matches your design, apply it once, and lock it in place.

Renowned for his expertise in logo design and visual branding, Bogdan has developed a multitude of logos for various clients.
His skills extend to creating posters, vector illustrations, business cards, and brochures. Additionally, Bogdan's UI kits were featured on marketplaces like Visual Hierarchy and UI8.
He also wrote in the past years on sites like Design Your Way, WebDesignerDepot, WPDean, Designmodo, Speckyboy, Slider Revolution, and more.
- Canva vs PowerPoint: Which Is Better for Presentations? - 22 September 2026
- How to Install Fonts on Mac (Step-by-Step Guide) - 20 September 2026
- From Mockup to Code: How AI-Augmented Development Speeds Up the Design Handoff - 19 September 2026

Bogdan Sandu is a seasoned designer who has been designing websites since 2008. Renowned for his expertise in logo design and visual branding, Bogdan has developed a multitude of logos for various clients. His skills extend to creating posters, vector illustrations, business cards, and brochures. Additionally, Bogdan's UI kits were featured on marketplaces like Visual Hierarchy and UI8. He also wrote in the past years on sites like Design Your Way, WebDesignerDepot, WPDean, Designmodo, Speckyboy, Slider Revolution, and more.
You Might Also Like


