That sticker-style cutout effect you see on YouTube thumbnails? It takes about 30 seconds to create.
Learning how to outline an image in Canva gives your graphics instant visual punch. The technique works for social media posts, presentation slides, marketing materials, and thumbnail creation.
No design experience needed. No expensive software required.
Canva’s built-in Glow Effect and Shadow tools handle everything. You adjust the outline color, thickness, and blur settings until it looks right.
This guide walks through each step with exact menu paths and settings. You will learn the standard method, the cutout image technique, and how to fix common problems when the outline effect does not display correctly.
How to Outline an Image in Canva
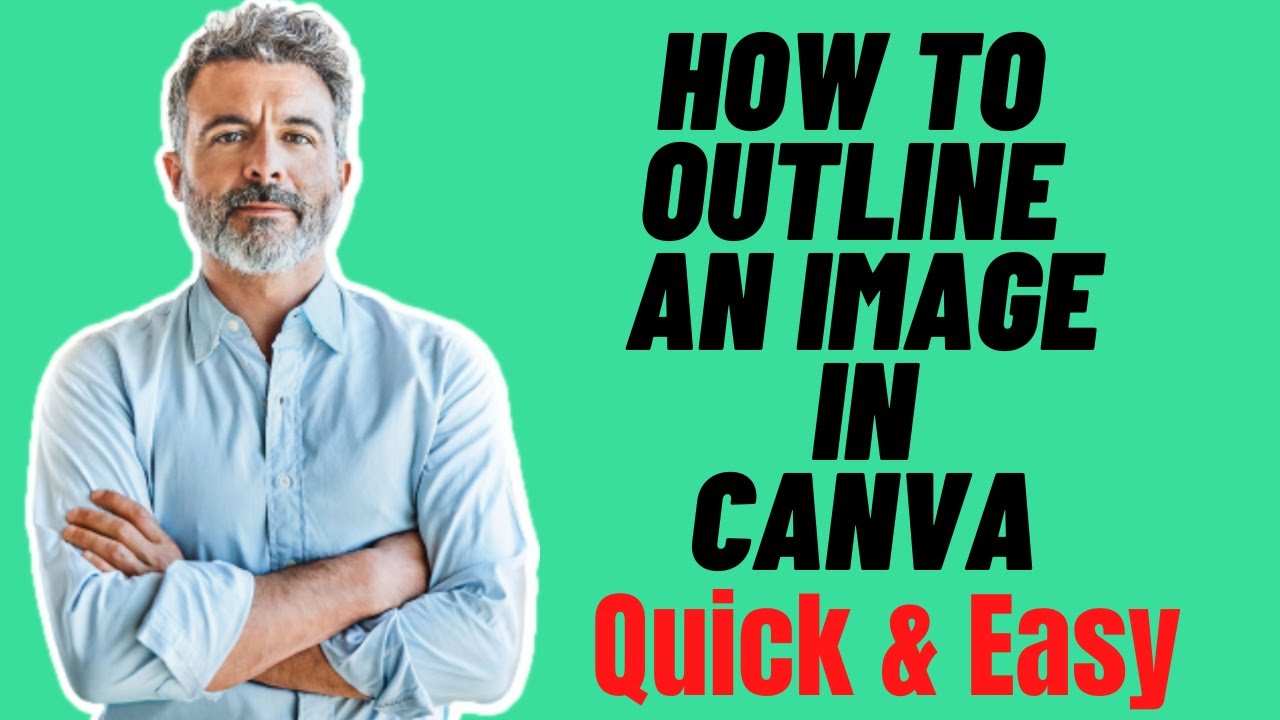
Outlining an image in Canva is the process of adding a visible border around a photo or graphic using the Glow Effect or Shadow tools within the Edit Image panel.
Users need this when creating YouTube thumbnails, social media posts, or marketing graphics where the subject must stand out from the background.
This guide covers 5 steps requiring 3 minutes and a Canva account.
Prerequisites
- Canva account (free version works for basic image border effects)
- Canva Pro subscription (required for Background Remover on cutout images)
- Web browser, Canva desktop app, or Canva mobile app
- An image to outline (PNG, JPEG, or from Canva’s stock library)
- 3-5 minutes of time
Step One: How Do You Upload or Select Your Image in Canva?
Open Canva and create a new design or select an existing project from your dashboard. Click the Upload button in the left sidebar to add your own image, or browse Elements > Photos to choose from Canva’s stock images.
Drag your selected image onto the design canvas and position it where you want the outline effect applied.
Action
- Canva Homepage > Create a Design: Select custom dimensions or choose a template size (1280×720 for thumbnails)
- Left Sidebar > Uploads > Upload files: Select PNG or JPG from your device
- Drag image to canvas: Position and resize using corner handles
Purpose
Your image must be on the canvas before accessing photo editing tools. The outline effect applies only to images placed within your design workspace.
Step Two: How Do You Remove the Background for a Cutout Outline?
Select your image on the canvas and click Edit Image in the top toolbar. Navigate to the Background Remover tool under the Tools section and click it to automatically erase the background around your subject.
Skip this step if you want the outline around the entire image rather than just the cutout subject.
Action
- Click image > Edit Image: Opens the photo editing panel on the left
- Tools > BG Remover: Canva Pro automatically detects and removes background
- Erase and Restore brushes: Fine-tune edges if the auto-removal missed areas
Purpose
The Background Remover isolates your subject so the outline effect wraps around the cutout shape instead of the rectangular image boundary. This creates the sticker-style effect popular in thumbnail creation.
Without background removal, your outline will form a rectangle around the entire photo. Both approaches work depending on your design needs.
Step Three: Where Do You Find the Outline Effect in Edit Image?
With your image selected, click Edit Image in the top toolbar to open the editing panel. Scroll down to the Shadows section or type “Shadows” in the search bar to locate the effect options.
The Shadows menu contains three presets: Glow, Drop, and Outline.
Action
- Select image > Edit Image: Opens the left panel with all editing tools
- Scroll to Shadows or search “Shadows”: Located below the main effects
- Click Glow or Outline: Either option works for creating image outlines
Purpose
The Glow Effect and Outline preset both create borders around images. Glow offers more customization with transparency and blur controls. The Outline preset provides a harder edge with fewer adjustments.
Most designers use Glow with blur set to 0 for precise outline thickness control.
Step Four: How Do You Adjust the Outline Settings for Size, Color, and Blur?
Click the settings icon (sliders) next to the Glow or Outline effect to open the customization panel. Adjust the Size slider to control outline thickness, set Blur to 0 for hard edges, and use the Color Picker to select your outline color.
Action
- Size slider: Increase for thicker outlines (20-50 for visible borders)
- Transparency: Set to 100 for solid outlines, lower for subtle effects
- Blur: Set to 0 for crisp edges, increase for soft glow effect
- Color: Click the color swatch to open the Color Picker tool
Purpose
These settings determine your final outline appearance. White outlines at Size 30, Blur 0, Transparency 100 create the classic thumbnail cutout look.
Experiment with different hue values to match your brand colors or create contrast against your background.
Step Five: How Do You Apply and Save Your Outlined Image?
Click Apply to confirm your outline settings. Exit the Edit Image panel by clicking the back arrow or anywhere on the canvas. Download your design using the Share button in the top right corner.
Action
- Click Apply: Confirms the outline effect on your image
- Share > Download: Opens export options
- Select PNG format: Preserves outline quality and supports transparent backgrounds
- Click Download: Saves file to your device
Purpose
PNG format maintains outline sharpness better than JPG compression. Select “Transparent background” if your design canvas has no background color and you need the cutout effect preserved.
Verification
Check these items before downloading:
- Outline appears evenly around the entire subject
- No gaps or missing sections along edges
- Color displays correctly against your background
- Thickness looks appropriate at actual size (zoom to 100%)
Preview your design at different zoom levels. Outlines that look good zoomed out may appear too thick or thin at full resolution.
Troubleshooting
Issue: Outline Appears Around the Entire Image Instead of Just the Subject
Solution: Use background removal in Canva before applying the outline effect. The Glow effect follows the image boundary, so backgrounds must be removed first for cutout-style outlines.
Issue: Outline Looks Pixelated or Blurry
Solution: Start with a higher resolution source image. Low-quality photos produce rough edges after background removal, which affects outline smoothness. Minimum 1000 pixel width recommended.
Issue: Glow Effect Not Visible on the Image
Solution: Increase the Size slider above 20 and set Transparency to 100. White outlines on light backgrounds need higher values to show. Try a darker outline color if visibility remains poor.
Issue: Background Remover Tool Is Grayed Out
Solution: Background Remover requires Canva Pro. Free users can remove backgrounds using external tools, export as PNG with transparency, then upload to Canva for outlining.
Alternative Method: Using the Border Style Tool for Shape Outlines
The Border Style tool works for images placed inside frames or basic shapes. Select your framed image, click Border Style in the top toolbar, then adjust border width and color.
When to Use Each Method
- Glow/Shadow method: Cutout images, irregular shapes, subjects with removed backgrounds
- Border Style method: Rectangular photos, images in frames, geometric shapes
Border Style creates uniform rectangular borders. Glow effect follows the actual contours of your subject.
Related Processes
- How to crop in Canva for resizing images before outlining
- How to make YouTube thumbnails on Canva using outlined images
- How to highlight text in Canva for matching text effects
- How to change background color on Canva to complement your outline
FAQ on How To Outline An Image In Canva
Can You Outline an Image in Canva Free?
Yes. The Glow Effect and Shadow tools work in Canva’s free version. You can adjust outline color, size, and blur settings without a paid subscription. Background Remover for cutout outlines requires Canva Pro.
Where Is the Outline Tool in Canva?
Select your image and click Edit Image in the top toolbar. Scroll to the Shadows section or search “Shadows” in the effects panel. Choose Glow or Outline from the available presets.
How Do You Add a White Outline to a Picture in Canva?
Apply the Glow effect to your image, then click the settings icon. Set the color to white using the Color Picker, increase Size to 25-40, set Blur to 0, and Transparency to 100.
Why Is My Outline Not Showing in Canva?
The Size value is too low or Transparency is set below 100. Increase the Size slider above 20 for visible outlines. White outlines on light backgrounds need higher values or a different outline color.
Can You Outline Just the Subject Without the Background?
Yes. Remove the background first using Canva Pro’s Background Remover tool. The outline effect then follows your subject’s contours instead of creating a rectangular border around the entire image.
What Is the Difference Between Glow and Outline in Canva?
Both create borders around images. Glow offers four adjustable settings: size, transparency, blur, and color. The Outline preset provides fewer controls with a default hard edge. Glow with blur set to 0 matches Outline results.
How Do You Make a Thick Outline in Canva?
Open the Glow effect settings after applying it to your image. Drag the Size slider to higher values between 40-80. Keep Blur at 0 for crisp edges. Preview at 100% zoom to check thickness.
Can You Add Multiple Outlines to One Image?
Canva does not support multiple outlines natively. Duplicate your image, apply different outline sizes and colors to each copy, then stack them with slight position offsets to create a layered outline effect.
How Do You Outline Text Instead of Images in Canva?
Select your text box and click Effects in the top toolbar. Choose the Outline effect from the style options. Adjust thickness and color using the sliders. This works separately from image outline tools.
What File Format Keeps the Outline Quality When Downloading?
Download as PNG format for best outline quality. PNG preserves sharp edges better than JPG compression. Select “Transparent background” if your design canvas has no fill and you need the cutout preserved.
Conclusion
Knowing how to outline an image in Canva adds a professional touch to any graphic design project. The process takes minutes once you understand where the tools live.
The Shadows menu holds everything you need. Adjust the Size Slider for thickness, the Transparency Slider for intensity, and the Blur Slider for edge softness.
Cutout images with removed backgrounds create that popular sticker effect. Standard photos get clean rectangular borders.
Both approaches work within the Edit Image panel using identical steps.
Save your work as PNG to preserve image enhancement quality. Try different outline colors against various backgrounds to see what creates the strongest visual impact for your design elements.
Practice on a few test images first. The settings become intuitive quickly.

Renowned for his expertise in logo design and visual branding, Bogdan has developed a multitude of logos for various clients.
His skills extend to creating posters, vector illustrations, business cards, and brochures. Additionally, Bogdan's UI kits were featured on marketplaces like Visual Hierarchy and UI8.
He also wrote in the past years on sites like Design Your Way, WebDesignerDepot, WPDean, Designmodo, Speckyboy, Slider Revolution, and more.
- The Windsurf Logo History, Colors, Font, And Meaning - 10 October 2026
- How to Remove Background From Product Photos (No Photoshop) - 10 October 2026
- How Designers can Build a Stronger Online Creative Identity - 9 October 2026

Bogdan Sandu is a seasoned designer who has been designing websites since 2008. Renowned for his expertise in logo design and visual branding, Bogdan has developed a multitude of logos for various clients. His skills extend to creating posters, vector illustrations, business cards, and brochures. Additionally, Bogdan's UI kits were featured on marketplaces like Visual Hierarchy and UI8. He also wrote in the past years on sites like Design Your Way, WebDesignerDepot, WPDean, Designmodo, Speckyboy, Slider Revolution, and more.
You Might Also Like