This embroidery font generator shows how your text would look stitched. Type a name, pick a bold or script font, and the tool fills each letter with satin or fill stitches, adds thread shading, an optional border stitch and an optional merrowed patch, then saves the preview as a PNG.
It is a preview, not a digitizer. The PNG is a picture of the stitching, and the tool does not write machine files such as DST or PES. Use it to test fonts, sizes, colors and stitch types before you spend time in digitizing software or order a sample.
Read the fine print on any embroidery font converter and you will find the vendors hedging. Digitizing software makers say converted fonts come out close to hand-digitized ones, though not quite as good, and some decline to guarantee correct processing of any TrueType or OpenType font. Home embroiderers mostly use converters for names and monograms, and shops use them to match a typeface the customer already has.
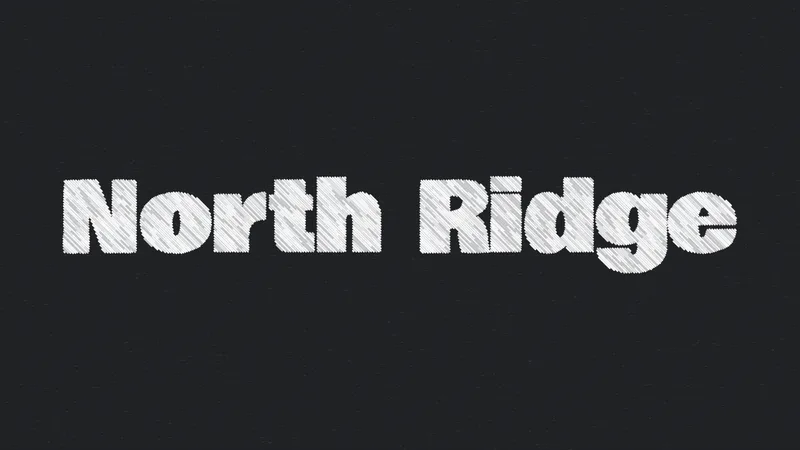
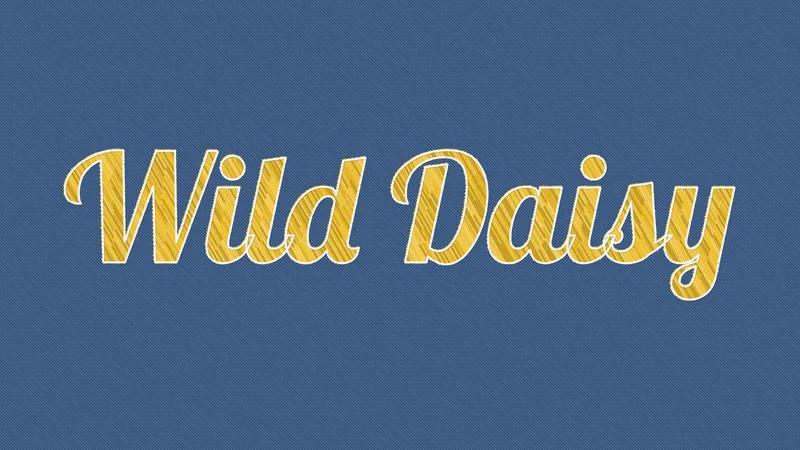
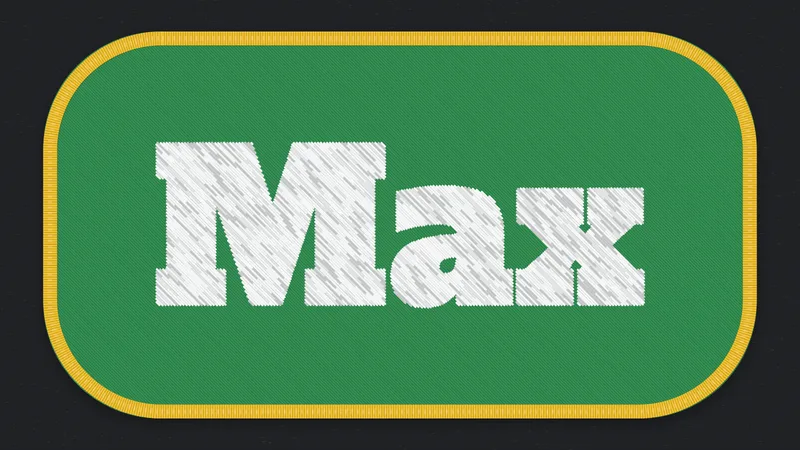
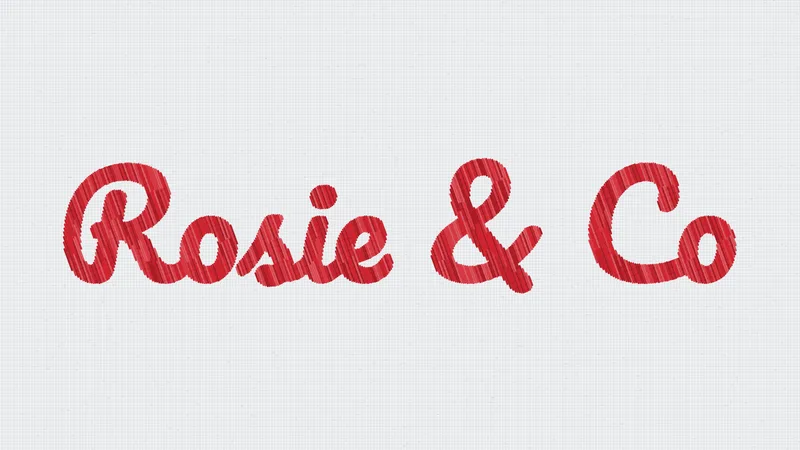
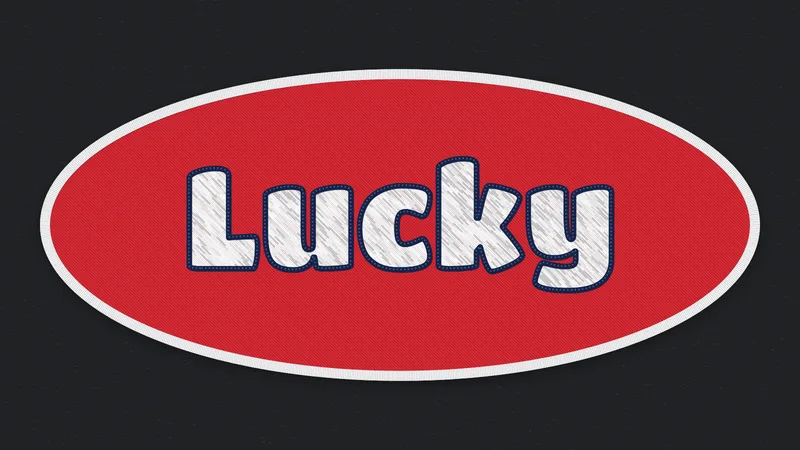
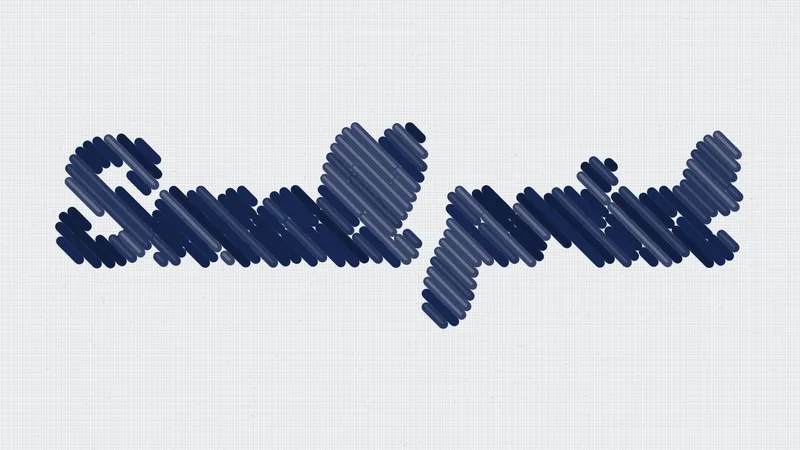
How to use this embroidery font generator
- Type your text under the preview, up to 24 characters.
- Pick a font and set the capital letter height in millimeters. The preview shows a warning when the letters are too small to stitch cleanly.
- Choose the stitching: stitch type, angle, row spacing, thread width, fill stitch length, pull compensation and underlay.
- Set the colors: letter thread, an optional running or satin border, the fabric and an optional patch with a merrowed edge.
- Download the PNG, save a 2x version, or copy the image. Choose No fabric for a transparent background.
What Is an Embroidery Font Generator?
A full generator outputs a machine file such as DST or PES, not a graphic. Instead of curves and fills, each letter carries a stitch type and a density, with an underlay sewn beneath it.
How an embroidery font differs from a standard font
Printing fonts are stored as shapes, while embroidery fonts are stored as stitches placed into fabric.
Printing fonts scale freely since they are built from vector shapes. An embroidery letter does not get that freedom. Stitch length, density, fabric strength and machine limits all cap how far it can shrink or grow.
| Property | Standard font | Embroidery font |
|---|---|---|
| Stores | Outlines | Stitch type, density, underlay per letter |
| Scaling | Any size | A recommended minimum and maximum |
| Delivered as | TTF, OTF, web fonts | Stitch file such as DST or PES |
Preview tools and digitizing software
A preview tool like this one shows how lettering looks as stitches and exports an image. Digitizing software goes one step further and writes the stitch file a machine reads. Image-only text effects do not count as a generator in that second sense, since they still need digitizing before a machine can sew them.
Among the tools that do write stitches, some ship ready-made stitch fonts, digitized by hand and tested within a stated size range, which is why they usually sew cleanest. Converted fonts are built by the software from an outline. Any installed font works that way, but the result is only as good as the conversion.
How Does an Embroidery Font Generator Turn a Font Into Stitches?
It starts by reading each glyph outline out of the font file. The strokes get split into columns, and the software picks a stitch type for each one based on its width. Narrow strokes turn into satin columns, wide areas into fill, and hairlines into run stitches. Underlay and trims are added last, then the stitch coordinates are written out.
Converters read outlines from either file type, so the OpenType versus TrueType question does not narrow the choice.
This tool follows the same idea on screen. It rasterizes the letters, lays rows of stitches across them at your angle and spacing, and picks satin or fill by the width of each run.
Stitch type by letter shape
Satin dominates lettering, but it has a ceiling. Digitizing guides cite about 7 mm as the practical maximum satin width on wearables, because longer stitches snag and distort. Some allow up to about 10 mm for non-wearable work.
The stricter figure is the safer one for lettering. In practice, strokes up to 7 mm get satin and anything wider gets fill (tatami). Run stitch is for outlines and hairlines. In Auto mode this tool follows that rule, while the Satin and Fill modes force one type.
Which Settings Control Stitch Quality in Generated Lettering?
Density, underlay, pull compensation and letter spacing decide most of how converted lettering sews. The defaults handle standard cases. Every value shifts, though, once the fabric or the letter height changes.
Stitch density
Density sets how far apart neighboring stitch rows sit in a satin column. Tighter rows give more coverage and weight. Looser ones keep the letter soft and the fabric flat. In this tool the Row spacing slider sets it, and about 0.4 mm is the usual starting point.
Many programs adapt the spacing automatically as column width changes, which helps avoid thread breaks. Open the spacing manually only when letters feel stiff.
Underlay
Underlay gets sewn first. It stabilizes the fabric and gives the satin on top something to sit on. Lettering quality depends a lot on it, and the right choice follows the shape and size of the letters, the fabric and the purpose.
Edge run underlay anchors the column edges so they do not pull inward. Center run puts a single line down the middle of a narrow column, and on tight curves it should stay short so it does not poke through the edge. The preview draws a simple underlay beneath the top stitches, and you can switch it off.
Pull compensation
Digitizing guides suggest about 0.2 to 0.3 mm of pull compensation for lettering and more for stretchy fabrics, around 0.35 mm for knits such as polo shirts.
Needle penetrations pull the fabric inward, so satin columns narrow and gaps can open up. Stitches bunch too. Without compensation, letters sew narrower than they looked on screen. The Pull compensation slider widens the letters in the preview so you can see the effect.
Letter spacing and kerning
Pull compensation widens every column, so closely spaced pairs can touch on fabric even when they were clear on screen. That is where kerning adjustments on tight pairs such as AV or To pay off.
Open the pair by a small step. Resizing the whole line fixes nothing.
Adjustment order
- Set the letter height first, since every other value depends on it.
- Leave the spacing at its default. Change density only if the letters look stiff.
- Pick the underlay to suit the fabric and the column width.
- Apply pull compensation for the fabric.
- Open the letter spacing last, then test-stitch on scrap.
What Is the Minimum Letter Height for Machine Embroidery?
Sources do not agree on one number. Published minimums for satin lettering run from under 4 mm to about 6.4 mm, depending on letter case, thread and who you ask. All caps go smaller because they are easier to read at small sizes.
What the sources say
Most guides put mixed case at about 5 to 6 mm with standard 40-weight thread, and bold all caps can go lower. Lowercase letters in many fonts sit at about 70% of capital height, so a name set at 6 mm by its capitals has lowercase of only about 4 mm.
The disagreement is about stroke width more than height. A satin stitch cannot be narrower than the needle is thick, and a satin column needs to be roughly 1 mm wide to sew cleanly. A thin-stroked font hits that floor at a taller size than a bold block font.
For mixed case, plan on 6 mm (0.25 in) or more. Go below 5 mm only with all caps in a bold font. The warning in this tool follows the same thresholds.
Why resizing a generated font breaks density
Embroidery fonts cannot be scaled freely like graphic fonts, and stitch quality drops when they are enlarged or reduced too far. Digitizing programs usually limit the scale of each font to a tested range, and resizing outside the program may not embroider correctly.
Change the size in the generator, then export again. Here the capital height is set in millimeters, so thread and row spacing keep their real size while the letters change.
Fonts that hold up at small sizes
Bold block fonts with even strokes survive small sizes best. This roundup of fonts that suit embroidery is a good place to shortlist candidates.
Script faces are the weak spot. Thin joins and hairline connectors fall under the column width limit, which is why a script font needs more height than a block font.
A finer thread and a thinner needle lower the floor, and underlay steadies small satin on stretch fabric. Fleece, towels and heavy knits need taller letters.
Which File Formats and Machines Does an Embroidery Font Generator Support?
This tool exports PNG only. Machine files come from digitizing software, and the format depends on the machine. Brother and Baby Lock read PES, Janome reads JEF, and Husqvarna Viking and Pfaff use VP3. EXP goes to Melco and Bernina, and DST goes to Tajima and most commercial machines.
| Format | Typical brands | What it carries |
|---|---|---|
| PES | Brother, Baby Lock | Stitches plus a preview |
| JEF | Janome | Stitches, colors, hoop codes |
| VP3 | Husqvarna Viking, Pfaff | Tag-based, richer metadata |
| EXP | Melco, Bernina | Low-level command encoding |
| DST | Tajima, commercial machines | Low-level exchange format |
The exact machine model decides the final answer, not only the brand.
Native format or exchange format
Export in the machine's native format whenever possible. DST and EXP are low-level, so nearly every machine accepts them, but they carry less than a native file.
A native file brings colors, hoop settings and previews along. DST does not carry thread colors, so color changes get set again on the machine.
Converting a finished PES into JEF afterwards can flatten brand-specific objects and properties into plain stitches. Export from the digitizing software in the target format instead.
Font formats are not design formats
Some keyboard-font formats install stitch-based fonts into one specific program, and other programs save custom fonts in their own font format. Those files load in the software that made them, or in compatible programs, and not in unrelated software.
TrueType and OpenType files are outlines that converters read. They hold no stitches at all. None of these goes onto a machine. Only the exported design does.
How to Choose an Embroidery Font Generator
Pick by workflow rather than feature count. A browser preview is the quickest way to check how a font, size and color will read. Digitizing software then turns the winner into a machine file.
| Route | Font source | Fits |
|---|---|---|
| Browser preview (this tool) | Free open-license fonts | Testing looks, sizes and colors |
| Converter inside digitizing software | Installed TrueType and OpenType fonts | Names and short runs |
| Ready-made stitch fonts | Hand-digitized by a digitizer | Cleanest stitching, no conversion step |
| Manual digitizing | Your own artwork or logo | Logos, scripts and customer files |
Deciding between them
For one-off names, a converter built into digitizing software does the job. If you are editing converted letters or selling lettering, expect to work on the letters one by one afterwards. A hand-digitized stitch font usually stitches better than anything converted on the fly, so it often beats paying for a converter.
Licenses differ per font. Some free stitch fonts use the SIL Open Font License, while others carry a noncommercial license. Read the license before putting a free font on products you sell.
How to Create Embroidery Lettering Step by Step
People tend to skip the preview before export. Do not.
- Type the text and choose a font in this preview. If you convert a font in digitizing software, install the font on the computer first.
- Set the stitch type and the capital height, staying inside the font's recommended range.
- Check the lowercase letters at the final height.
- Read the stitch count and the stroke width in the preview.
- Recreate the lettering in digitizing software and export it in the machine format.
- Test-stitch on scrap fabric with the real stabilizer.
If your converter reads installed fonts, this guide to installing fonts on a Mac covers that step.
What to check in the preview
- Overlapping letters in script fonts build extra thread, so zoom in on every connection.
- When shrinking stitch-based lettering, keep stitches no shorter than 1 mm.
- A jump in stitch count after resizing means density went up.
- Assign thread colors before export, because PES, JEF and VP3 keep them and DST does not.
A scrap test catches what the screen hides. Fabric pull and thread build-up only show up in thread.
When Does a Generated Embroidery Font Fail?
Most failures happen at the conversion step, not at the machine. The source font was drawn for print, so overlaps and thin joins become stitch problems, and so do short lowercase letters.
What the vendors warn about
Some software license terms state that TrueType and OpenType fonts were not designed for conversion into embroidery designs, and they disclaim any guarantee of correct processing.
Lowercase letters in many fonts sit at about 70% of capital height and may be too small to embroider neatly, so increase their size or use all caps.
Pre-digitized stitch fonts have a different problem. They can lack glyphs, and many hold only capitals, digits and a few marks.
Serif or block: the sources split
The bold block advice above holds for hand-digitized fonts. For automatic conversion, some digitizing documentation says narrower serif fonts give better results than blocked fonts.
The documentation does not explain why. Test both styles in your converter before committing a job to either.
Automatic conversion versus manual digitizing
Automatic conversion is fast and works with any installed font, and there is no per-font cost after the software purchase. The trade is quality, which can fall short of hand-digitized lettering, and no vendor guarantees how a given font will convert.
Manual digitizing tunes stitch direction and underlay letter by letter within a tested size range, and it handles script joins and logos better. It is slower, and paid fonts cost money.
Embroidery Font Generator FAQ
Does this tool create a DST or PES file?
No. It creates a PNG preview of the stitching. A machine file has to come from digitizing software, which writes the stitch coordinates your machine reads.
Can a generator handle Arabic, Hebrew or Asian fonts?
Some digitizing programs can, including right-to-left text and fonts with several thousand characters. This preview uses Latin fonts, so other scripts are not supported here.
How many stitches does a name use?
No fixed number exists. The count rises with letter count, letter height, density and stitch type.
Read the figure from the stitch preview before you export. The number shown here is for the simulated stitching, so treat it as a guide.
Which fonts suit hats and patches?
Bold fonts with thick, even strokes. Thin scripts lose their hairlines on textured surfaces like cap twill.
Test-stitch on the real cap or patch fabric before running a batch.
Do I need a computer to generate embroidery lettering?
This preview runs in any modern browser. Writing a machine file needs digitizing software on a computer.
When to Trust a Generated Embroidery Font
A converted font is safe for names and monograms, plus short lines, at a height inside the font's recommended range. A client's logo, or any lettering that fails a test stitch, goes to a digitizer.
The sensible order is cheapest first. Preview the lettering here, test-stitch the converted font on scrap, buy a ready-made alphabet if that fails, and save manual digitizing for logo work.
Conversion buys unlimited typefaces and accepts weaker quality with no vendor guarantee.