


You’ve placed your image perfectly. Now the text just… sits there. Flat. Disconnected.
Learning how to wrap text in Canva fixes that problem. It brings text and visuals together into a single cohesive layout.
Here’s the catch: Canva doesn’t offer automatic text wrapping like Word or Google Docs. Everything is manual.
But that’s actually good news. Manual control means precise placement for your poster design or social media graphics.
This guide covers four methods: text box resizing, manual positioning, curved text effects, and multi-box techniques.
Each step includes exact toolbar paths, specific settings, and fixes for common problems. Takes about five minutes to master.
How to Wrap Text in Canva
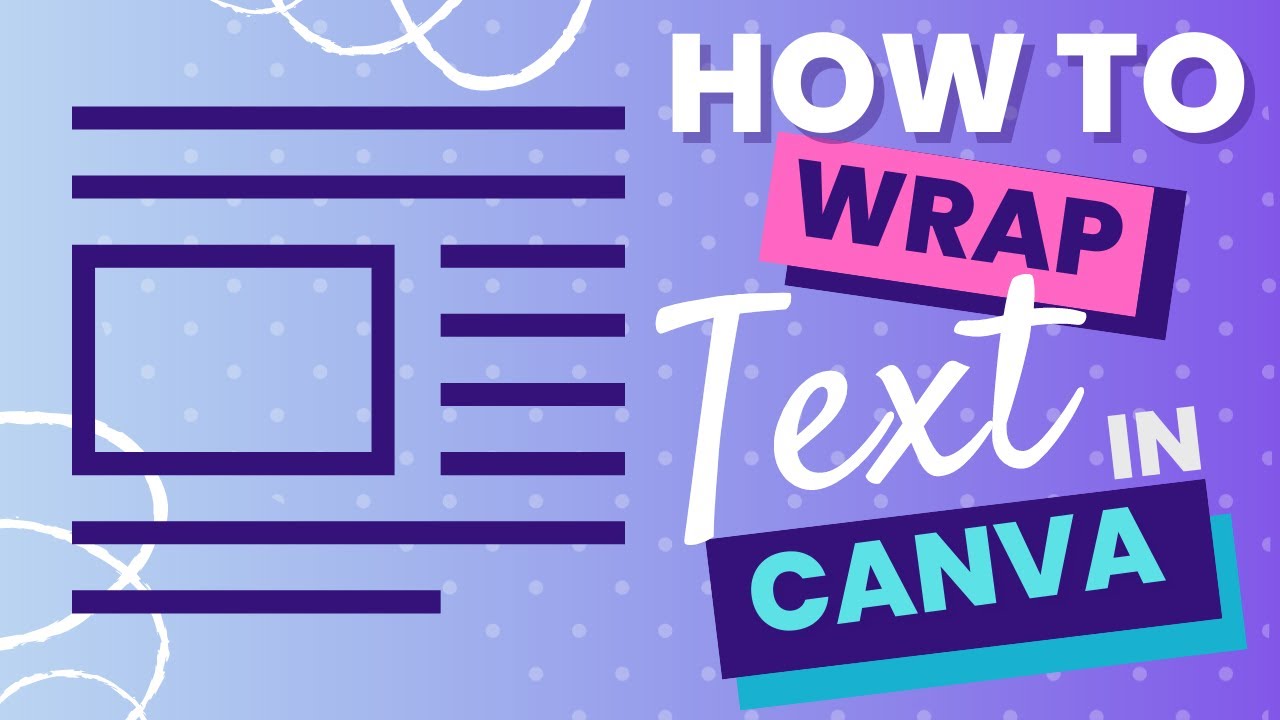
How to wrap text in Canva is the process of positioning text around images, shapes, or design elements using manual text box adjustments and the Effects panel.
Users need this when creating social media graphics, marketing materials, or any layout where text and visuals must flow together.
This guide covers 4 methods requiring approximately 5 minutes and a free Canva account.
Here’s the thing most tutorials won’t tell you: Canva doesn’t have automatic text wrapping like Microsoft Word. You’ll do everything manually. But once you get it, the process becomes second nature.
Prerequisites
Before you start wrapping text around images, gather these requirements:
- Canva account (free version works, Canva Pro adds more fonts)
- Web browser or Canva desktop app (latest version)
- Beginner skill level
- Time required: 3-5 minutes per method
- An image or shape to wrap text around
That’s it. No design degree needed.
Step One: How Do You Resize a Text Box to Wrap Text?
Select your text box and drag the white pill handles on the left or right edges inward. The text automatically flows to the next line as the width decreases, creating a wrapped appearance within the text container.
Action
- Location: Left sidebar > Text > Add a heading (or add a text box directly)
- Control: White pill handles on left/right edges of text box
- Result: Text wraps to next line as width decreases
Purpose
Narrower text boxes force automatic line breaks. This is the foundation of all text wrapping in Canva.
Most people skip this step and jump straight to curved text. Don’t. Master the resize first.
Step Two: How Do You Position Text Around an Image?
Drag your resized text box near the image edge. Adjust leading and letter spacing through the Spacing option in the top toolbar. The text appears to wrap naturally around visual elements when positioned correctly.
Action
- Location: Canvas workspace > drag text box adjacent to image
- Adjustment: Top toolbar > Spacing > Line height slider (try 1.2 to 1.5)
- Result: Text flows around the image edge
Purpose
Canva lacks automatic text wrap functionality. Manual positioning gives you complete control over the design layout.
I actually prefer this approach. Word processors auto-wrap text and then you spend ten minutes fighting the formatting. Here, you place it exactly where you want it.
Step Three: How Do You Curve Text Around Circular Shapes?
Select your text box, click Effects in the top toolbar, then choose Curve from the Shape section. Adjust the curve slider between -100 and 100 to bend text in an arc around circular images or rounded design elements.
Action
- Path: Select text > Top toolbar > Effects button
- Setting: Shape section > Curve > Adjust slider (-100 to 100)
- Result: Text bends in arc shape
Positive values curve text upward (smile shape). Negative values curve downward (frown shape).
For a deeper look at this technique, check our guide on how to curve text in Canva.
Purpose
The curve effect creates wrapped appearance for logos, badges, and circular profile images. Values between -50 and 50 maintain better typography readability.
Go too extreme with the curve and your text becomes unreadable. Start subtle.
Step Four: How Do You Use Multiple Text Boxes for Complex Wrapping?
Duplicate your text box using Ctrl+D (Windows) or Cmd+D (Mac), then position each segment around different sides of the image. Use the alignment tools in the top toolbar for precise placement across your design layout.
Action
- Function: Right-click text box > Duplicate (or Ctrl+D / Cmd+D)
- Placement: Position each text box segment around image edges
- Tools: Top toolbar > Position > Align options
Need to keep boxes together while moving? Learn how to group in Canva first.
Purpose
Multiple text boxes allow custom wrapping around irregular shapes. One box for left side, another for right, a third below.
Tedious? A little. But it works for complex layouts where the curve effect falls short.
Verification
Check your text wrapping results before exporting:
- Preview design at 100% zoom (View > Zoom > 100%)
- Verify text readability at intended display size
- Check that no text overlaps image edges
- Confirm font spacing looks consistent across all text boxes
- Test on mobile preview if designing for social media
Zoom out to 50% and squint. If you can still read the text, your spacing works.
Troubleshooting
Text Overlaps With Image
Issue: Text runs into the image edge.
Solution: Select text box > Spacing > increase line height to 1.4 or higher. Reposition text box 10-20 pixels away from image boundary. Adding white space between elements improves readability.
Text Box Won’t Resize
Issue: Dragging handles doesn’t change text box width.
Solution: Check if grouped with other elements. Right-click > Ungroup, then drag white pill handles. Grouped objects lock individual element controls.
Curved Text Appears Distorted
Issue: Letters stretch or become unreadable after applying curve.
Solution: Effects > Curve slider > Set value between -50 and 50 for subtle curves. Extreme values (-100 or 100) distort tracking and letter shapes.
Text Doesn’t Align Properly
Issue: Multiple text boxes look uneven around the image.
Solution: Select all text boxes > Position > Align > choose Align left or Align right. Use visual hierarchy principles to guide placement decisions.
Line Breaks Appear in Wrong Places
Issue: Words break mid-phrase when resizing text box.
Solution: Widen text box slightly until words break at natural points. Add manual line breaks (Shift+Enter) where needed for better control.
Related Processes
Once you’ve wrapped text, these related Canva skills expand your design options:
- How to highlight text in Canva for emphasizing wrapped text sections
- How to flip text in Canva for mirrored wrap effects
- How to use frames in Canva for containing wrapped layouts
- How to outline an image in Canva for defining wrap boundaries
- How to remove background in Canva for cleaner text integration
Understanding proximity principles helps you decide how close text should sit to images.
For print projects, check your DPI settings before exporting wrapped text designs.
FAQ on How To Wrap Text In Canva
Does Canva Have an Automatic Text Wrap Feature?
No. Canva doesn’t have automatic text wrapping like Microsoft Word or Google Docs. You wrap text manually by resizing text boxes, adjusting spacing, and positioning elements around images. This gives you more control over your design layout.
How Do I Wrap Text Around a Circle in Canva?
Select your text box, click Effects in the top toolbar, then choose Curve from the Shape section. Adjust the curve slider to bend text around circular images. Positive values curve upward, negative values curve downward.
Why Won’t My Text Box Resize in Canva?
Your text box is likely grouped with other elements. Right-click and select Ungroup to release it. Then drag the white pill handles on the left or right edges to adjust width and create text wrapping.
Can I Wrap Text Around Shapes in Canva?
Yes, but manually. Position multiple text boxes around the shape edges. Use the Spacing tool to adjust line height and kerning for consistent appearance. Combine boxes strategically to mimic wrapped text flow around irregular shapes.
How Do I Adjust Line Spacing When Wrapping Text?
Select your text box, click Spacing in the top toolbar. Use the Line height slider (1.2 to 1.5 works for most designs). Letter spacing adjusts horizontal gaps between characters. Both affect how wrapped text reads.
What’s the Best Curve Value for Readable Wrapped Text?
Stay between -50 and 50 on the curve slider. Extreme values distort letters and hurt readability. Subtle curves maintain proper typeface proportions while creating the wrapped effect around circular elements.
Can I Wrap Text in Canva Free Version?
Yes. All text wrapping methods work in the free version. Text box resizing, manual positioning, and the Curve effect are available to all users. Pro only adds more fonts and brand kit features.
How Do I Wrap Text Around an Image Without Overlap?
Increase spacing between text and image by repositioning the text box 10-20 pixels away from image edges. Use the Spacing tool to add line height. Preview at 100% zoom to check for overlapping elements.
Why Does My Curved Text Look Stretched?
The curve value is too extreme. Reduce it toward zero. Also check your font choice. Some decorative fonts distort more than simple sans-serif options when curved. Try switching to a cleaner typeface.
How Do I Wrap Text for Print Projects in Canva?
Follow the same manual wrapping process. Before exporting, set your design to CMYK color mode if available, and export as PDF Print. Check that wrapped text remains readable at final print size.
Conclusion
Knowing how to wrap text in Canva transforms flat designs into polished layouts. The manual approach takes practice, but delivers precise control over every element.
Start with text box resizing. Move to positioning. Then experiment with curved effects for circular elements.
Multiple text boxes handle complex shapes when single-box methods fall short.
These techniques apply across all Canva projects. Social media posts, print design materials, presentations, marketing graphics.
Understanding graphic design principles like balance and contrast will sharpen your text placement instincts over time.
The Spacing toolbar becomes your best friend. Line height, letter spacing, and text box width work together.
Now open Canva and try wrapping text around your next image. Five minutes of practice beats an hour of reading.

Renowned for his expertise in logo design and visual branding, Bogdan has developed a multitude of logos for various clients.
His skills extend to creating posters, vector illustrations, business cards, and brochures. Additionally, Bogdan's UI kits were featured on marketplaces like Visual Hierarchy and UI8.
He also wrote in the past years on sites like Design Your Way, WebDesignerDepot, WPDean, Designmodo, Speckyboy, Slider Revolution, and more.
- Canva vs Photoshop: When Does Each Make Sense? - 12 September 2026
- Briefing 3D Game Animation: Rigs, Clip Lists and Engine Handoffs - 11 September 2026
- The Webflow Logo History, Colors, Font, And Meaning - 10 September 2026

Bogdan Sandu is a seasoned designer who has been designing websites since 2008. Renowned for his expertise in logo design and visual branding, Bogdan has developed a multitude of logos for various clients. His skills extend to creating posters, vector illustrations, business cards, and brochures. Additionally, Bogdan's UI kits were featured on marketplaces like Visual Hierarchy and UI8. He also wrote in the past years on sites like Design Your Way, WebDesignerDepot, WPDean, Designmodo, Speckyboy, Slider Revolution, and more.
You Might Also Like


