Product photos cost money. Mockups cost nothing.
Learning how to make a mockup in Canva lets you showcase t-shirt designs, website concepts, and packaging ideas without hiring photographers or buying samples.
The entire process takes under 10 minutes. No design experience required.
Canva’s built-in mockup generator handles everything from apparel to device screens to print materials. Drag, drop, adjust, export.
This guide walks you through accessing the Mockups feature, selecting templates, uploading your designs, adjusting placement, and exporting high-resolution files ready for your online store or client presentation.
Six steps. Professional product visuals. Zero budget.
How to Make a Mockup in Canva
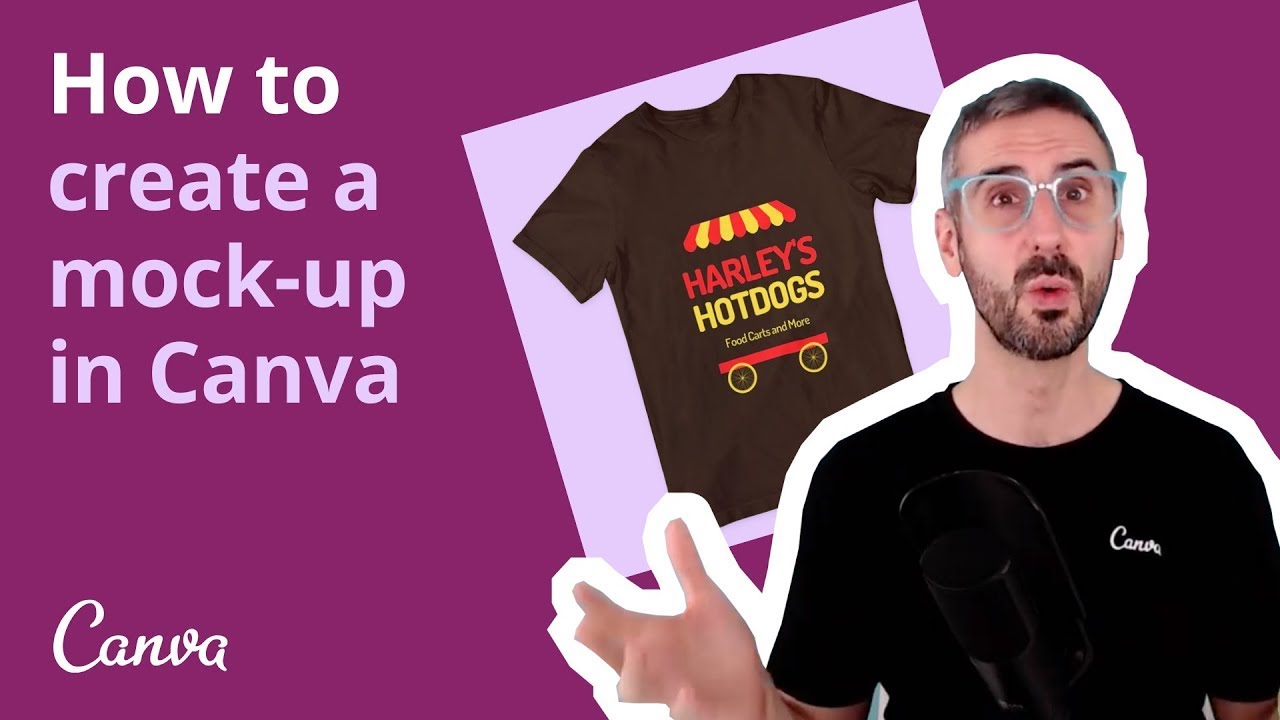
Making a mockup in Canva is the process of placing your design onto a realistic product image using the built-in Mockups app or Elements panel.
Users need this when showcasing merchandise for print on demand stores, presenting website concepts to clients, or building product catalog images without expensive photo shoots.
This guide covers 6 steps requiring 5-10 minutes and a free Canva account.
What You Need Before Starting
Gather these before you begin:
- Canva account (free version works, Canva Pro unlocks more templates)
- Design file ready for upload (PNG with transparent background works best)
- Web browser or Canva desktop/mobile app
- Basic familiarity with the Canva interface
Time estimate: 5-10 minutes per mockup.
If you’re new to the platform, check out what Canva is and how it works before jumping in.
Step One: How Do You Access the Mockups Feature in Canva?
Open Canva and create a new design or open an existing project.
You have two access methods depending on your workflow.
Method A: Elements Panel
Click Elements in the left sidebar, then type “Mockups” in the search bar.
Hit enter. Browse the mockup template library that appears.
Method B: Edit Image Tool
Upload or select an image on your canvas first.
Click the image, select Edit image from the top toolbar, then scroll to find the Mockups app under Apps.
This method also lets you turn your own photos into custom mockup templates (though premium photos won’t work for this).
Step Two: Where Do You Find Mockup Templates That Match Your Product Type?
The mockup template library organizes options by category.
Finding the right one takes about 30 seconds once you know where to look.
Available Categories
- Apparel: t-shirt mockups, hoodie mockups, clothing on models or flat-lay
- Devices: iPhone mockups, MacBook mockups, iPad mockups, website mockups
- Print materials: poster mockups, business card mockups, book cover mockups
- Drinkware: mug mockups, bottle mockups, tumbler designs
- Packaging: box mockups, label mockups, product packaging previews
Search Tips
Use specific terms like “white t-shirt model” or “laptop desk scene” for better results.
Filter by free templates if you’re not on Pro. The crown icon indicates premium-only mockups.
Look for scenes that match your brand aesthetic. A minimalist product looks weird on a cluttered background.
Step Three: How Do You Upload and Prepare Your Design for the Mockup?
Your design file needs to be ready before applying it to any template.
File prep takes maybe 2 minutes but saves headaches later.
Accepted File Formats
Canva accepts JPEG, PNG, and PDF files for mockup placement.
PNG with transparent background gives the cleanest results. JPG works but may show white edges on curved surfaces.
Resolution Requirements
For print mockups, aim for 300 DPI in your source file.
Web mockups display fine at 72 DPI. Higher resolution means sharper details when viewers zoom in.
Check your design dimensions in pixels before uploading. Tiny images stretched onto large mockups look blurry.
Upload Path
Navigate to Uploads in the left panel, click Upload files, then select your design from your device.
The file appears in your uploads folder within seconds. Drag it onto your canvas when ready.
Need to remove a background first? Learn how to remove backgrounds in Canva before uploading.
Step Four: How Do You Apply Your Design to the Mockup Template?

Two methods work depending on which access route you chose earlier.
Drag and Drop Method
Select a mockup from the Elements panel, drag it onto your canvas, then drag your uploaded design directly into the mockup frame.
The design snaps into place automatically. Done in seconds.
Smart Mockups Through Edit Image
Select your design on the canvas first.
Click Edit image > scroll to Mockups app > browse templates > click your preferred mockup.
Your design applies instantly. Click Apply changes to confirm.
Step Five: How Do You Adjust the Design Placement and Fit?
Raw placement rarely looks perfect. Fine-tuning takes another minute or two.
Fill vs Fit vs Smart Crop
- Fill: stretches design to cover the entire mockup surface, may crop edges
- Fit: maintains aspect ratio, may leave empty space
- Smart Crop: AI-powered automatic cropping that keeps the focal point centered
Most apparel mockups work best with Fit. Device screens often need Fill.
Manual Adjustments
Drag corner handles to resize. Drag the design itself to reposition within the frame.
Need to flip an image in Canva? Use the flip horizontal/vertical buttons in the toolbar.
The alignment tools help center your design precisely on the product surface.
Color Options for Apparel
Click the color tile on clothing mockups to change the garment color.
Match your color palette to your brand. Black shirts show light designs better; white shirts work for darker graphics.
Step Six: How Do You Save and Export Your Finished Mockup?
Your mockup is ready. Now get it out of Canva.
Save to Design
Click Apply changes to lock the mockup into your canvas.
It saves automatically to your Canva account. Access it anytime from your projects folder.
Download Options
Click Share > Download in the top right corner.
Choose your format:
- PNG: best for web use, supports transparency, larger file size
- JPG: smaller files, no transparency, good for ecommerce listings
- PDF: ideal for print design applications
Need a PDF specifically? Here’s how to save Canva as PDF with the right settings.
Resolution Settings
Web mockups export fine at standard resolution.
Print materials need higher quality. Select “PDF Print” for 300 DPI output when sending to professional printers.
Confirming Your Mockup Looks Correct
Quick quality check before sharing:
- Design sits within product boundaries without awkward clipping
- Colors appear accurate (adjust saturation or contrast if needed)
- Text remains readable at thumbnail size
- Lighting and shadows look natural against the product
Zoom out to 50% and squint. Does it still read well? Good.
Common Problems and Fixes
Design Appears Stretched or Distorted
Fix: Switch from Fill to Fit mode, or resize your source file proportionally before uploading.
Square designs on rectangular mockups always distort. Match aspect ratios.
Mockup Shows Pro Watermark
Fix: Filter templates by “Free” only, or upgrade your account.
The crown icon means premium. No crown, no cost.
Colors Look Different on Mockup
Fix: Adjust brightness slider to -3 to -5 through the Edit image panel.
Mockup photos have their own lighting. Your flat design needs to match that ambient light.
Cannot Find Mockups Option
Fix: Access through Elements > search “Mockups” or select any image > Edit image > Apps > Mockups.
The feature exists in both places. Try the other if one fails.
Alternative Method: Creating Custom Mockups from Stock Photos
Pre-made templates not cutting it? Build your own.
When to Use This
Unique product shots. Specific scene requirements. Brand-specific environments that templates don’t offer.
Basic Process
Search Elements for stock photos with blank surfaces (empty walls, plain devices, white t-shirts on models).
Add the photo to your canvas. Learn how to use frames in Canva to create placement areas for your designs.
Layer your design on top, adjust opacity and blending if needed.
Time Comparison
Pre-made templates: 2-3 steps, under 5 minutes.
Custom mockups: 5-7 steps, 10-15 minutes depending on complexity.
Related Processes
Mockups connect to other Canva workflows you might need:
- Making a logo in Canva for branding your mockup designs
- Creating posters in Canva that need realistic preview displays
- Designing book covers for author marketing materials
- Building product catalogs with consistent mockup styling across all items
- Creating social media graphics featuring your mockup images
Each mockup you create can feed into larger marketing projects. One t-shirt design becomes Instagram posts, Etsy listings, and website banners.
FAQ on How To Make A Mockup In Canva
Is the mockup feature free in Canva?
Yes, the Mockups app is free for all Canva users. However, some premium mockup templates display a crown icon and require a Pro subscription. Filter by “Free” to see only no-cost options.
What file formats work best for mockups?
PNG files with transparent backgrounds produce the cleanest results. Canva also accepts JPG and PDF uploads. For print mockups, use high-resolution source files. Vector graphics scale better than raster images.
Can I create custom mockups from my own photos?
Yes. Upload your photo, select it, click Edit image, then choose the Mockups app. Canva analyzes flat surfaces in your image and creates placement areas automatically. Premium stock photos won’t work for this feature.
How do I change the t-shirt color on apparel mockups?
Click the mockup after applying your design. A color tile appears in the toolbar. Select it to browse available garment colors. Not all apparel mockups support color changes. Look for templates with the color option icon.
Why does my design look blurry on the mockup?
Low-resolution source files cause blurry mockups. Upload designs at minimum 1000 pixels wide. For packaging design or print products, use 300 DPI files. Small images stretched onto large mockup surfaces always pixelate.
Can I use mockups for commercial purposes?
Yes. Canva’s content license allows commercial use of mockups created on the platform. This includes selling products on Etsy, Shopify, and other ecommerce platforms. Check specific template licenses if using third-party elements.
How do I remove the background from my design before adding it to a mockup?
Upload your image, select it, click Edit image, then use Background Remover (Pro feature). Free users can upload PNG files with transparent backgrounds already created in other software.
What mockup categories does Canva offer?
Canva provides apparel, devices, drinkware, print materials, packaging, and home decor mockups. Categories include iPhone mockups, MacBook mockups, t-shirt mockups, mug mockups, poster designs, and book covers.
Can I add multiple designs to one mockup scene?
Some mockup templates support multiple placement areas. Look for scenes with several products like desk setups or clothing flat-lays. Each frame accepts a separate design. Group elements in Canva to move them together.
How do I export mockups in high resolution?
Click Share, then Download. Select PNG for web use or PDF Print for professional printing. Pro users access additional resolution settings. Standard exports work fine for social media and ecommerce product listings.
Conclusion
Knowing how to make a mockup in Canva gives you a direct path to professional product visualization without the overhead.
Six steps. Drag and drop your design. Adjust placement. Export.
The Smart Mockups feature handles apparel mockups, device screen mockups, and print materials with equal ease. Your Etsy listings, Shopify store, and social media graphics all benefit from realistic product images that build buyer confidence.
Start with the Elements panel or Edit Image tool. Experiment with different mockup templates until you find scenes that match your brand presentation.
Every design deserves a proper showcase. Canva makes that possible in under ten minutes, whether you’re selling t-shirts or pitching website concepts to clients.

Renowned for his expertise in logo design and visual branding, Bogdan has developed a multitude of logos for various clients.
His skills extend to creating posters, vector illustrations, business cards, and brochures. Additionally, Bogdan's UI kits were featured on marketplaces like Visual Hierarchy and UI8.
He also wrote in the past years on sites like Design Your Way, WebDesignerDepot, WPDean, Designmodo, Speckyboy, Slider Revolution, and more.
- Canva vs PowerPoint: Which Is Better for Presentations? - 22 September 2026
- How to Install Fonts on Mac (Step-by-Step Guide) - 20 September 2026
- From Mockup to Code: How AI-Augmented Development Speeds Up the Design Handoff - 19 September 2026

Bogdan Sandu is a seasoned designer who has been designing websites since 2008. Renowned for his expertise in logo design and visual branding, Bogdan has developed a multitude of logos for various clients. His skills extend to creating posters, vector illustrations, business cards, and brochures. Additionally, Bogdan's UI kits were featured on marketplaces like Visual Hierarchy and UI8. He also wrote in the past years on sites like Design Your Way, WebDesignerDepot, WPDean, Designmodo, Speckyboy, Slider Revolution, and more.
You Might Also Like