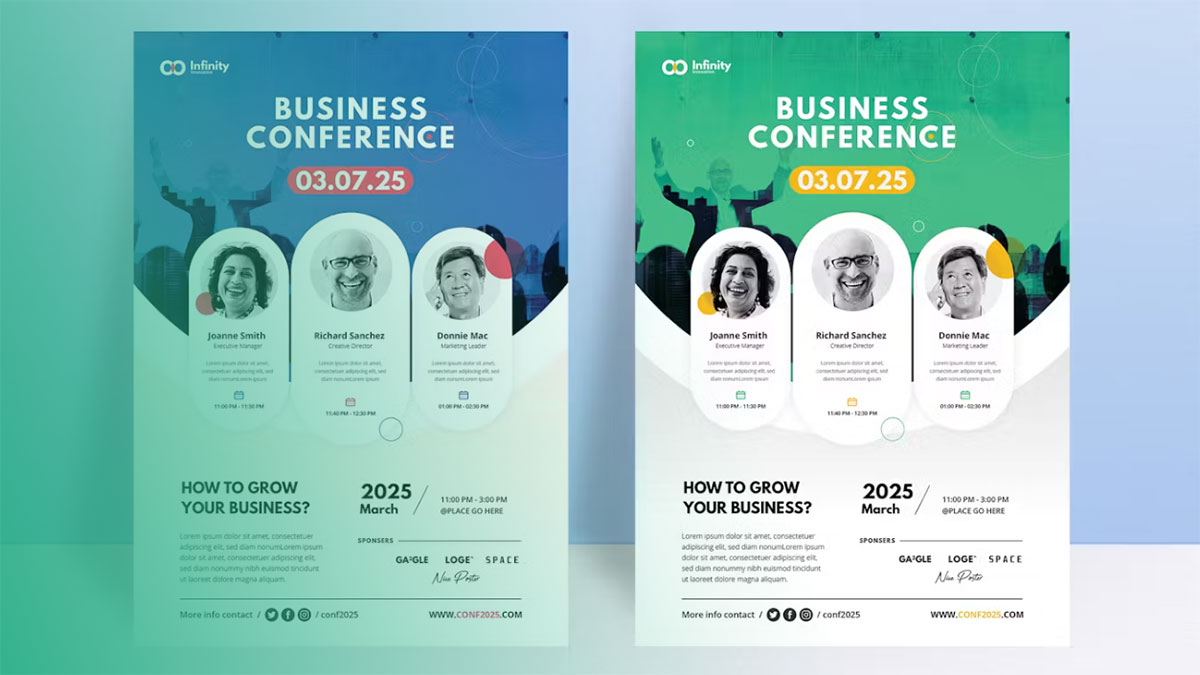
Pages handles this fine. Open it, pick a flyer template or a Blank Layout document, replace the placeholder text and photos with your own, then export. A PDF works for printing and a PNG works for posting online. The app is free on every Mac, so the only cost is the print shop, if you end up using one.
Apple’s Pages User Guide recommends a page layout document for flyers, and plenty of people start in the wrong document type without noticing. Text boxes, images and shapes can sit anywhere on a page layout document. A word-processing document pushes everything down the page as one block of text.
Printing has its own quirk. Pages 15.4 exports PDFs with no CMYK or bleed settings, so a full-bleed letter flyer needs a custom page size of 8.75 x 11.25 in. That’s the file size University of Minnesota Printing Services specifies for apps without a bleed feature.
Which App Should You Use to Make a Flyer on a Mac?
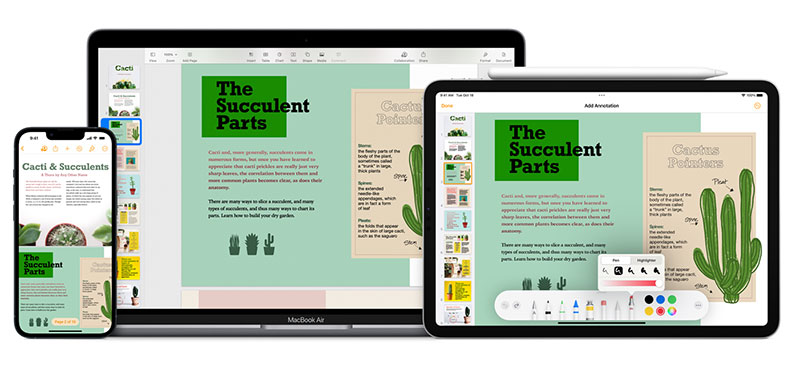
I’d start with Pages. It’s free and already installed, and the templates cover most yard sale, event and small business flyers.
Switch only when the job needs a big template library, CMYK output or real bleed controls. Pages has none of those.
| App | Cost (US) | Runs as | CMYK / bleed | Best for |
|---|---|---|---|---|
| Pages | Free | Mac app | No | Home-printed and emailed flyers |
| Canva | Free, Pro $144/year | Browser or desktop app | CMYK export on Pro only | Template-first, social-ready flyers |
| Adobe Express | Free, Premium $9.99/month | Browser | Limited | Quick template edits |
| Word for Mac | Microsoft 365 Personal, $99.99/year | Mac app | No | People already paying for Office |
| Affinity by Canva | Free | Mac app | Yes | Print shop jobs on a zero budget |
Prices come from each vendor’s pricing page as of September 2026. Microsoft raised Microsoft 365 Personal from $69.99 to $99.99 a year in January 2025, when it bundled Copilot into the plan.
Free options
Pages, Canva Free, Adobe Express Free and Affinity cost nothing, but they behave very differently day to day.
- Pages works offline and keeps files on your Mac or in iCloud Drive
- Canva and Adobe Express need an account and mostly run in the browser
Affinity also wants a free Canva account before you can download it. Canva folded Designer, Photo and Publisher into one free Affinity app on October 30, 2025, which makes it the obvious pick when a print shop asks for a CMYK PDF with bleed and you’d rather skip a subscription.
Paid options
Canva Pro adds premium templates and brand kits, and it’s the tier with print-ready CMYK export. Word for Mac is usable, though placing images freely takes more fiddling than in Pages.
InDesign is the industry tool and overkill for a single flyer. It only makes sense if you already pay for Creative Cloud.
If you’re torn between the two big template apps, this breakdown of how Canva and Adobe Express compare covers the free tiers in more detail.
How to Make a Flyer in Pages

The steps are short. Getting the document type right is the only part people trip on, so that goes first.
Template or Blank Layout?
Apple Support recommends page layout documents for flyers. Word-processing documents flow text from page to page, while page layout documents let you place text boxes, images and shapes anywhere, and that freedom is the whole point.
If a template is close to what you need, use it. Replacing text beats building from nothing.
Blank Layout (in the Basic category) makes sense when every template looks wrong for your brand or event.
To see which type you’re in, click the Document button in the toolbar. A selected Document Body checkbox (and a Bookmarks tab in the sidebar) means word-processing. A cleared checkbox means page layout. Apple lets you convert between types, but save a copy first because switching can shift content around.
Building the flyer step by step
- Open Pages and choose File > New to open the template chooser.
- Double-click a flyer or poster template, or Blank Layout in the Basic category.
- Click placeholder text and type your headline, date, place and contact details.
- Drag your own photo onto an image placeholder. The new picture keeps the placeholder’s dimensions.
- Open the Format sidebar to change fonts, colors, borders and image effects.
- Add extra text boxes or shapes from the toolbar if the template is missing something.
- Save with File > Save, then export when the layout is final.
Editing placeholder text and images
Some template objects won’t move because they’re locked or grouped. Select the object, open the Arrange tab in the sidebar and click Unlock.
Pages also accepts SVG files, which matters for logos. Vector graphics stay sharp at any size, while a small PNG logo blurs once it’s stretched across a letter-size page.
Apple Creator Studio launched on January 28, 2026 ($12.99 a month). Since then, premium images from the Content Hub carry watermarks unless you subscribe, and premium templates are reserved for subscribers. It’s easy to miss until the watermark shows up in your export. The core app and the standard templates are still free.
What Size Should a Flyer Be?
US Letter (8.5 x 11 in) is the default in North America, and A4 covers almost everywhere else. Any home printer takes either one, and print shops quote both by default.
| Size | Dimensions | Typical use |
|---|---|---|
| US Letter | 8.5 x 11 in | Bulletin boards, storefront windows |
| A4 | 210 x 297 mm | Same jobs outside the US and Canada |
| Half-letter | 5.5 x 8.5 in | Handouts, counter stacks |
| A5 | 148 x 210 mm | Handouts, mail inserts |
Half-letter and A5 flyers cut paper costs in half, since two fit on one sheet. More options, including tabloid and DL, are in this guide to common flyer sizes.
Changing size and orientation in Pages
Click the Document button in the toolbar, then the Document tab. Pick a paper size from the pop-up menu and choose portrait or landscape.
For a size that isn’t in the list, go to File > Page Setup, open the Paper Size menu and choose Manage Custom Sizes.
One limit worth knowing. According to Apple’s Pages User Guide, a document uses a single orientation, so a landscape back side needs its own file.
Portrait suits walls and poles, and landscape reads better on tables, screens and social feeds.
Designing the Flyer Layout
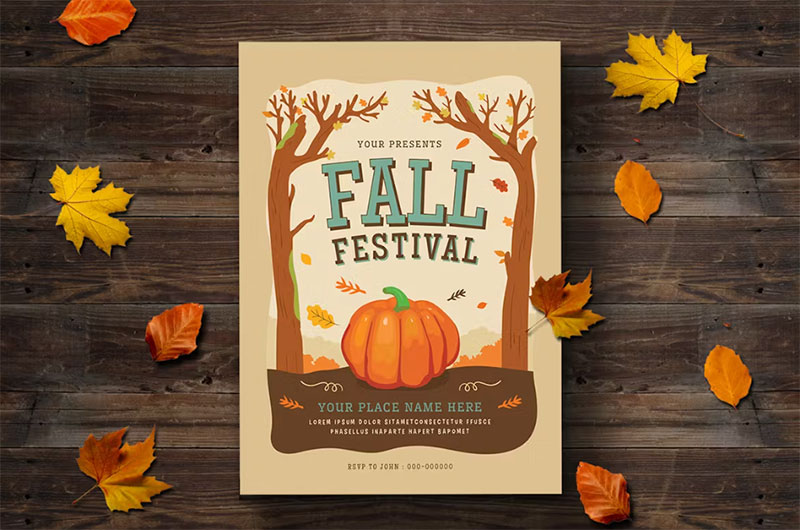
Readers give a flyer about three seconds, so it has to say what the thing is and when it’s happening, then point to one next step.
Anything past that is optional. Texture, clip art and a third font usually do damage.
Text, shapes and images
Most flyers run on one big headline and one strong photo or graphic, plus the date, time and place. Add a call to action at the bottom, whether that’s a phone number, a URL or a QR code.
Text boxes, shapes and media all come from the toolbar. Hold Shift while clicking to select several objects and align them together.
Pages has no QR code generator. Make the code in a separate tool, save it as SVG or a high-resolution PNG, and drag it in.
Rental, tutoring and lost-pet flyers do well with tear-off tabs. Rotate a text box 90 degrees in the Arrange tab, duplicate it along the bottom edge, and add dashed lines as cut guides.
On a Mac with M1 or later, Image Playground can generate a simple illustration from a text description inside Pages. That’s fine for a bake sale. If you’re selling something, a real photo still wins.
Fonts and color
Two fonts is the limit. Use a bold one for the headline and a plain one for the details.
Size the headline far bigger than feels natural on screen, because it should read from across a room. Body text under 12 pt tends to get skipped on a printed flyer.
When the Pages font menu feels endless, a shortlist of fonts that work well on flyers helps.
Stick to dark text on a light background, or flip it. Low contrast, like gray on beige or yellow on white, vanishes the moment the flyer hits a sunny window.
Pick one accent color from your logo and reuse it. A flyer with five colors looks like a template nobody finished.
Photo resolution for print
A photo that looks crisp on a Retina screen can still print soft.
Print shops generally ask for images at 300 pixels per inch at their final printed size. A photo filling a full letter page needs roughly 2550 x 3300 pixels to hit that.
Screens and printers measure sharpness differently, so knowing what DPI actually measures can save you a reprint.
A quick test: zoom Pages to 200 percent. If the photo looks blocky there, it will look blocky on paper.
How to Export a Flyer as a PDF or Image
Choose File > Export To in Pages, then pick PDF for printing or Images for screens.
The export is a copy, so your original Pages file stays editable for the next event. If you’re working with several high-resolution photos or creating multiple print versions, it can also help to check disk space before exporting, since print-quality PDFs and image files can take up considerably more storage than the original Pages document.
| Format | Pick it for | Setting to check |
|---|---|---|
| Home printing, print shops, email attachments | Image Quality: Best | |
| PNG | Instagram, Facebook, websites | Pages to export |
| JPEG | Text messages, small email files | Image quality slider |
| TIFF | Shops that refuse PDFs (rare) | File size |
PDF export settings
Apple’s guide for Pages 15.4 lists the PDF options: an Image Quality menu, checkboxes for comments and smart annotations, and accessibility tags under Advanced Options.
That’s the full list. No color profile menu, no bleed field, no crop marks.
For print, pick Best. Lower settings shrink photos to cut file size, which is fine for an emailed proof and bad for paper.
Open the finished PDF in Preview before sending it anywhere. Zoom in on the photo and the smallest text, since compression shows there first.
Image export for social media
Export To > Images turns each page into its own picture file. PNG keeps text edges sharp, while JPEG files come out smaller but lettering can pick up fuzzy artifacts.
For a flyer that’s mostly text on flat color, PNG wins. A photo-heavy design is the one case where a compressed JPEG makes more sense.
Instagram crops tall images, so a letter-size portrait flyer loses its top and bottom in the feed. Check the preview before posting.
Sending the file to another device
AirDrop gets the file onto your iPhone fastest, which helps for texting or posting. iCloud Drive also works, and the file shows up in the Files app on every device signed in to the same Apple Account.
When emailing, attach the PDF and leave the .pages file out. Windows users can’t open .pages files without a workaround such as iCloud.com.
Printing Your Flyer at Home or at a Print Shop
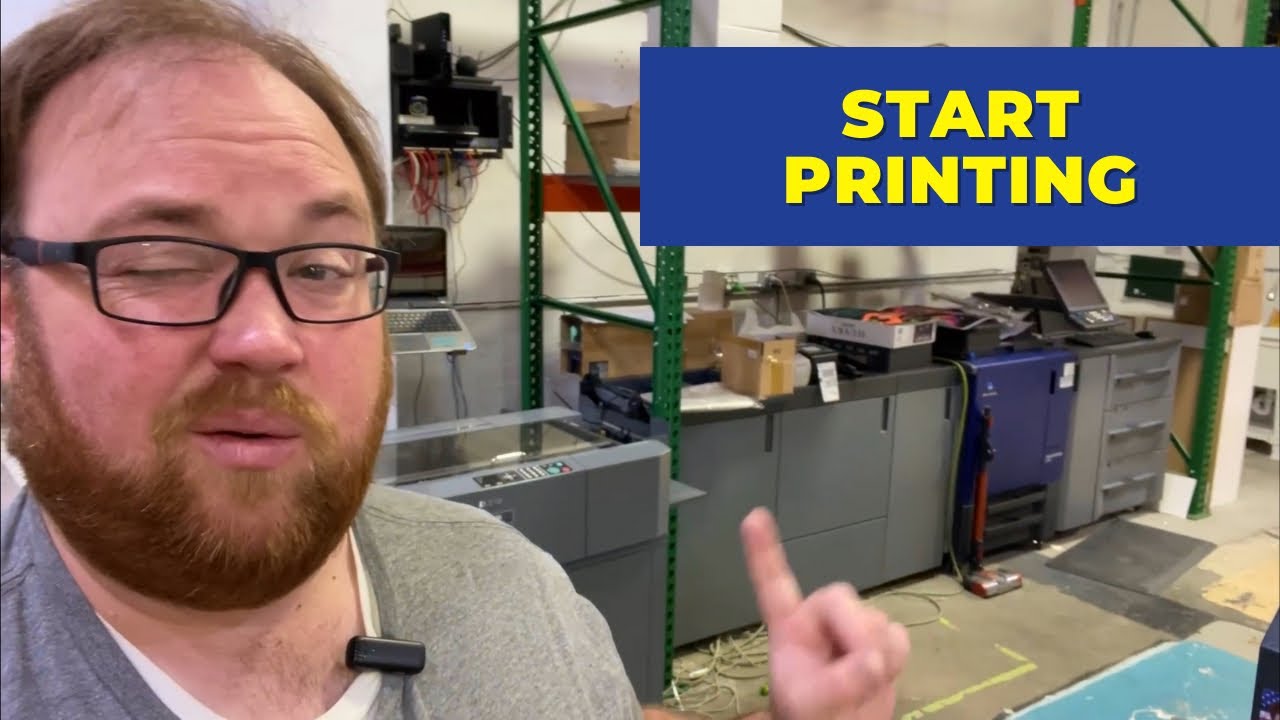
Home printing is fine for around 20 copies on plain paper. Past that, or for anything with color running off the edge, a print shop is cheaper and looks better.
Printing at home
Most desktop printers can’t reach the edge of the sheet, so keep text and logos well inside the margin Pages shows.
Some inkjets offer borderless printing. You pick a “Borderless” paper size in the print dialog, and the driver slightly enlarges the page to push ink past the edge.
Pages users hit a catch here. Epson’s support documentation (2025) states that borderless printing doesn’t work with custom paper sizes, so a custom-size Pages document falls back to normal margins.
Paper matters more than people expect. Plain 20 lb copy paper is fine for quick handouts, and cardstock holds up on bulletin boards because it doesn’t curl. Glossy photo paper suits photo-heavy flyers, though it’s slow and pricey on inkjets.
Posting outdoors or near windows? The trade-offs between finishes are laid out in this guide to matte and glossy paper.
Sending the file to a print shop
Pages has no bleed setting, so the workaround is making the page bigger than the finished flyer.
University of Minnesota Printing Services gives exact numbers for apps without a bleed feature. A finished 8.5 x 11 in piece needs a file of 8.75 x 11.25 in, which is 0.125 in extra on every side.
If how bleed works is new to you, the short version is that the blade cuts through your artwork, so background color has to run past the cut line.
- Choose File > Page Setup, open Paper Size, then Manage Custom Sizes.
- Add a size of 8.75 x 11.25 in (or A4 plus 3 mm per side) with zero print margins.
- Apply it in the Document sidebar and stretch background colors and photos to the new edges.
- Move all text and logos at least 0.25 in inside the finished trim line (0.5 in if your shop asks for it).
- Export To > PDF at Best image quality.
- Tell the shop the file includes 0.125 in bleed and that it’s RGB.
- Ask for a printed proof before the full run.
Shops disagree on the safe zone. 4over4 asks for text at least 1/8 in inside the trim, while First American’s print requirements ask for 1/2 in. Check your shop’s spec. Using 1/2 in satisfies both.
The RGB note in step 6 matters. Most shops convert the file themselves, but bright blues and greens often print duller than they look on a Mac screen.
When Pages Is the Wrong Tool for a Flyer
Pages stops being the right choice when a commercial printer needs a true print-ready file, or when the flyer lives mainly on social media. For everything in between, it’s hard to beat free.
| Pages pros | Pages cons |
|---|---|
| Free and preinstalled on every Mac | No CMYK color setting on export |
| Works offline, files stay on your Mac or iCloud Drive | No bleed field or crop marks |
| Page layout documents allow free placement of objects | Small flyer template selection |
| Accepts SVG logos | Basic type controls, no baseline grid |
| PDF export in two clicks | Borderless home printing fails on custom sizes |
Signs it’s time to switch
A shop printing 5,000 flyers wants a CMYK PDF with bleed and crop marks built in. Affinity or InDesign does this natively, and the RGB workaround stops being worth the color risk. Converting colors yourself starts with knowing how CMYK ink mixing differs from screen color.
Brand colors that have to match are another reason to leave. Pages has no swatch control for print color, so a logo orange can drift between runs.
Social-first flyers go more smoothly in Canva, which resizes one design into story, post and print formats. In Pages you rebuild each version by hand.
Weighing a browser tool against a pro layout app? This comparison of Canva and InDesign covers where each one breaks down.
One opinion worth stating plainly: most people who “outgrow” Pages actually outgrew their home printer. Sending the bleed-size PDF from the steps above to a local shop solves more flyer problems than a new app does.
Mac Flyer FAQ
What’s the difference between a flyer, a poster and a brochure?
Flyers are single unfolded sheets, usually letter size or smaller, made to be handed out or pinned up in bulk.
Posters run larger and get read from a distance. Brochures fold, which brings panels, imposition and a very different layout.
Can I make a flyer in TextEdit?
Yes, but only a very plain one.
TextEdit handles fonts, sizes and alignment, and you can drag a photo into a rich text document. It can’t place objects freely on the page, so anything beyond a text notice belongs in Pages.
Is Keynote good for flyers?
It works surprisingly well. Keynote treats each slide as a free canvas, and you can set a custom slide size of 8.5 x 11 in under Document > Slide Size.
Export the slide as a PDF when you’re done. The main drawback is fewer print-oriented templates.
How do I print two flyers on one sheet of paper?
Set a Pages document to landscape US Letter and design the flyer on the left half.
Select everything, group it, then copy and paste it onto the right half. One cut down the middle gives you two half-letter flyers per sheet, which halves paper and ink.
Can I reuse my flyer design for the next event?
Save it as a custom template with File > Save as Template, then add it to the Template Chooser.
Next time, pick it from My Templates and change only the date, place and photo. With iCloud turned on, custom templates show up in Pages on your iPad and iPhone too.
What to Check Before Printing 100 Flyers
Before a full run, print one test copy at 100% scale and read it from 3 meters away. Screen previews hide the two problems that waste a print budget, small type and weak contrast.
Scan the QR code with a phone first, then proofread the date, address and phone number, then confirm the PDF page size in Preview. Keep that order, since each fix can change the next check.
A bleed-size PDF brings one trade-off. A home test print shows no trim, so the shop’s printed proof is the only true check of the edges.
This advice matches Pages 15.4 as of September 2026. If Apple adds CMYK or bleed export, the custom-size workaround stops being necessary.
With the file approved, the next decision is budget, and what printing a flyer costs depends mostly on how many you order, then on paper and color.

Renowned for his expertise in logo design and visual branding, Bogdan has developed a multitude of logos for various clients.
His skills extend to creating posters, vector illustrations, business cards, and brochures. Additionally, Bogdan's UI kits were featured on marketplaces like Visual Hierarchy and UI8.
He also wrote in the past years on sites like Design Your Way, WebDesignerDepot, WPDean, Designmodo, Speckyboy, Slider Revolution, and more.
- Best Visual Regression Testing Tools for Web and App Design in 2026 - 13 October 2026
- Jujutsu Kaisen Font Generator - 12 October 2026
- The Windsurf Logo History, Colors, Font, And Meaning - 10 October 2026

Bogdan Sandu is a seasoned designer who has been designing websites since 2008. Renowned for his expertise in logo design and visual branding, Bogdan has developed a multitude of logos for various clients. His skills extend to creating posters, vector illustrations, business cards, and brochures. Additionally, Bogdan's UI kits were featured on marketplaces like Visual Hierarchy and UI8. He also wrote in the past years on sites like Design Your Way, WebDesignerDepot, WPDean, Designmodo, Speckyboy, Slider Revolution, and more.
You Might Also Like