FireAlpaca has no font importer, and it never did. The program reads whatever typefaces your operating system already knows about, then drops them into the text tool’s dropdown. Install the font the normal way for your platform and FireAlpaca will find it.
One catch trips up almost everyone. That dropdown gets built once, when the program starts. Install a font while FireAlpaca is open and it stays invisible until you quit and relaunch. Not minimize. Quit.
PGN Inc., the Tokyo-based developer, builds it for Windows, macOS and Linux. The download page currently lists version 2.16.1 for Windows and Mac, and the interface ships in 10 languages (PGN Inc., 2026).
How FireAlpaca Handles Fonts
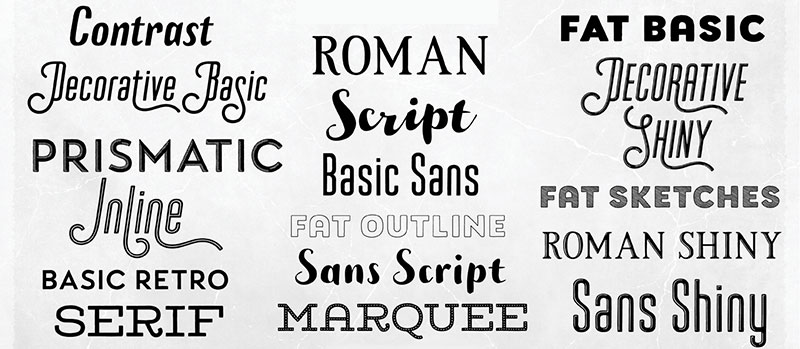
There’s no font manager anywhere in the interface. Nothing to import, nothing to point at a folder. FireAlpaca queries the system font list at launch and shows you the result.
Windows, macOS and Linux each keep that list in their own way, which is why the install steps differ per platform while the outcome is identical.
A font lives at the operating system level, not inside any single art program. Install one for FireAlpaca and Photoshop gets it too. Same file, same registry, no extra work.
The specs worth knowing before you download anything:
- Latest official builds sit at version 2.16.1 for Windows and Mac, with Linux one point release behind at 2.16.0 (firealpaca.com, 2026)
- Only 64-bit Windows installers ship from version 2.14.0 onward, per FireAlpaca’s own download page
- The interface comes in 10 languages (FireAlpaca, TechSpot 2026)
- PGN Inc., the software’s developer, is based in Tokyo
- FireAlpaca is distributed as freeware, with no license fee for personal or commercial work
Worth repeating because people keep asking about it in forums: the program never rechecks the system list mid-session. A full quit and relaunch is the refresh button.
Which Font Formats Does FireAlpaca Support?
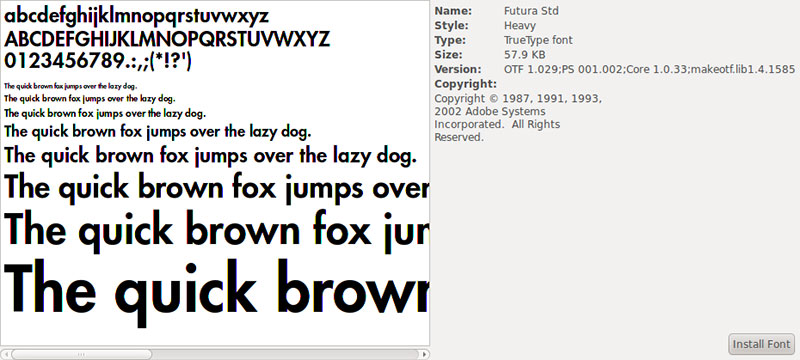
TrueType and OpenType. Anything installed on your system in either format shows up, because both are native to Windows, macOS and Linux alike.
- TrueType files use the .ttf extension and trace back to a format Apple and Microsoft built together
- OpenType files use either .ttf or .otf and came out of a later Microsoft and Adobe partnership
- WOFF and WOFF2 web font formats never install as system fonts, so FireAlpaca cannot read them at all
That last one catches people who grab a font off a web project. If the download only contains .woff2, it’s useless here. Go find the desktop version.
OpenType files can also carry variable font data, though don’t get excited. FireAlpaca shows the default static weight and gives you no sliders to play with.
Adobe’s own OpenType documentation notes a single file can hold more than 65,000 glyphs, covering accented characters, ligatures and symbols without needing a separate font for each one. In practice you’ll use maybe forty of them.
Most FireAlpaca users already have TrueType fonts sitting there without downloading anything. Arial and Comic Sans MS on Windows, Helvetica on Mac.
How to Install Fonts in FireAlpaca on Windows
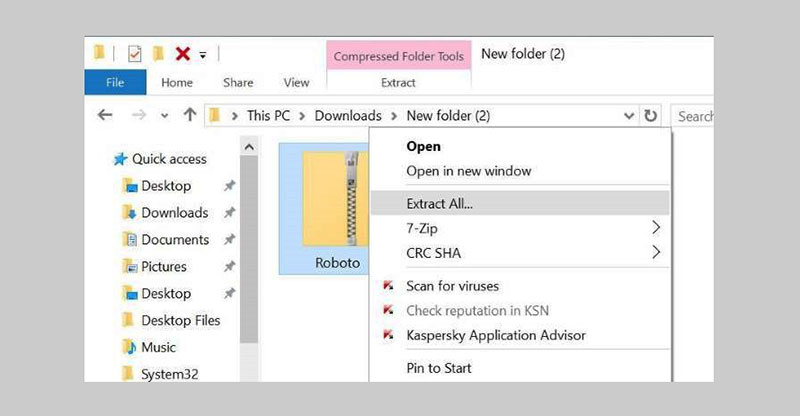
Windows wants the file registered with the system font folder before FireAlpaca ever sees it.
Close FireAlpaca first. Saves you from wondering why the dropdown hasn’t changed.
- Extract the .ttf or .otf file from its zip archive if it arrived compressed
- Right-click the font file and choose Install, or Install for all users with administrator rights
- Or open Windows Settings, go to Personalization, then Fonts, and drag the file into that window
- Reopen FireAlpaca and check the text tool’s font dropdown for the new entry
Font distributor dafont.com notes in its own FAQ that Windows can comfortably manage around 1,000 installed fonts before performance starts to suffer. Anyone who hoards comic lettering fonts will hit that eventually.
No administrator rights? Windows Settings still works. The font just installs for your account instead of every account on the machine.
How to Install Fonts in FireAlpaca on Mac
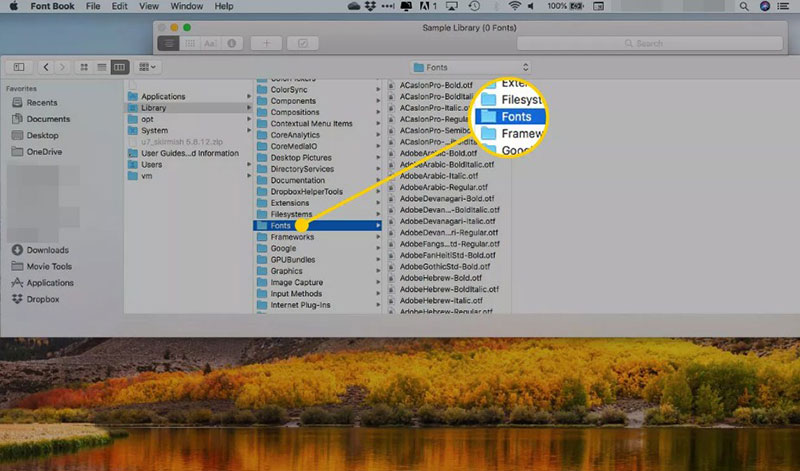
Font Book handles this on macOS. It’s the built-in app that registers new typefaces with the system, and FireAlpaca reads that same registry after a restart.
Installing Through Font Book
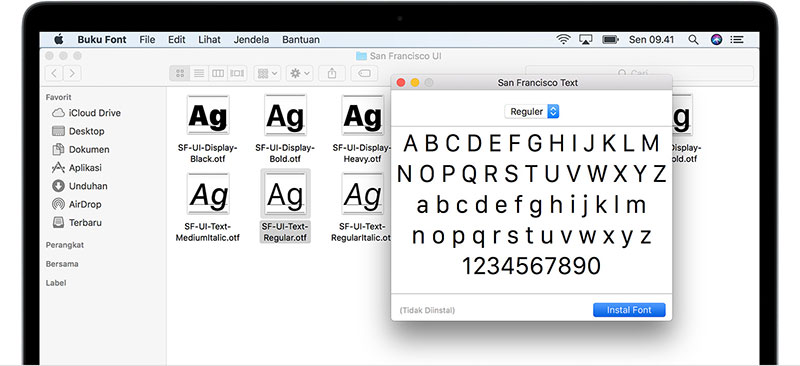
Double-click the downloaded .ttf or .otf file and a preview window opens inside Font Book. Click Install Font in the corner of it. Done.
Font Book flags duplicate or corrupted files automatically before the install finishes, which is the part that makes it worth using over the manual route.
A general walkthrough for installing fonts on a Mac covers the same Font Book steps in more depth, including how Spotlight can open the app directly.
Installing by Copying Font Files Manually
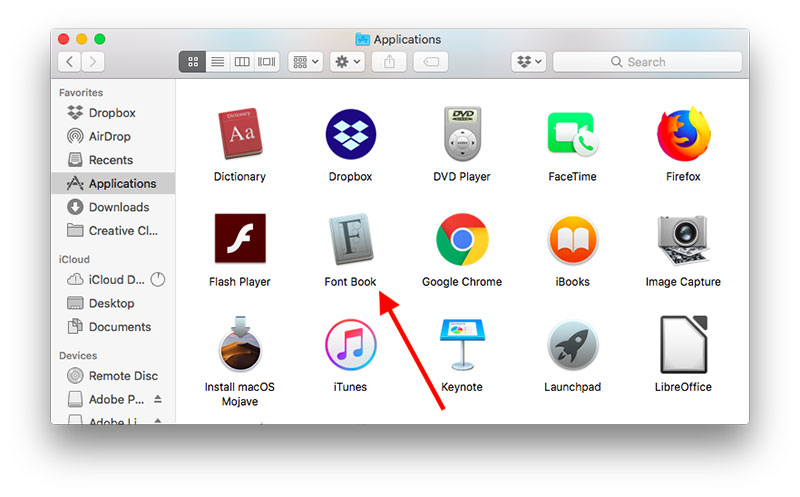
Dragging a font file straight into the Fonts folder skips Font Book’s interface entirely. Faster when you’ve got thirty files to move.
Where you drop them decides who gets the font. /Library/Fonts covers every account on the Mac. /Users/yourusername/Library/Fonts keeps it to yours alone.
Finder’s Go menu, using Go to Folder, is the fastest route to either location.
| Method | Pros | Cons |
|---|---|---|
| Font Book | Flags duplicates and corrupted files automatically | Extra app window to manage |
| Manual copy | Faster when installing many fonts at once | No built-in duplicate or error check |
How to Install Fonts in FireAlpaca on Linux
No graphical installer here. Copy the files into a folder, run one command, restart.
User-only installs go in ~/.fonts or ~/.local/share/fonts. System-wide installs go in /usr/share/fonts.
- Copy the .ttf or .otf file into whichever folder matches the install scope you want
- Open a terminal window and run fc-cache -f -v to rebuild the font cache
- Restart FireAlpaca so it rereads the updated font list
File managers like Nautilus can install a font with a right-click on Ubuntu and similar distributions. Same copy-and-cache process, just hidden behind a menu item.
Where to Find Fonts for FireAlpaca Lettering and Text
Comic lettering and captions need fonts nobody’s operating system ships by default. Nothing in the stock Windows or Mac set reads as hand-lettered dialogue.
Google Fonts carried 1,826 free font families as of May 2025, according to Photutorial’s ongoing tracker, and every one of them installs the normal system way.
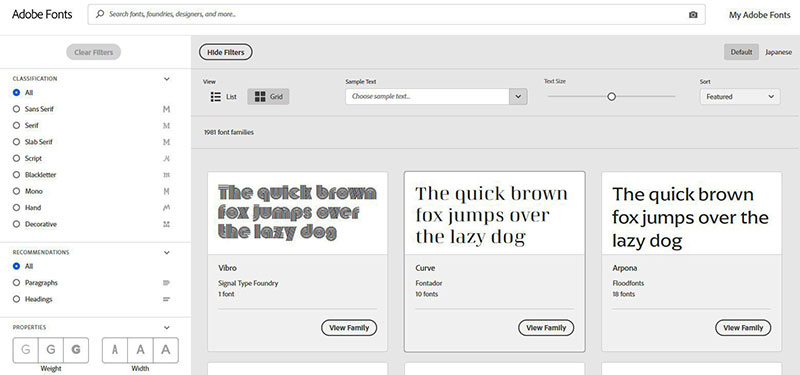
Adobe Fonts works differently. Fonts activate through the Creative Cloud desktop app instead of a manual download, and the library now holds more than 30,000 typefaces from over 150 foundries. Convenient until the subscription lapses, which is a real problem I’ll get to below.
A closer look at Google Fonts versus Adobe Fonts breaks down when each subscription model actually earns its keep.
| Source | Cost | License | Activation |
|---|---|---|---|
| Google Fonts | Free | Open source, SIL OFL or Apache | Manual download and install |
| DaFont | Mostly free | Set individually per designer | Manual download and install |
| Adobe Fonts | Included with Creative Cloud | Active only while subscribed | Automatic sync, no download |
DaFont is where most manga and webcomic lettering fonts come from. Free and donationware, huge catalog, and every designer sets their own terms, so read the readme file that comes in the zip.
Checking the font licensing before using one commercially avoids a rewrite later if a comic ends up published or sold.
How to Select and Format Fonts in FireAlpaca’s Text Tool
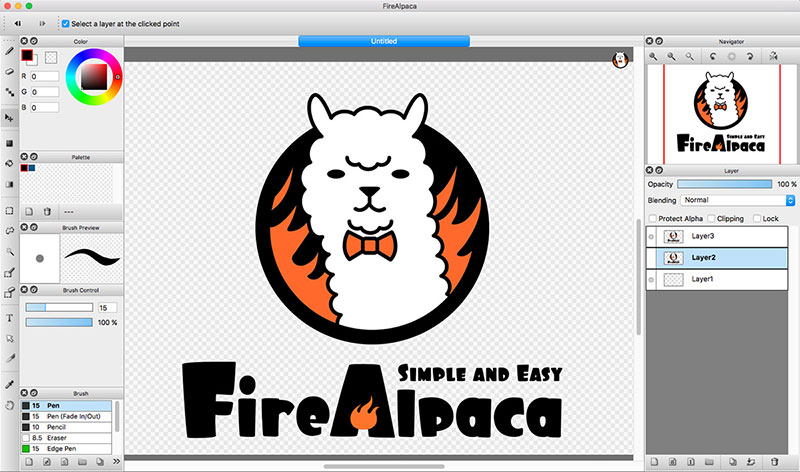
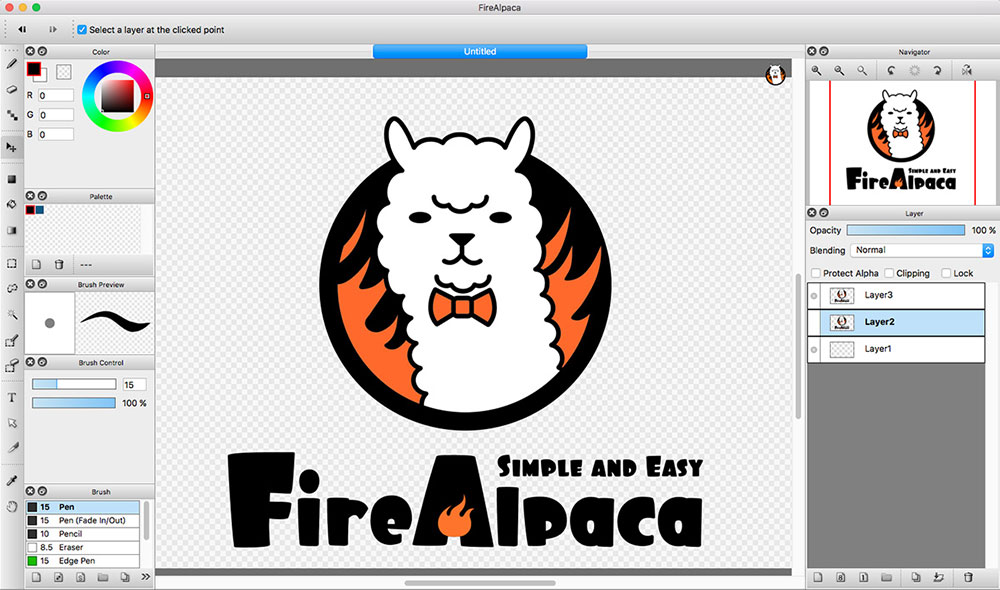
The text tool is the plain letter icon in the toolbar.
Click it, then click the canvas. A small window opens, and that’s where the font gets chosen.
- Click the text tool icon, then click anywhere on the canvas to open the text window
- Pick a font from the dropdown list of everything currently installed on the system
- Set size, alignment, and toggle bold or italic directly inside the same window
- Click OK to drop the finished text onto its own new layer
The same window has a font spacing setting. It controls how tightly letters sit next to each other, and honestly it matters more than the font choice when you’re cramming dialogue into a speech bubble that’s already too small.
Every text entry lands on its own layer, visible in the layer palette, so the move tool can reposition it without disturbing the artwork underneath.
There’s no font preview panel. Testing a font means typing with it on a spare layer and looking at the result.
When Font Installation Does Not Work in FireAlpaca
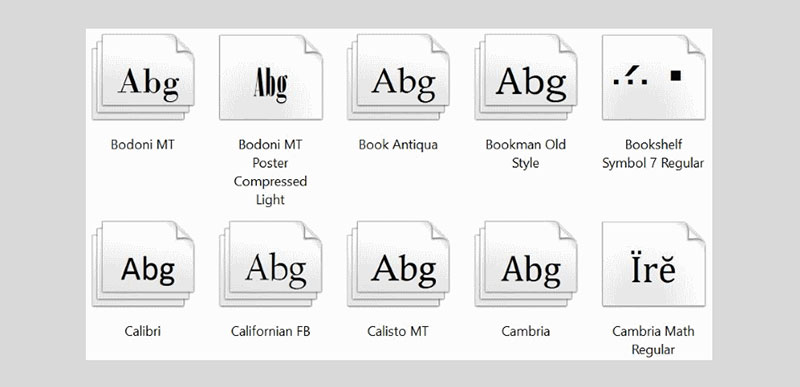
A font that refuses to appear almost always failed at the operating system level. FireAlpaca is just reporting what it was handed.
These are the usual causes, and not one of them has a fix inside FireAlpaca’s settings:
- FireAlpaca was left running instead of closed. Minimizing does nothing, since the font list only refreshes on a full quit and relaunch
- Untrusted Font Blocking, a Windows security setting some managed machines enable, stops programs from loading fonts stored outside the main Windows Fonts folder. On a locked-down work laptop a newly installed font can stay invisible to FireAlpaca for this reason alone, separate from the per-account limit covered earlier
- The download was corrupted or incomplete, and Windows rejects a broken file outright with an invalid-font error rather than loading it silently
- Two font files share the same internal family name, and since the manual copy method has no error check, one quietly wins
- An Adobe Fonts sync lapsed, and a font activated through Creative Cloud vanishes the moment the subscription ends or the sync goes stale
Windows and Mac react differently to a damaged file:
| Platform | What happens | Why |
|---|---|---|
| Windows | Rejects the file with an invalid-font error before it ever installs | No separate validation step in the install flow |
| Mac | Caught earlier, during the Font Book install itself | Font Book’s own validation, already covered above |
Adobe’s own support documentation notes that fonts left unused for more than 150 days can be silently uninstalled if Creative Cloud hasn’t been updated, a threshold Adobe says is subject to change.
The same documentation confirms that canceling the subscription entirely deactivates every font that sync had activated, whether FireAlpaca was open at the time or not. If you letter a comic in an Adobe font and let the plan expire, that file will open with a substitute.
None of this comes from a bug in FireAlpaca. It all starts and ends at the operating system, the same place the font got installed.
FAQ on How To Add Fonts To Firealpaca
What’s the difference between installing a font and installing a FireAlpaca brush or plugin?
Different layers of the machine entirely. Fonts install at the operating system, through the Windows Fonts folder or Font Book, and every program on the computer can read them afterward.
Brushes and plugins install inside FireAlpaca itself, through its own Brush Store or file menu, and stay local to that program only.
Does FireAlpaca support variable fonts or multiple weights in one family?
It reads whichever single instance of a font is active on the system, not the full variable range a file can contain.
A family with separate Bold or Light files installs each weight on its own, so each one appears as its own dropdown entry.
Do I need administrator rights to install a font on Windows?
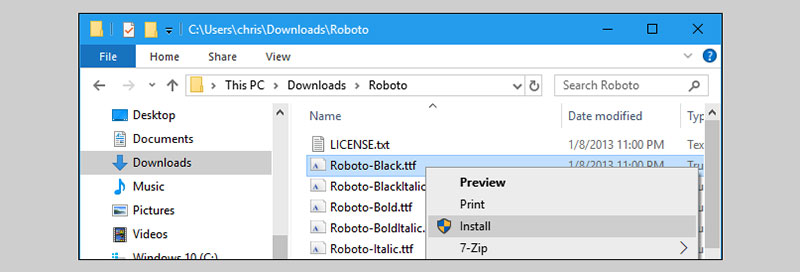
Only for the Install for all users option in the right-click menu.
Installing through Windows Settings, or choosing Install for the current user only, works fine on a standard account with no elevated permission at all.
Should fonts be installed for all user accounts or just one?
On a shared computer where more than one person opens FireAlpaca, installing for all users saves somebody repeating the same install.
A personal machine rarely needs that scope. Installing for one account keeps the font list shorter and easier to manage.
Do downloaded font zip files need to be extracted before installing?
Yes. Windows and Mac both refuse to install a font straight out of a zip archive.
Extracting the .ttf or .otf file first, using Extract All or any unzip tool, is a required step before Install or Font Book recognizes the file.
Can you preview a font before typing with it in FireAlpaca?
No font preview panel exists anywhere in the interface.
Open the text tool, pick the font from the dropdown, and type a line on a spare layer. That’s the only way to see how it renders.
What Should You Do First in How To Add Fonts To Firealpaca?
Order matters here, and skipping a step is what sends people to forums.
- Check the format first
- Install at the operating system second
- Reopen FireAlpaca last to confirm
Checking the format before downloading costs an extra minute of comparison. It also saves you from installing a file that was never going to load.
This holds as verified in 2026. If a future FireAlpaca build ever ships a native font importer, the operating system step drops out of the sequence and none of this matters. I wouldn’t hold my breath, though. The program has stayed deliberately simple for years.
Adding fonts to Clip Studio Paint is the closest next step for artists who outgrow FireAlpaca’s simpler toolset and move to a program built around the same lettering workflow.

Renowned for his expertise in logo design and visual branding, Bogdan has developed a multitude of logos for various clients.
His skills extend to creating posters, vector illustrations, business cards, and brochures. Additionally, Bogdan's UI kits were featured on marketplaces like Visual Hierarchy and UI8.
He also wrote in the past years on sites like Design Your Way, WebDesignerDepot, WPDean, Designmodo, Speckyboy, Slider Revolution, and more.
- The Windsurf Logo History, Colors, Font, And Meaning - 10 October 2026
- How to Remove Background From Product Photos (No Photoshop) - 10 October 2026
- How Designers can Build a Stronger Online Creative Identity - 9 October 2026

Bogdan Sandu is a seasoned designer who has been designing websites since 2008. Renowned for his expertise in logo design and visual branding, Bogdan has developed a multitude of logos for various clients. His skills extend to creating posters, vector illustrations, business cards, and brochures. Additionally, Bogdan's UI kits were featured on marketplaces like Visual Hierarchy and UI8. He also wrote in the past years on sites like Design Your Way, WebDesignerDepot, WPDean, Designmodo, Speckyboy, Slider Revolution, and more.
You Might Also Like