
Hey, there! Have you ever considered getting your design work done on Procreate on iPad? Do you know you can? Well, we have seen a lot of people doing art on procreate on the iPad, but we didn’t really see that many creators use it for graphic design.
So, in this post, we will be showing you how you can use Procreate and an iPad to design anything you would like to design! You can use procreate to design a social media post, website banner or even a printable flyer!
To get started you obviously need an iPad with Procreate on it. Then you need to decide on a canvas size that would be suitable for whatever you choose to design. We would like to share with you the following social media formats guidelines from a very useful book that we would like to recommend for anyone in the design business or any business as a matter of fact! It is called “Graphic Design For Anyone”.
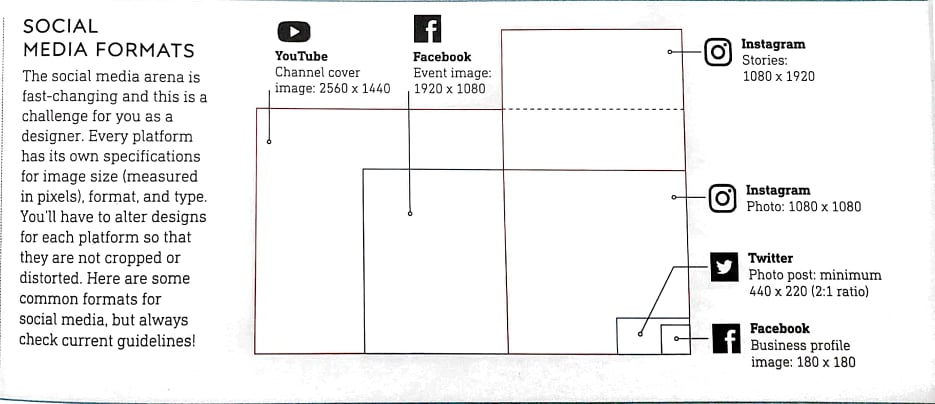

This social media formats guideline chart will help you choose a size for your Procreate canvas according to the website that you would like to post on. Even if you would like to design a website banner. You can check your website host dimensions and design your banner accordingly.
First: Decide on the content /Post message
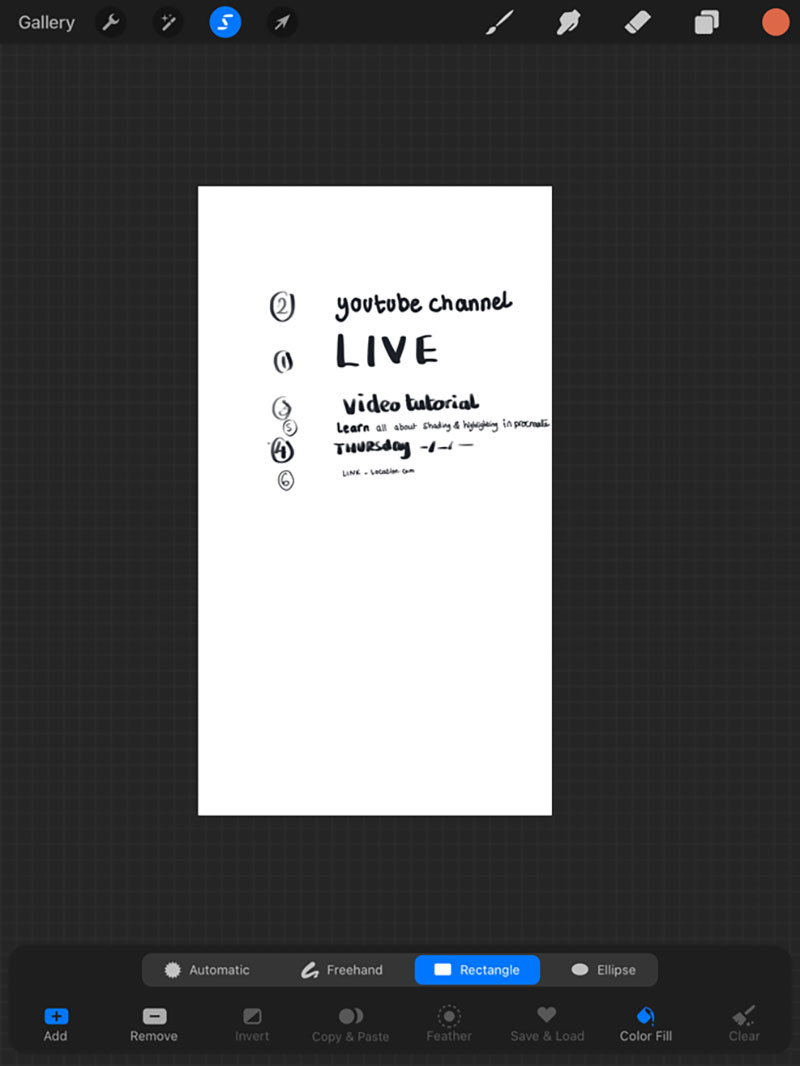
For this example, we are going to create a post to promote a live YouTube video tutorial. The information that we would like to include is:
- What are we promoting? In this case a live video.
- Whose channel is this? Channel name.
- What is the live video about? A tutorial.
- When is the live video? Thursday. Mention the date and time as well.
- What value does this video add to the target audience? They will learn all about shading and highlighting in procreate.
- How/ where can they view this video? Through a link or the location if your message was for a real-life event.
Second: Grab Your iPad
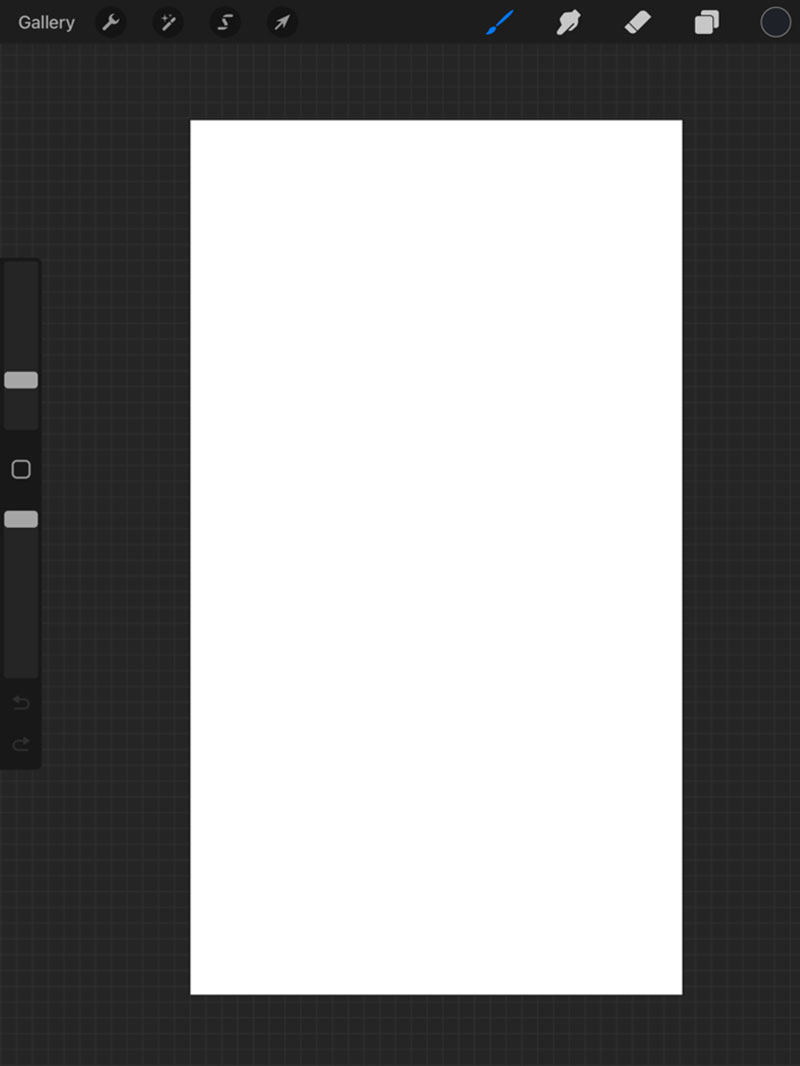
Head over to Procreate, create a new canvas and choose the dimensions. For this post, we will be choosing to design a Facebook post for a page. So, we chose the following dimensions.

Make sure you choose RGB color profiles for designs that are going to remain digital like social media posts or website banners. Or choose CMYK color profile for designs that are going to be printed like flyers/ book covers.

Here is our blank canvas that resembles a regular Facebook post! Yay! We are almost there!

Third: Font ranking:
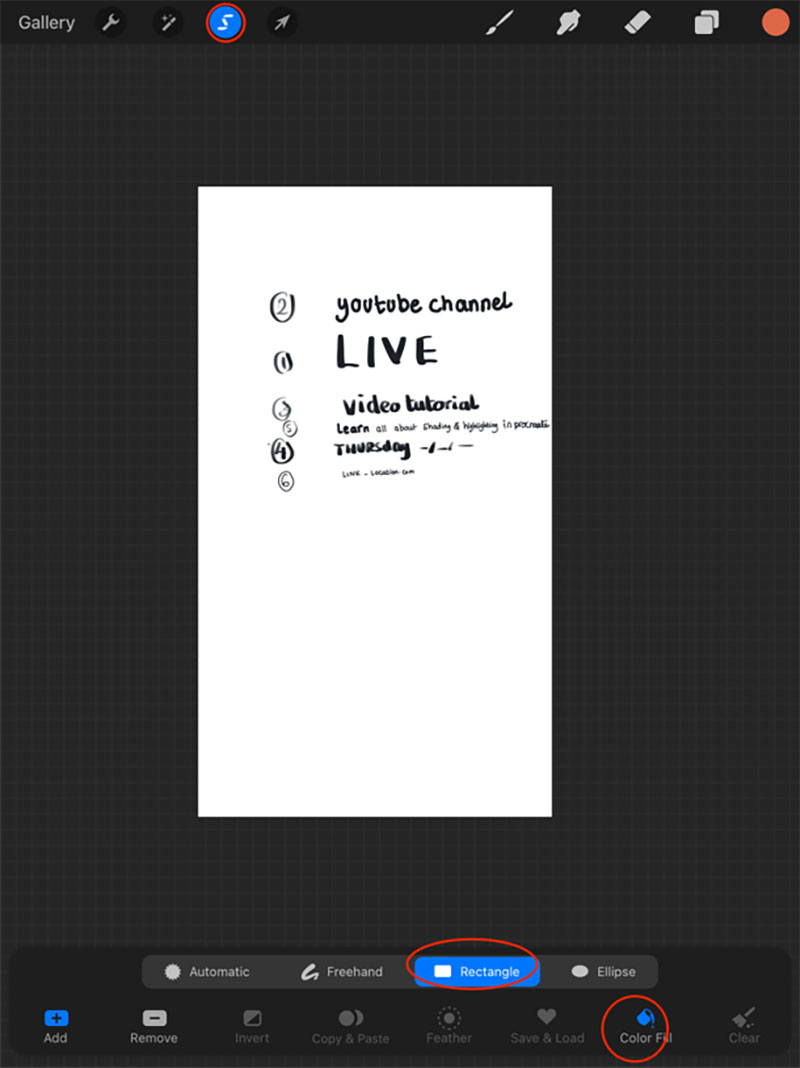
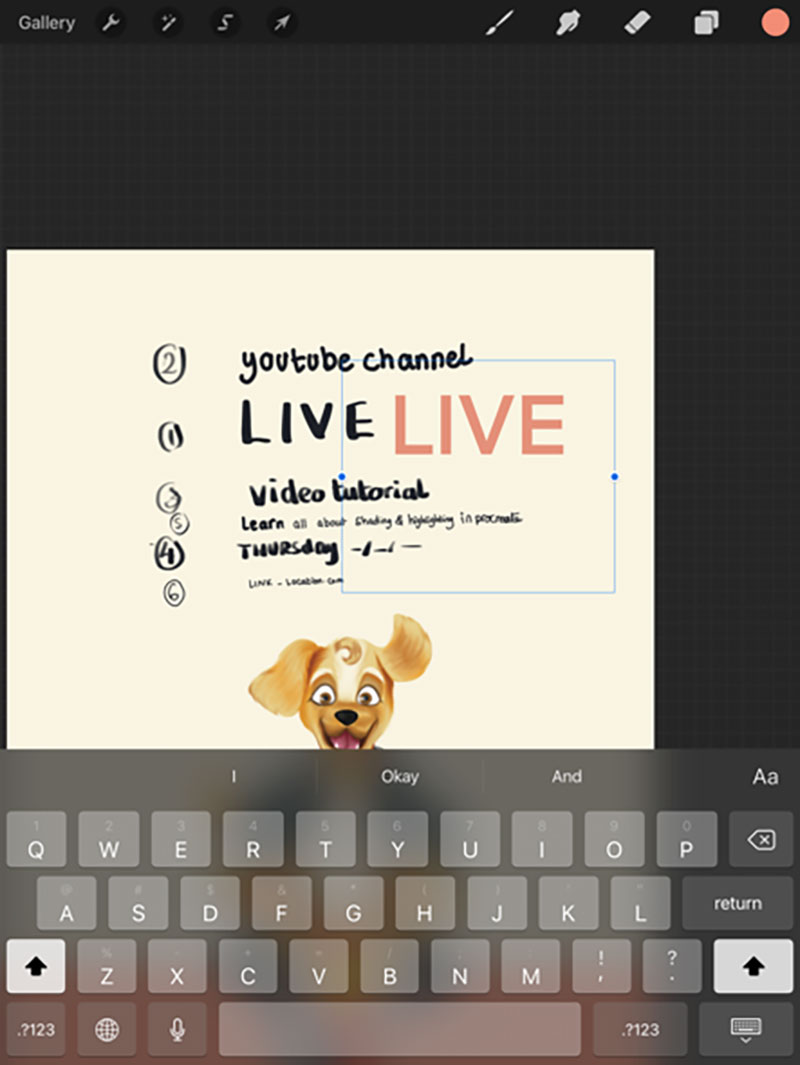
Start writing your message information as a quick sketch to see where everything goes. Make sure you rank the information according to importance. Where the most important information gets the bigger font just like we did here.
Fourth: Start Designing
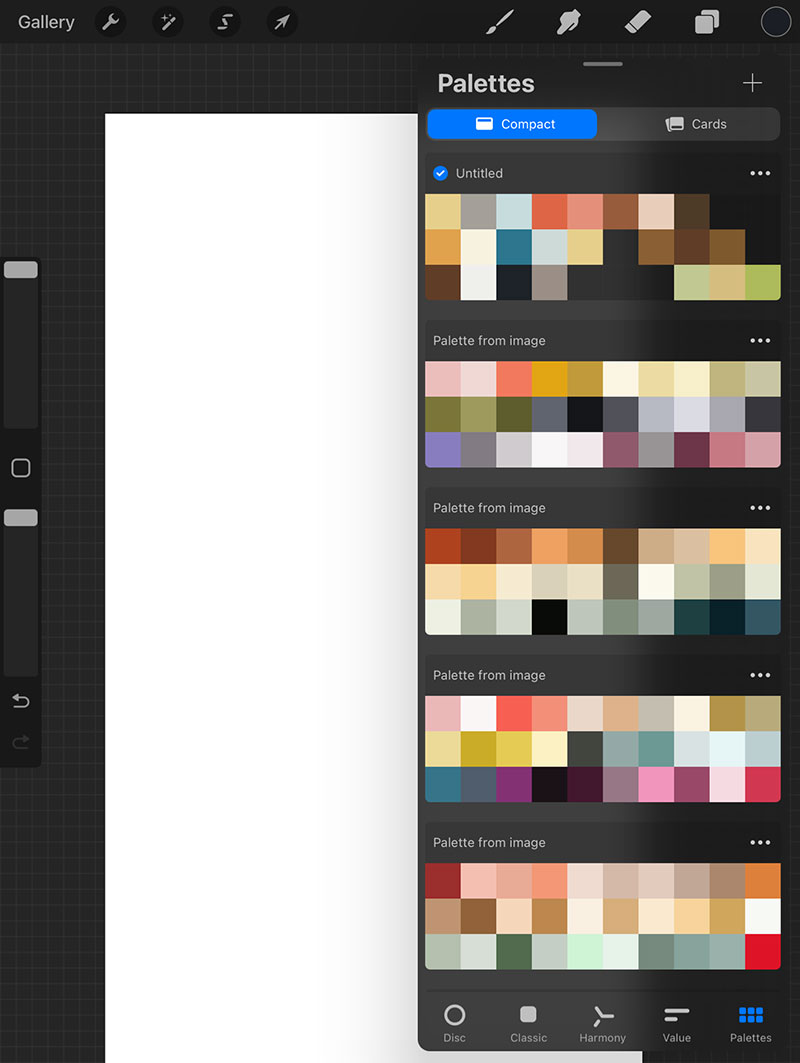
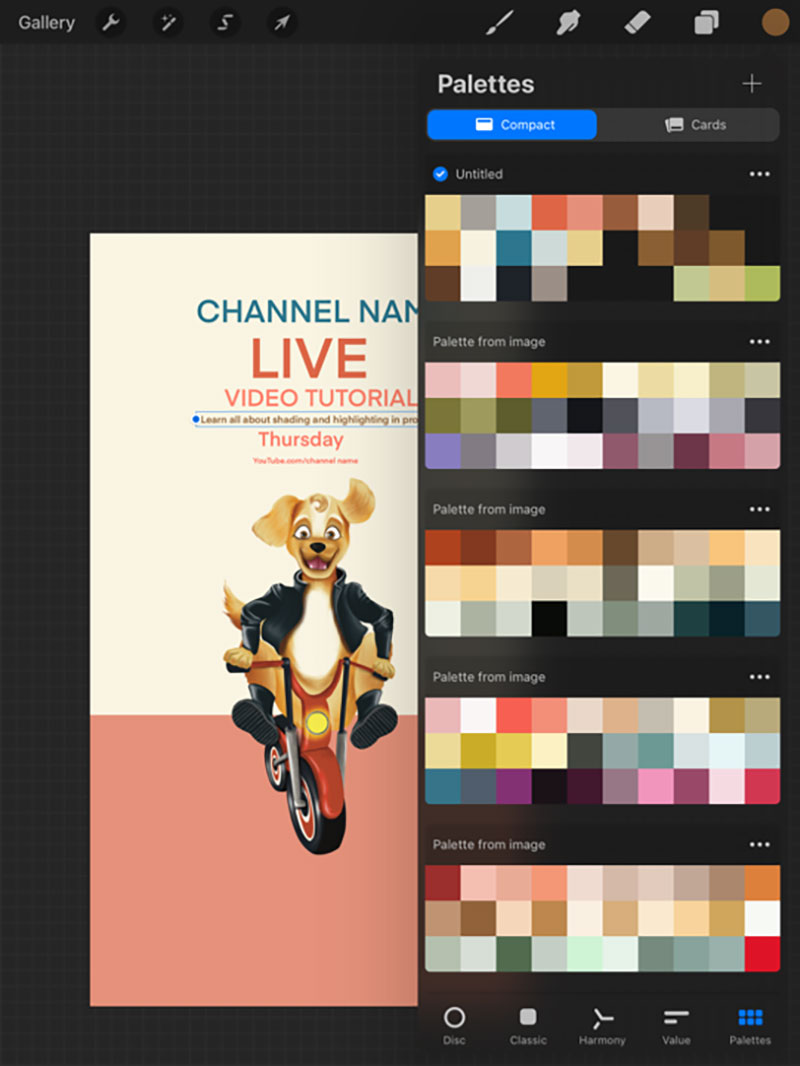
We are going to get to the fun part of choosing colors. We will start off by choosing a design color palette that hopefully matches the overall aesthetic of the page/ Brand that you are designing for.
For this design, we are going for this color palette.
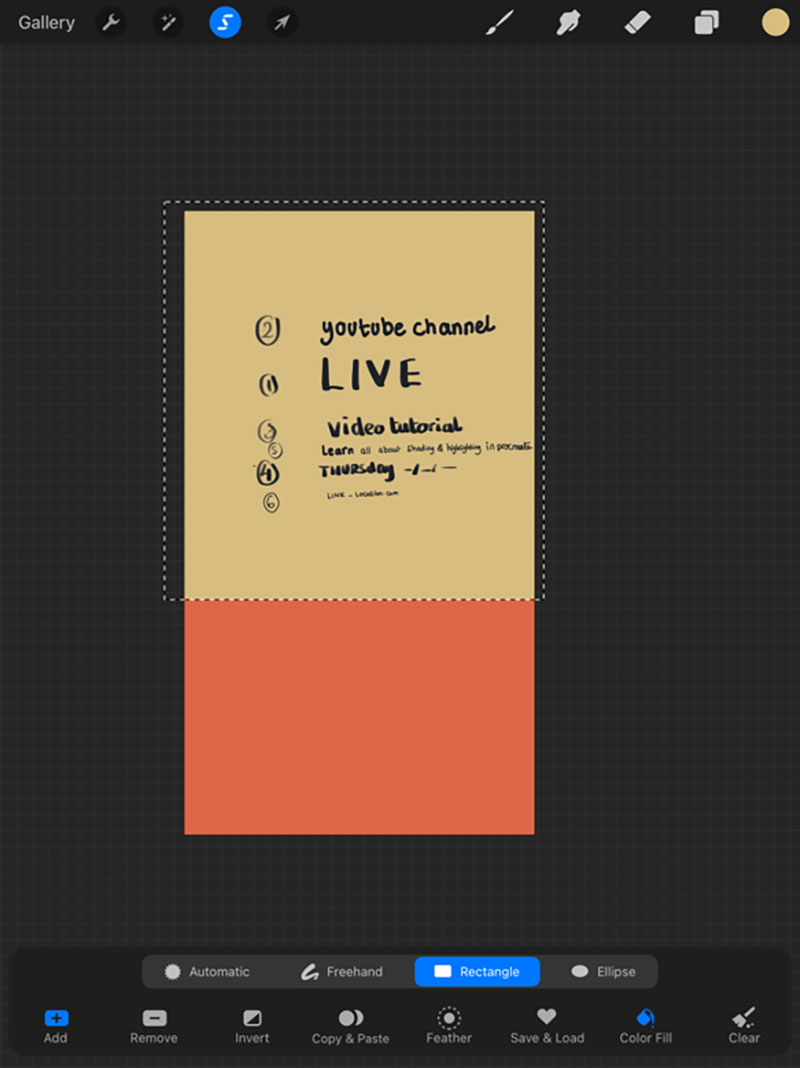
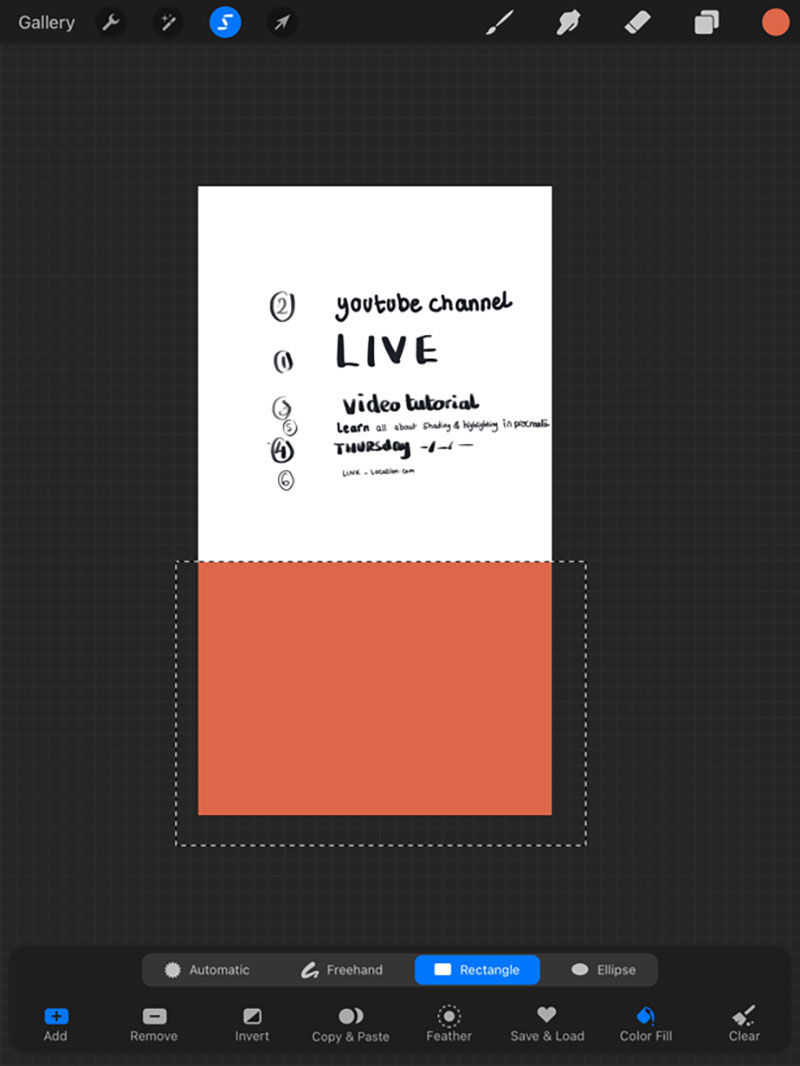
On a new layer, go ahead and add some color blocks to make your design look catchy and interesting, select the lasso tool, then “Rectangle” and “Color Fill”. Now, whatever rectangular selection that you make will have the color of your choice.

We then are going to repeat the same steps to create another rectangle of a secondary color on a new layer Just in case we wanted to change the colors later. Spoiler alert, we will!
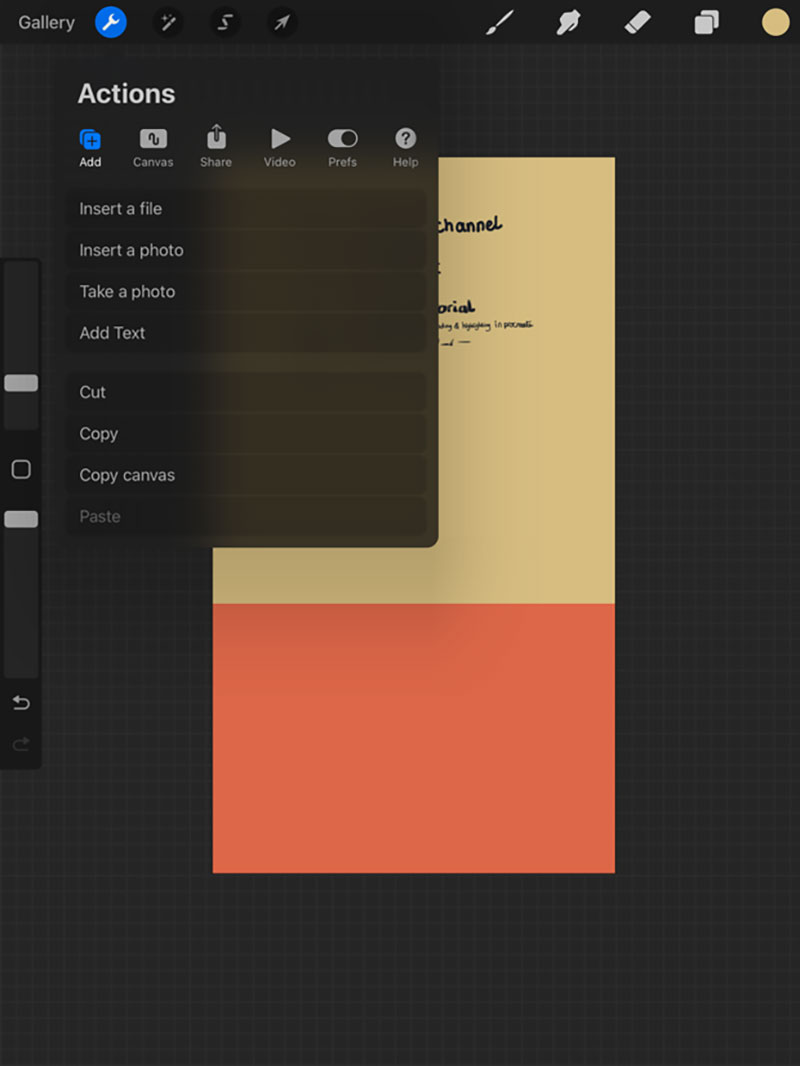
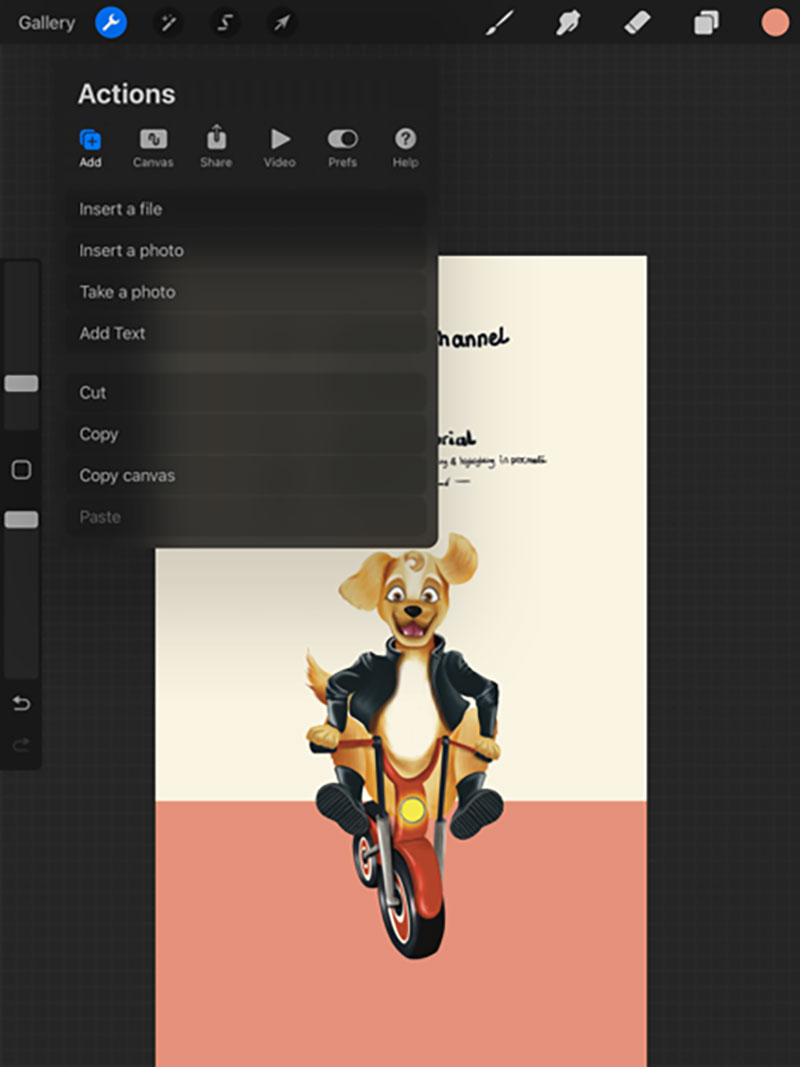
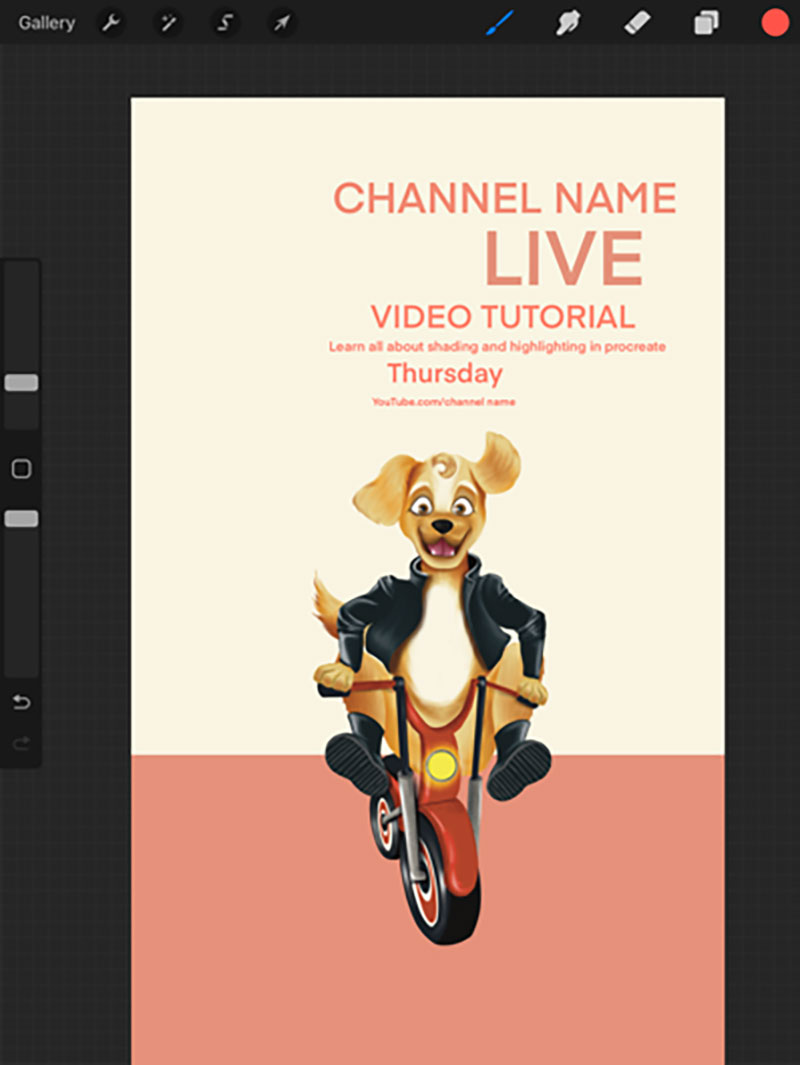
Next, we are going to insert an illustration we made, that we think will make our post look more interesting or appealing and is related to our message in a way. We will head over to the “Actions” menu, select “Add” then “Insert A Photo”. Once we get the photo, we get it on a new layer, go ahead and edit it to the right size.
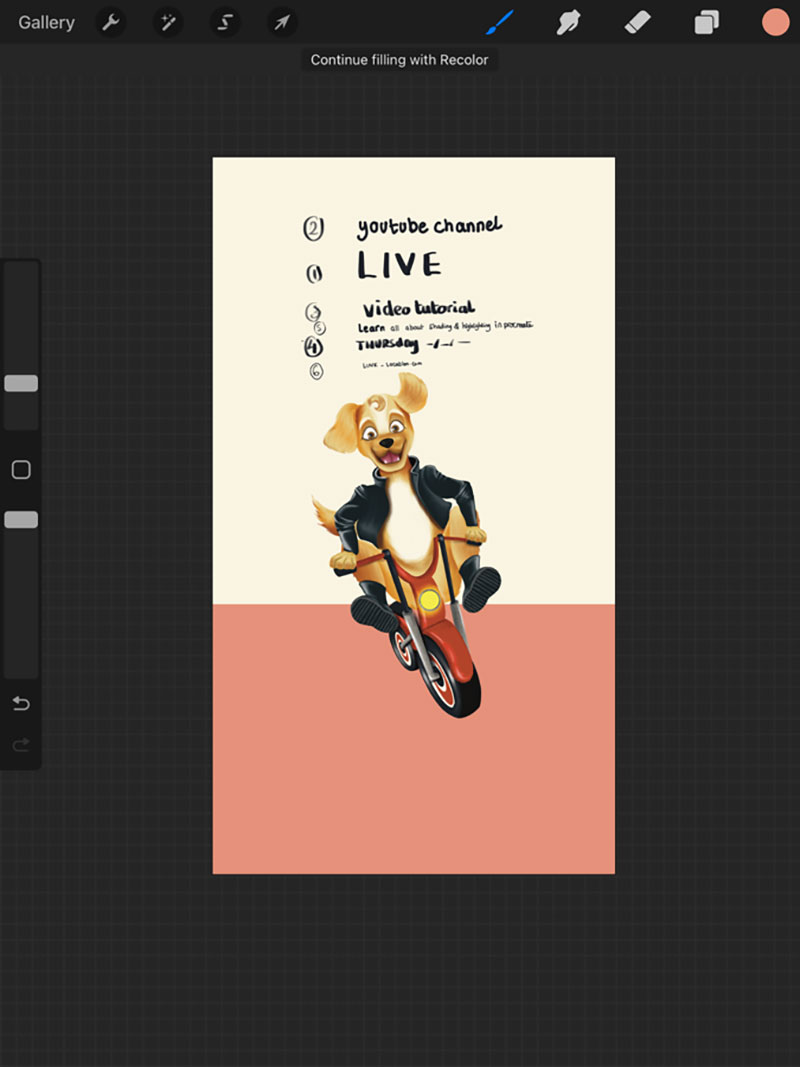
Now that we have got our illustration, it seems that it kind of blends with the background. So, we are going to change the color of the background.

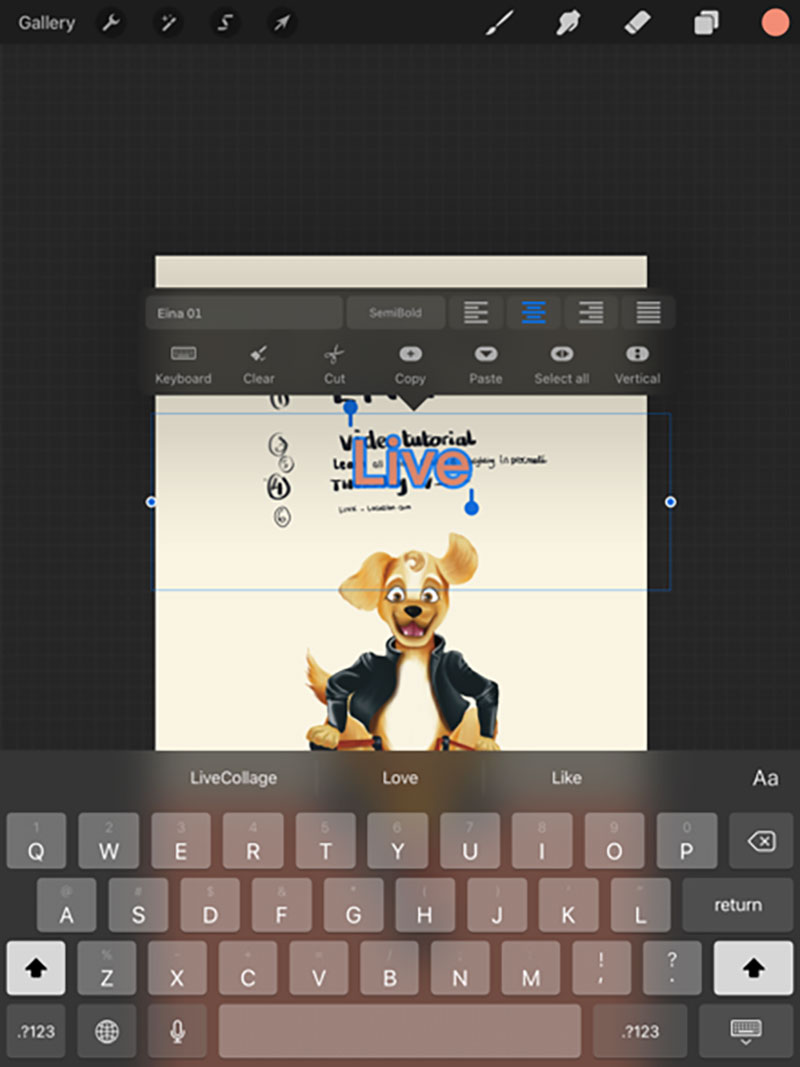
The next step will be to type in the post message in a nice font instead of the handwriting. Since we want it to look professional.
We will head over to the “Actions” menu once again. Select “Insert Text” start typing in your message each in a separate text, because we want to be able to manipulate them.

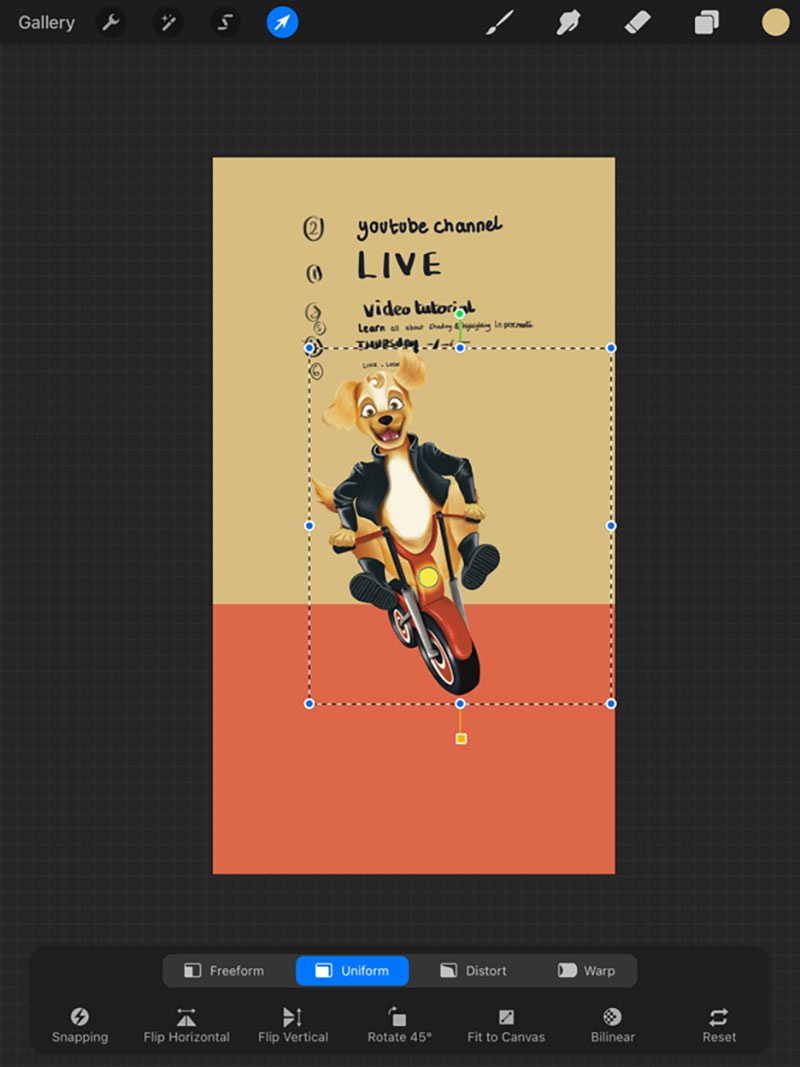
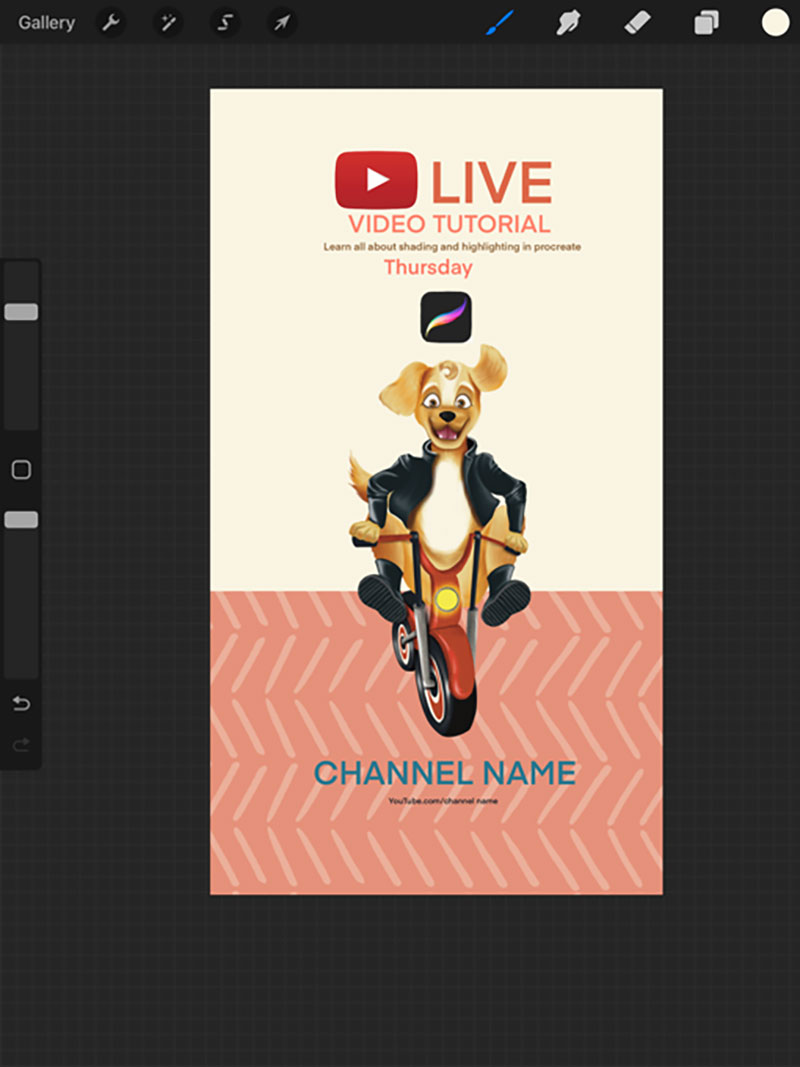
After we are done typing in the individual six elements of the message (with the text ranking considered), we should have something that looks like this. Cool, right?!
Now let’s arrange our message by selecting each of the layers and moving them around until they look right.
Next, we are going to select some parts of the message and start playing with the colors, using colors from the same color palette that we planned on using.
We would then want to change the placing of some parts of the message. We feel it looks better this way!
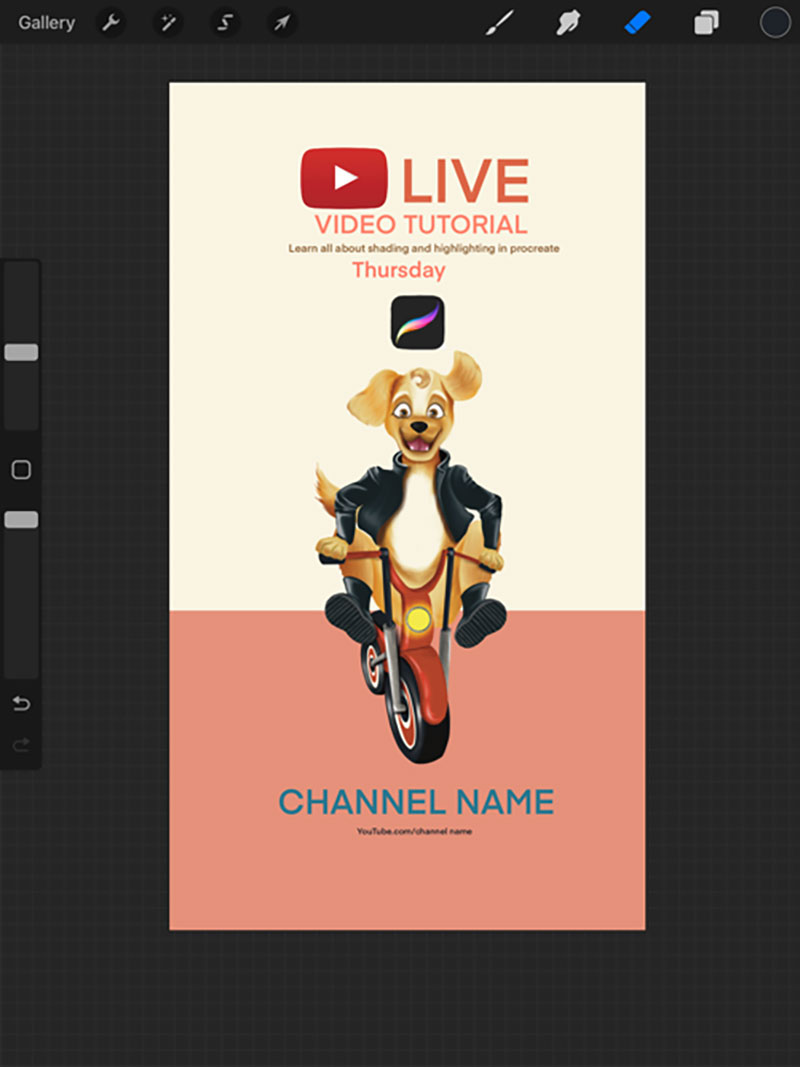
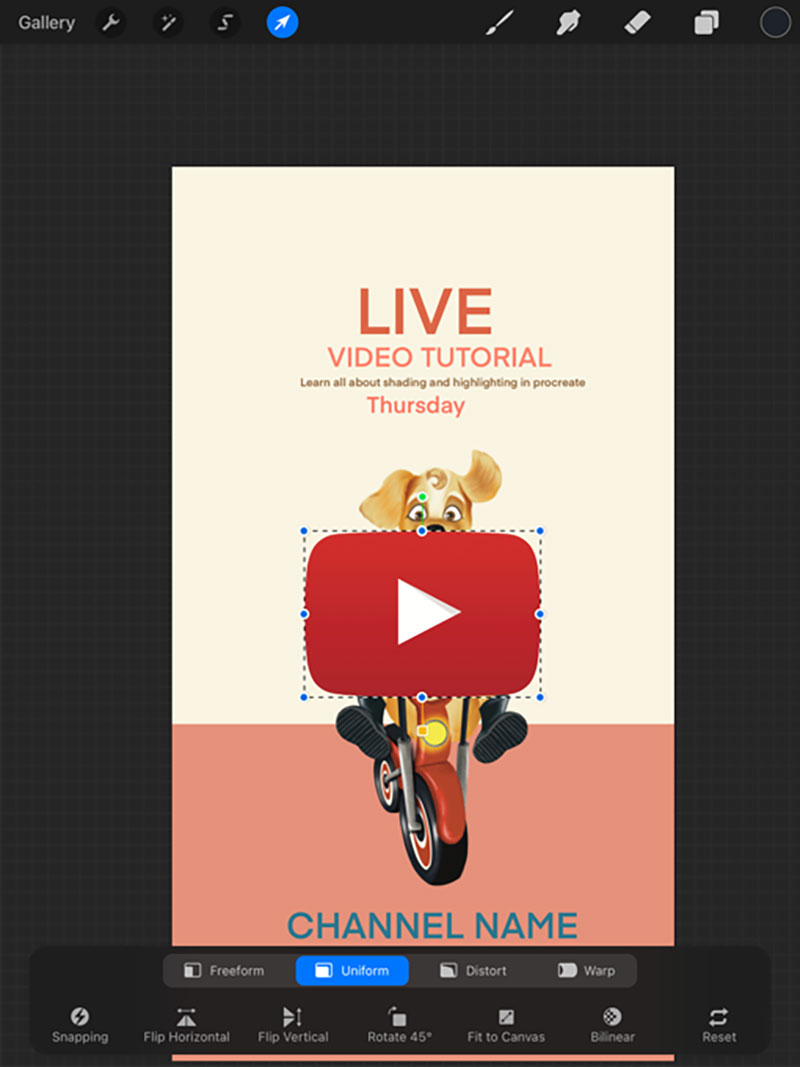
Now we feel like the only thing missing might be something to instantly capture the viewer’s attention. Like logos that they can identify with and know what to expect from. So, we will search for YouTube and procreate PNG logos with transparent backgrounds. Then we save them.

We then go back to Procreate and add them the same way we insert pictures. Then we resize and move them around.
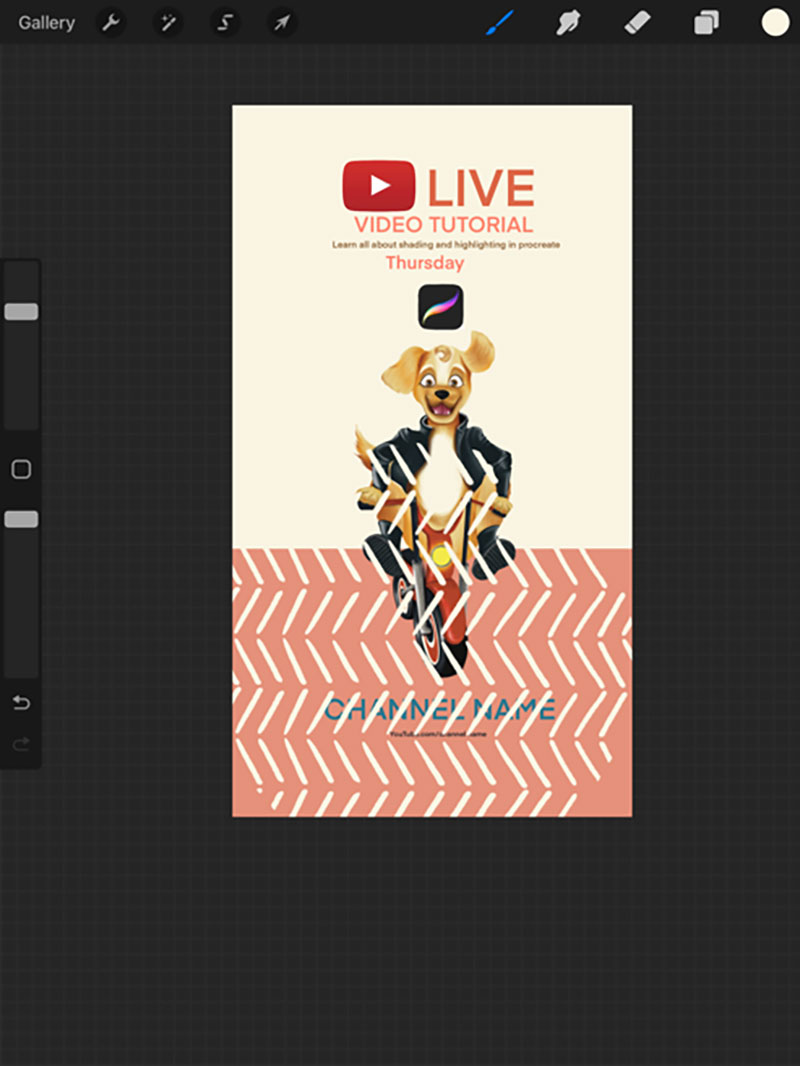
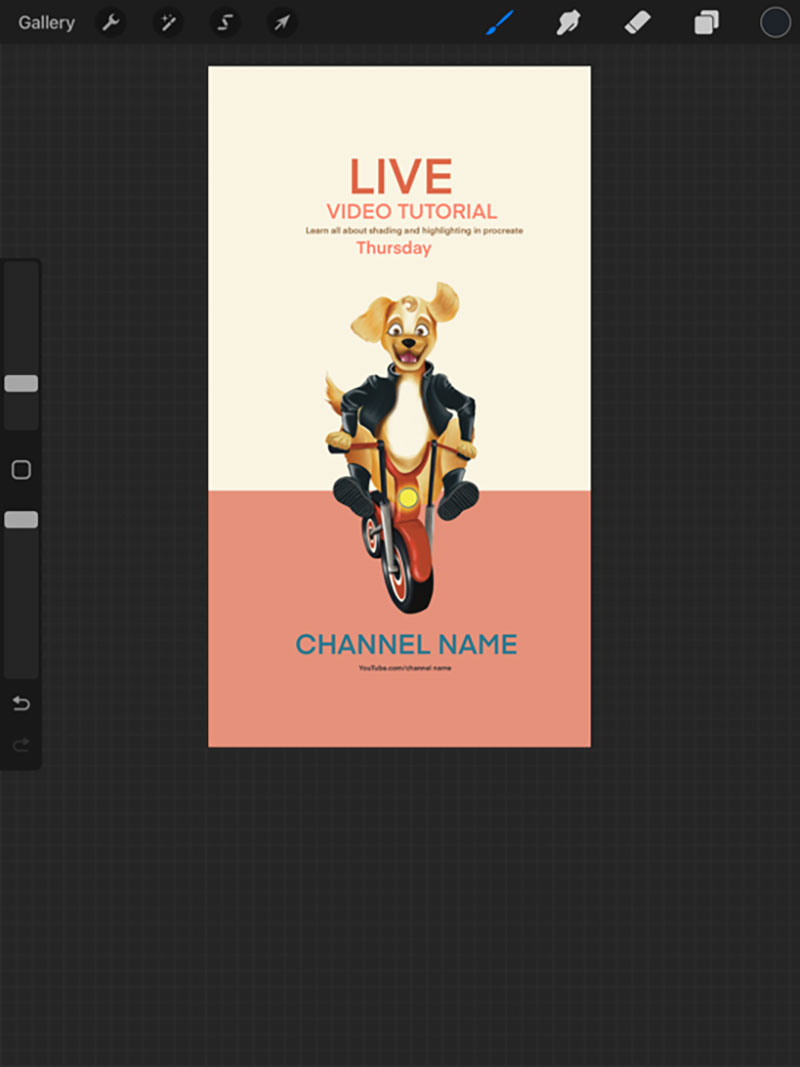
Looks pretty good as it is now. However, we want to make the design a bit more interesting. So we decided to add some elements like a pattern, maybe?
On a new layer right on top of the salmon color block, we are going to use these inky circles Procreate brush set that we found on https://www.brushgalaxy.com. Not only do we have patterned brushes, but we also have hundreds of brushes to use for different purposes, like watercolor brushes, texture brushes, as well as stamps.
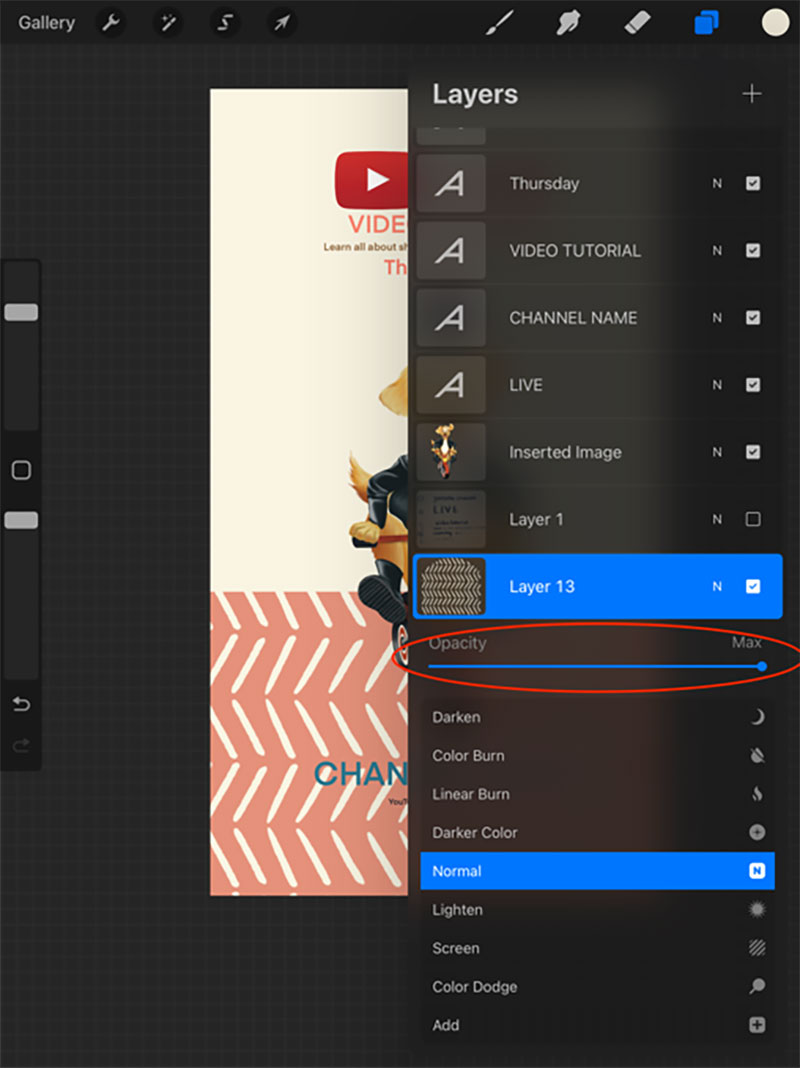
We used it in a bigger size to cover the lower salmon part like the picture.
We then make it less opaque by sliding the opacity bar until it looks right.
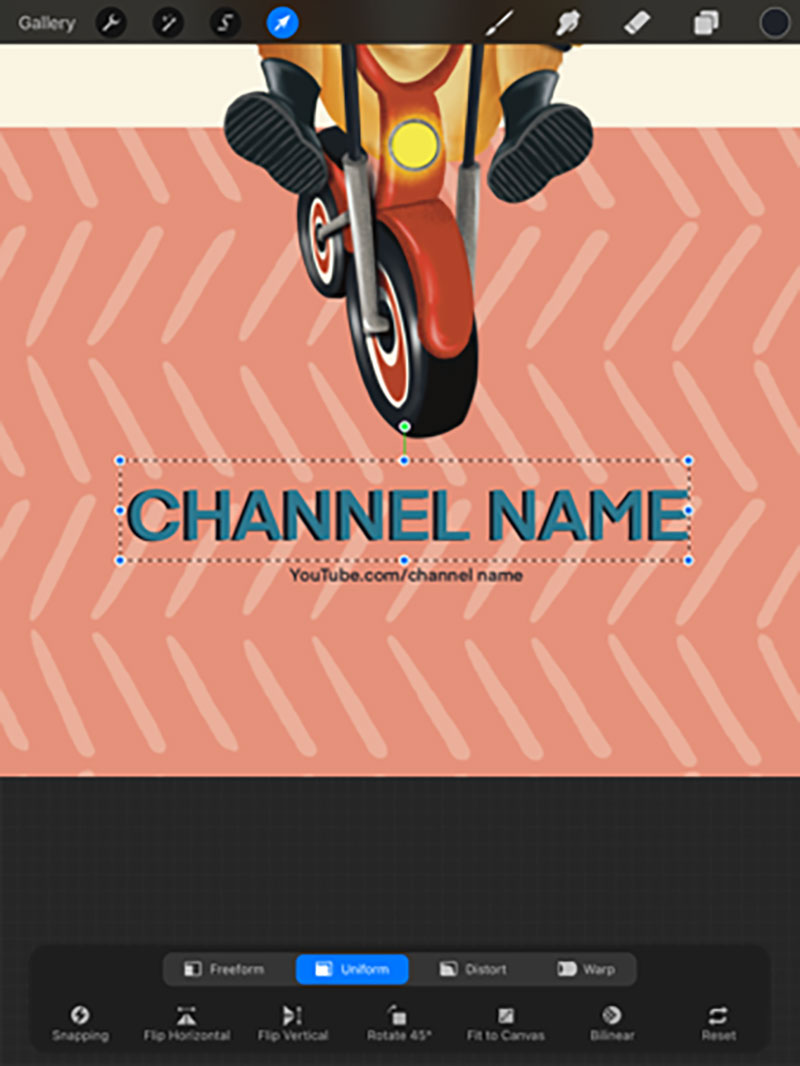
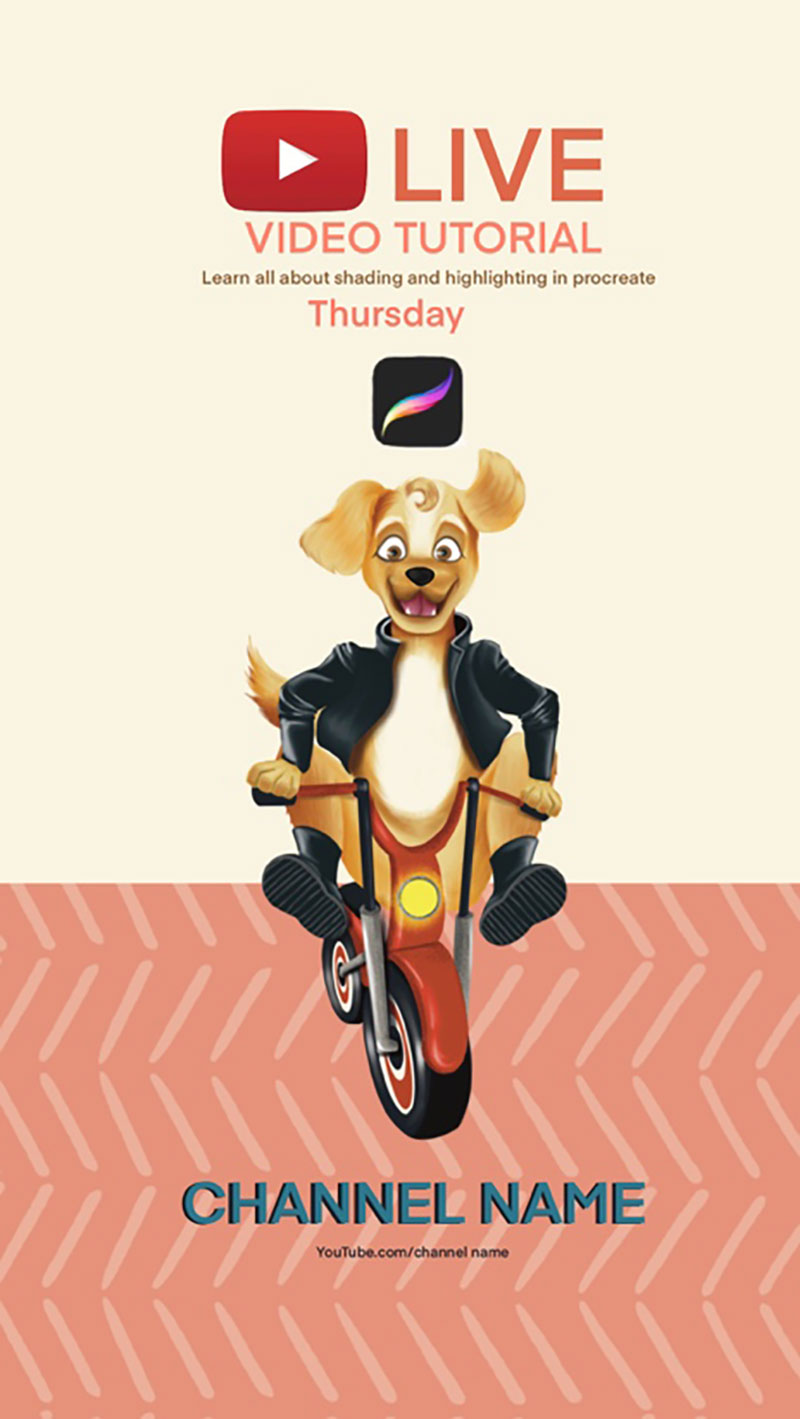

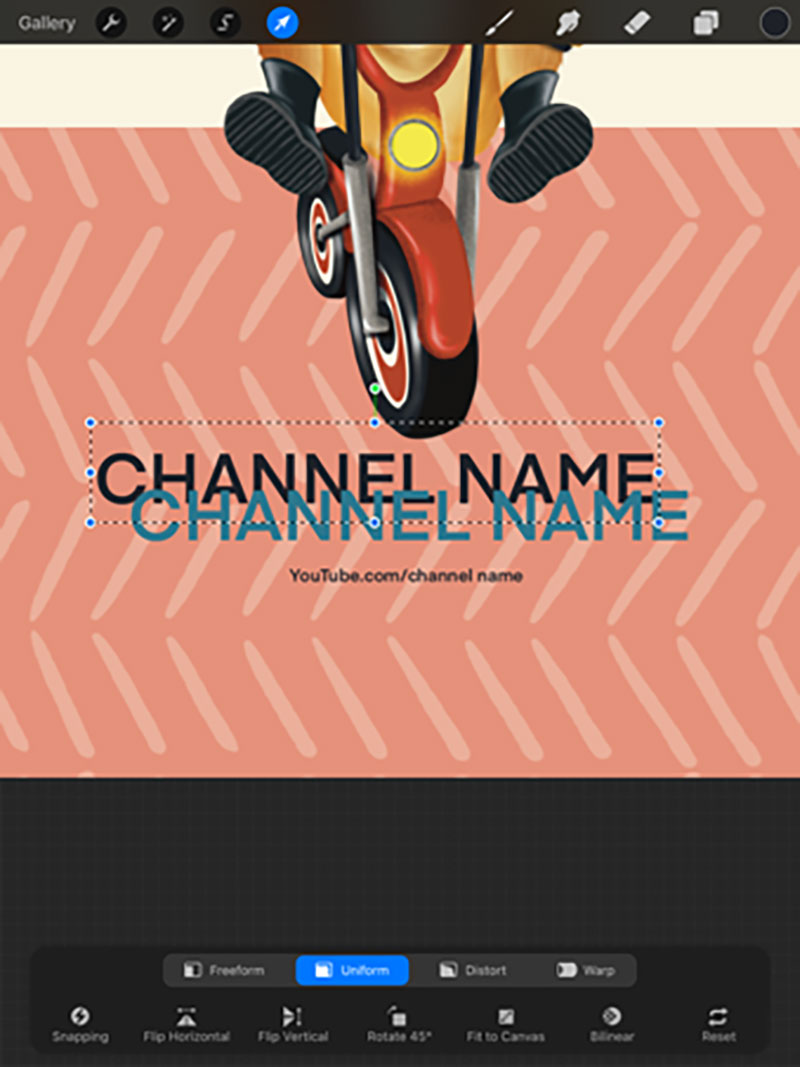
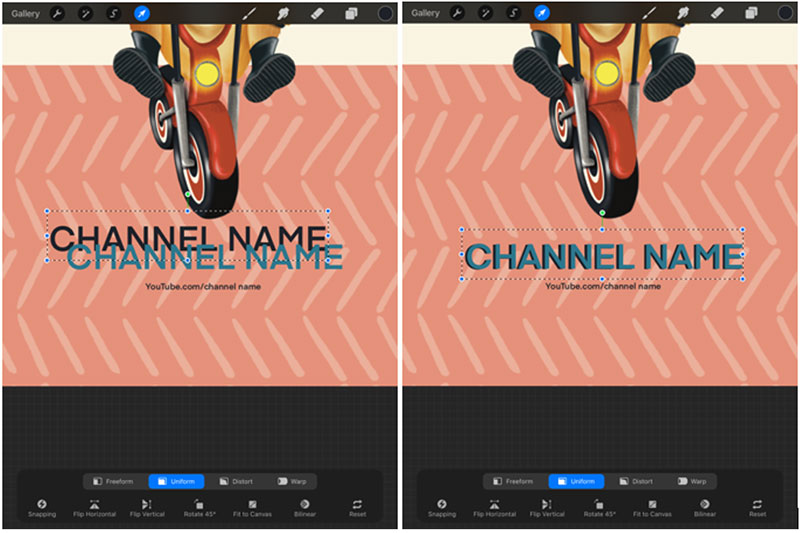
And for the very last thing. We feel like the channel’s name isn’t really popping. So, we duplicate the layer where we have the channel name on. That creates two of the same text layers. We make the one in the back darker in color and move it slightly to create a shadow effect. Honestly, how cool is that?!

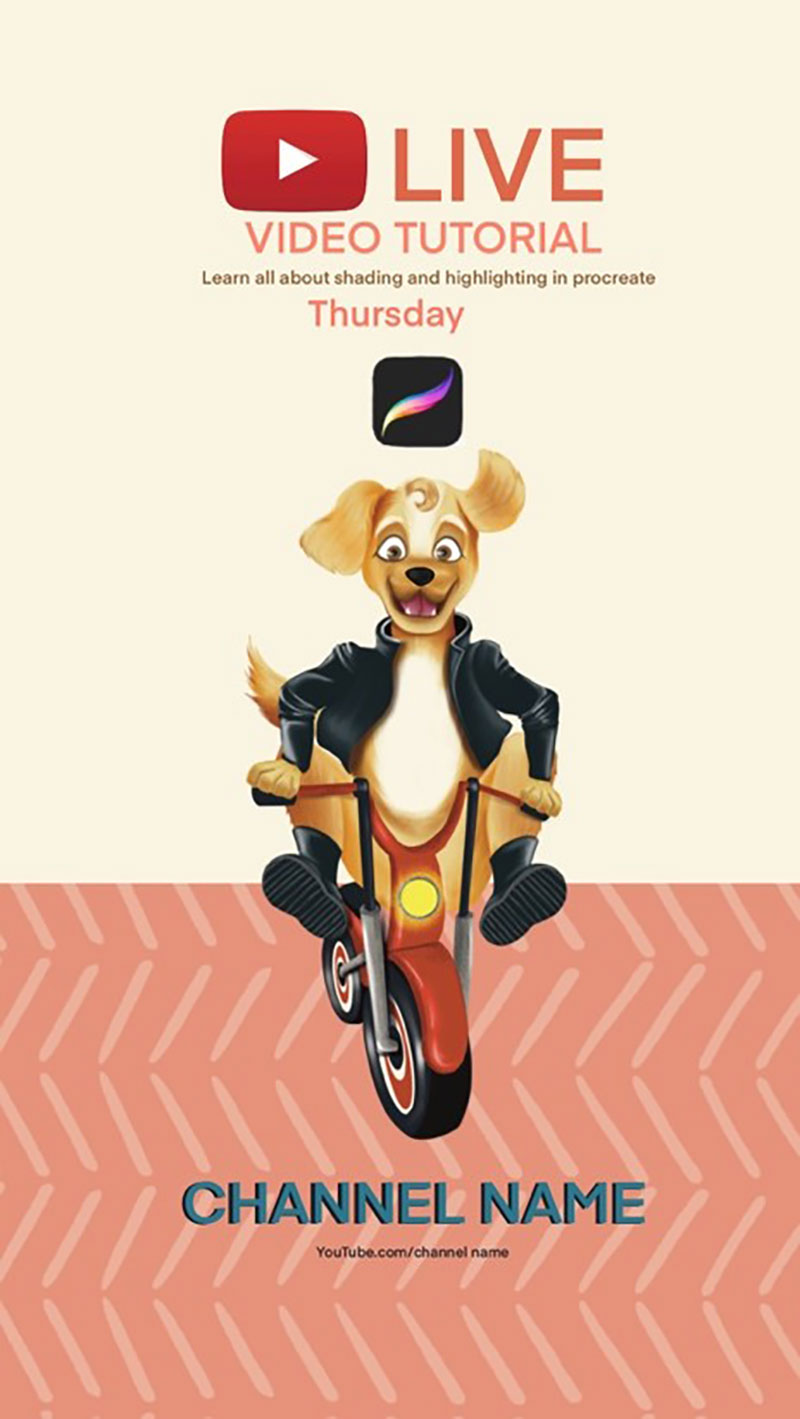
And for the finished product, here is our Facebook post that is promoting our YouTube live video!
So, you go grab your iPad and give this a try!